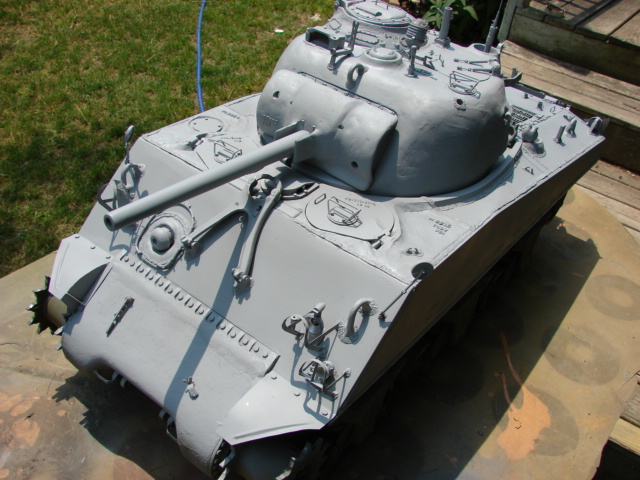
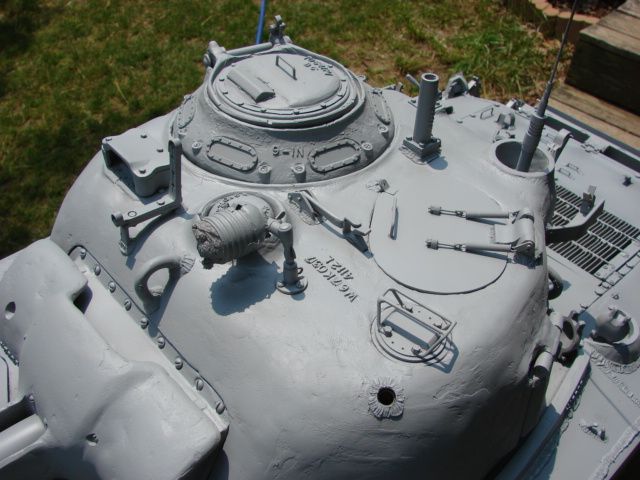
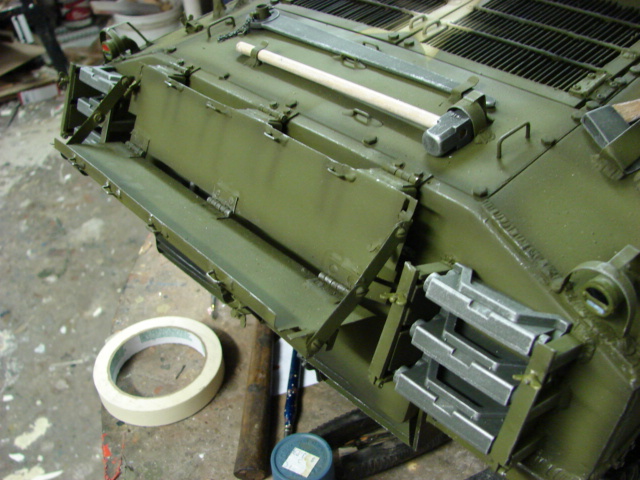
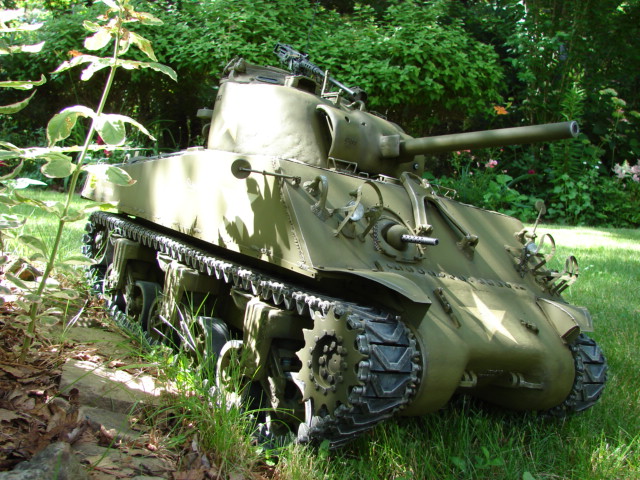
Today I was able to take advantage of the 90 degree weather to apply the tank’s final prime and base coat.
Final Prime


For the model’s base coat I used the same shade of OD that I used on my M26 and DML jeep.
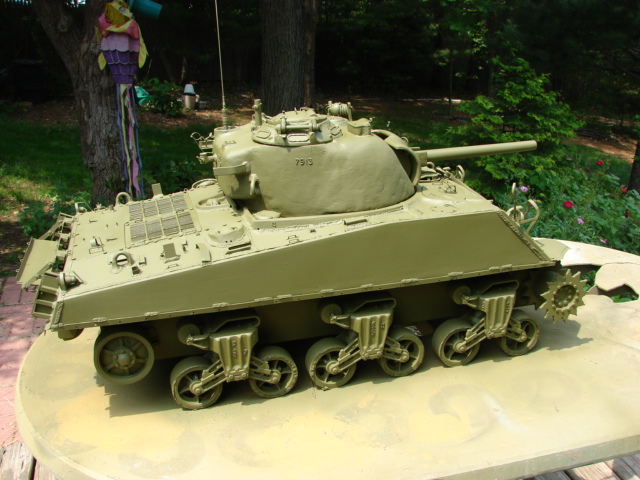


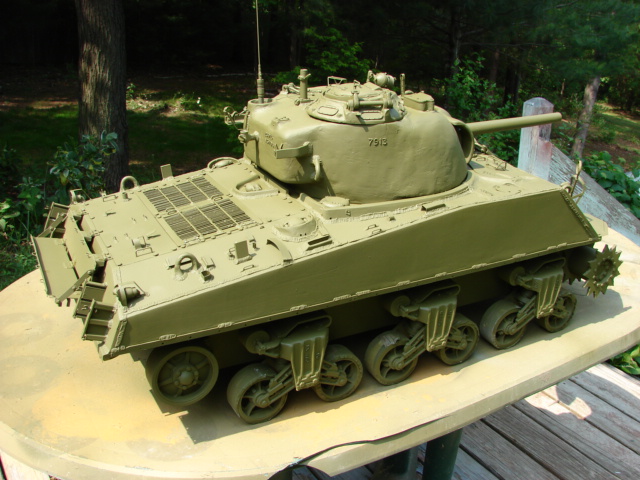

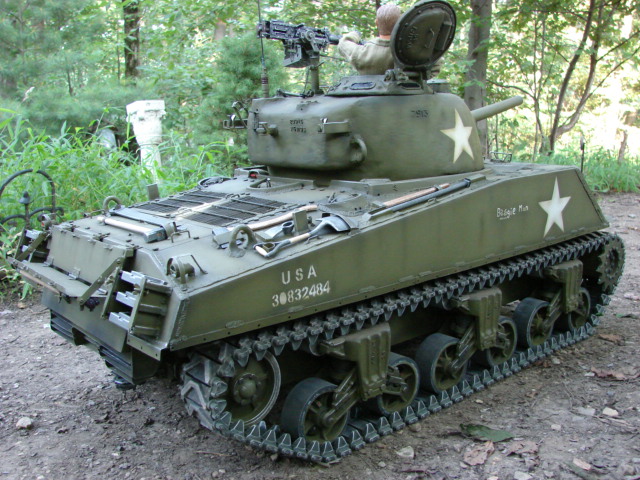
Now that the base is on the model can now get it’s markings and then the weathering. More to follow.
After about a week of work the tank is now 99% complete.
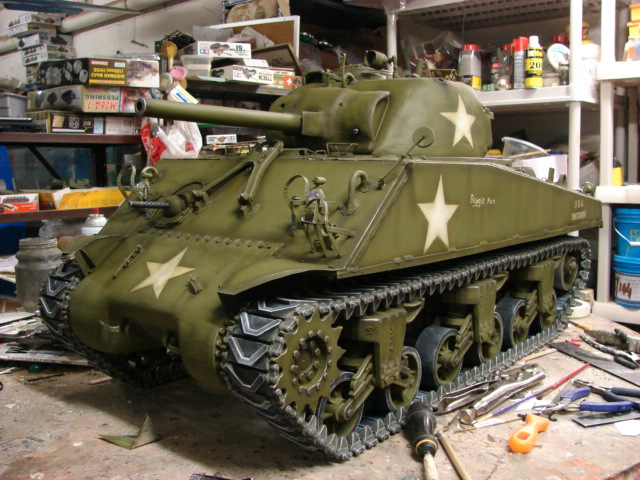
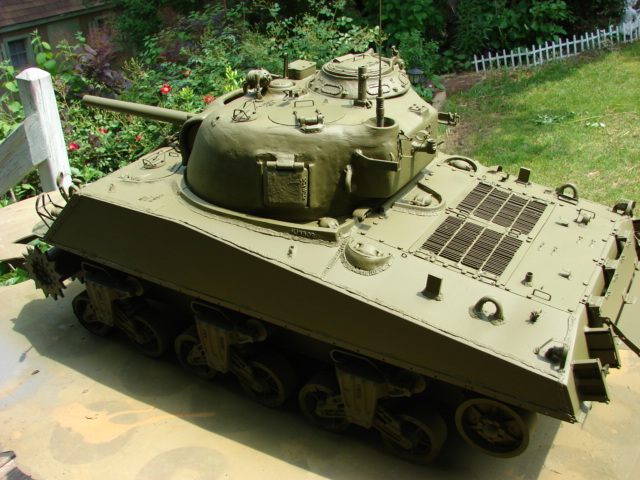
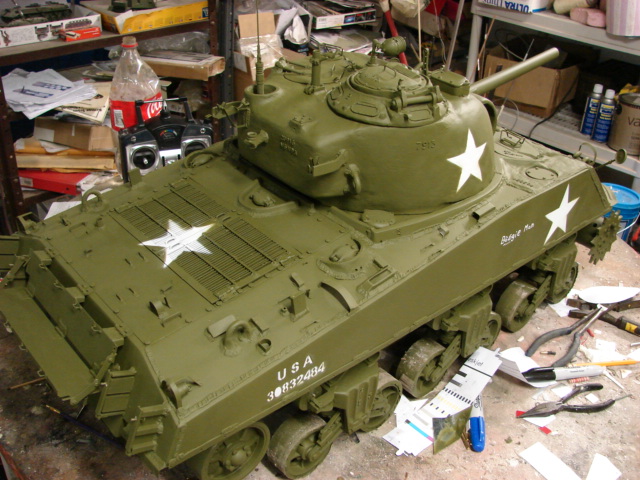
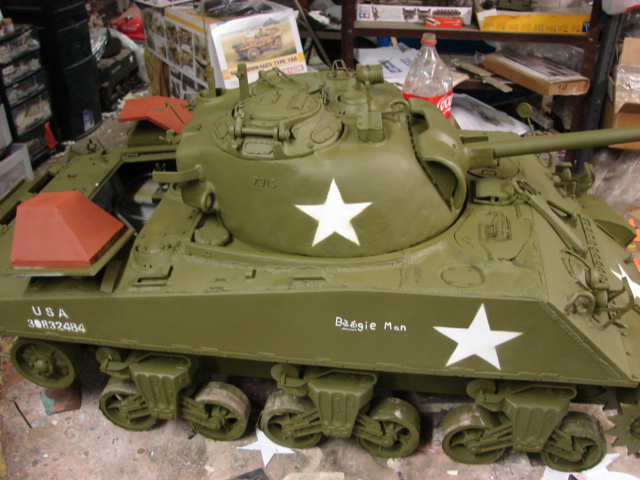
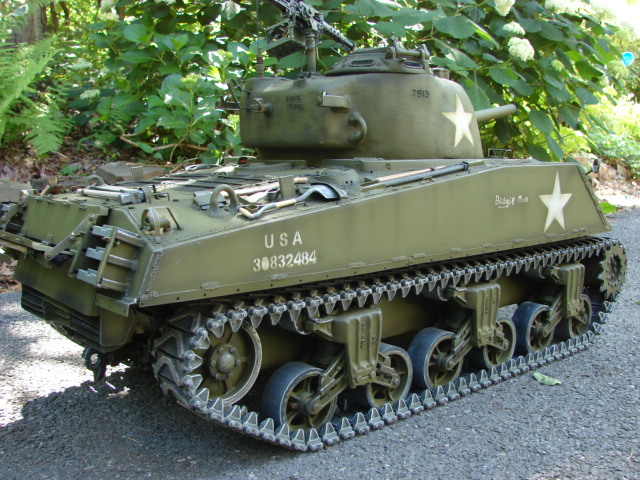
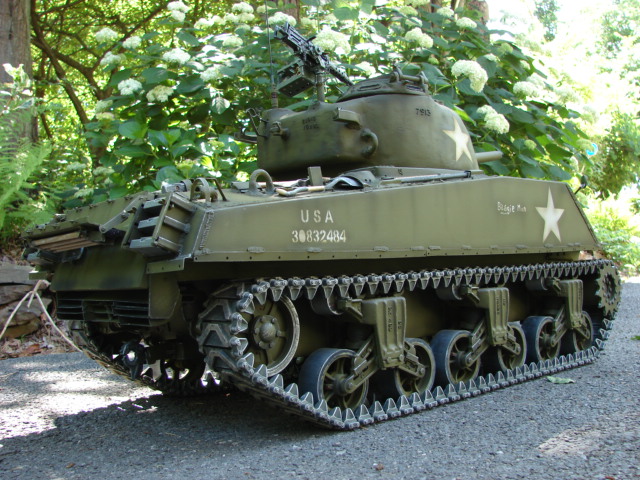
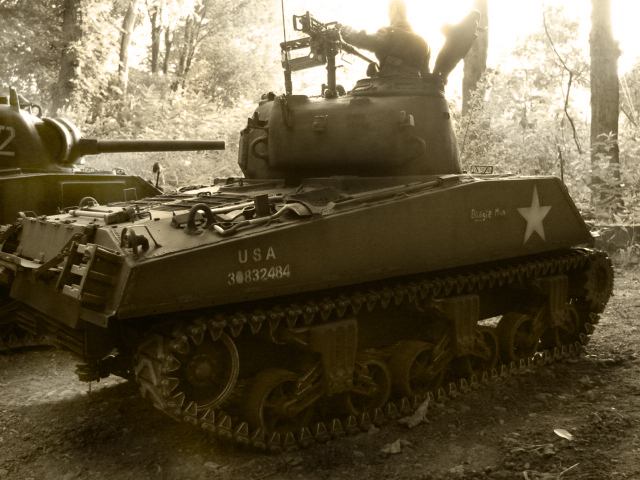
After the tank’s base coat I added the tank’s markings. All markings are painted onto the model via stencils.
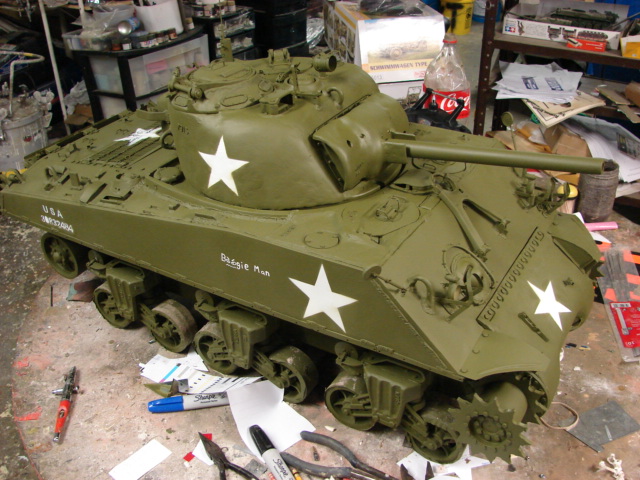

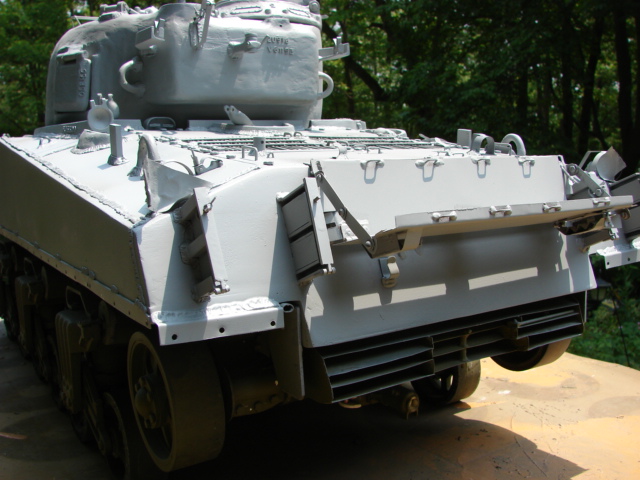
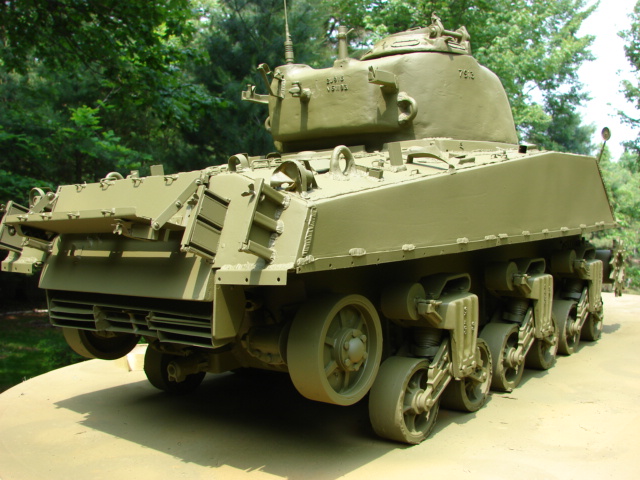
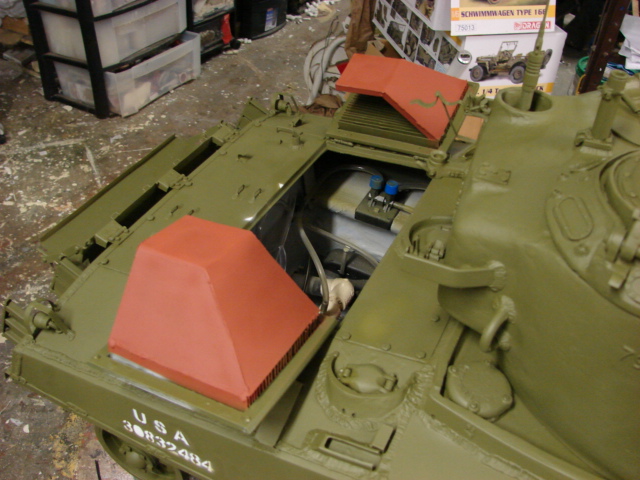
For the tank’s rear engine hatch intakes I painted them primer red.

Once the markings were complete I then added the tank’s weathering.


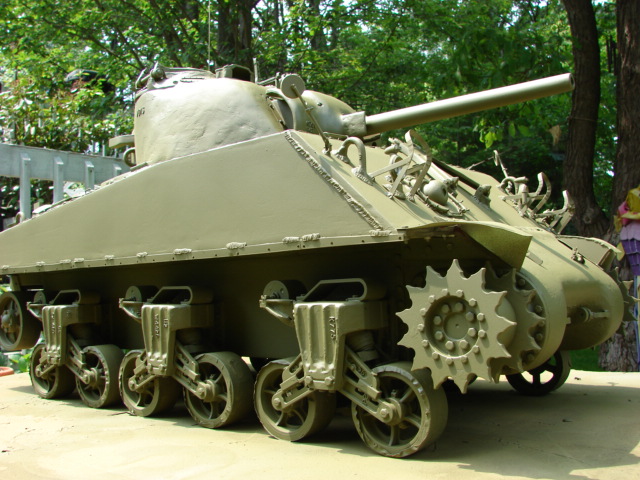
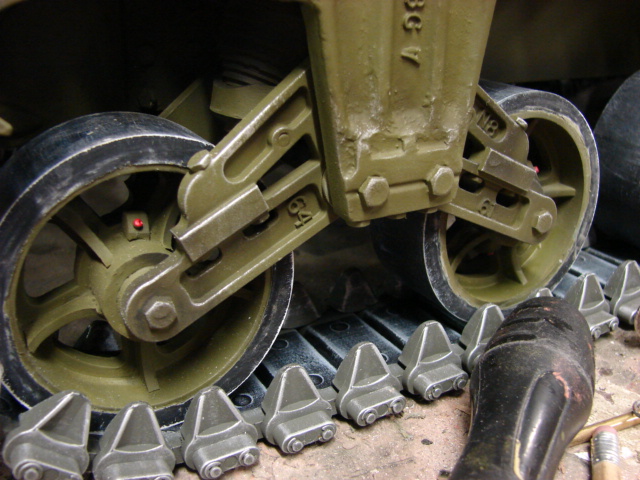
It was at this point where the tracks get reinstalled. The tracks themselves were also repainted and weathered.


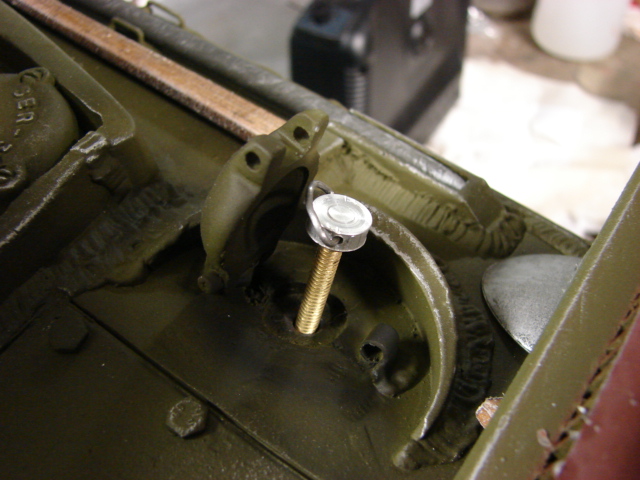
Also on the chassis all road wheel zerk fittings and fire extinguisher handles were painted red.

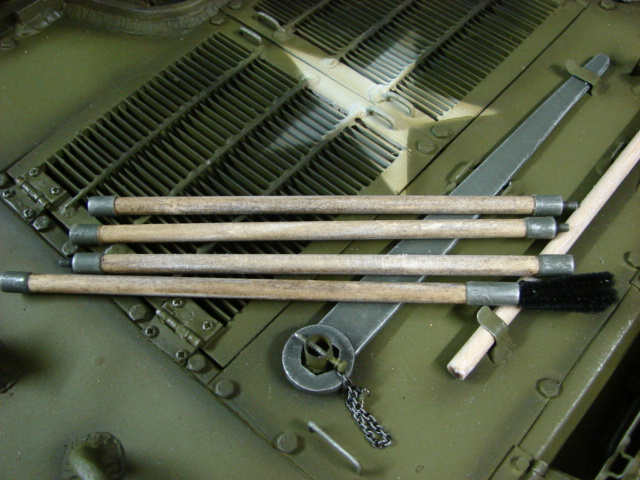
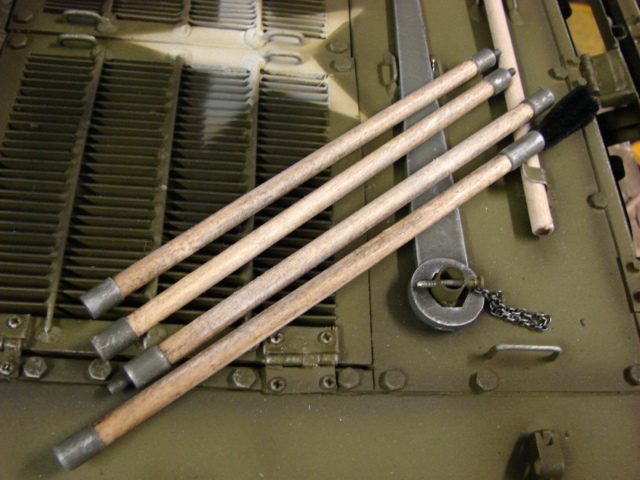
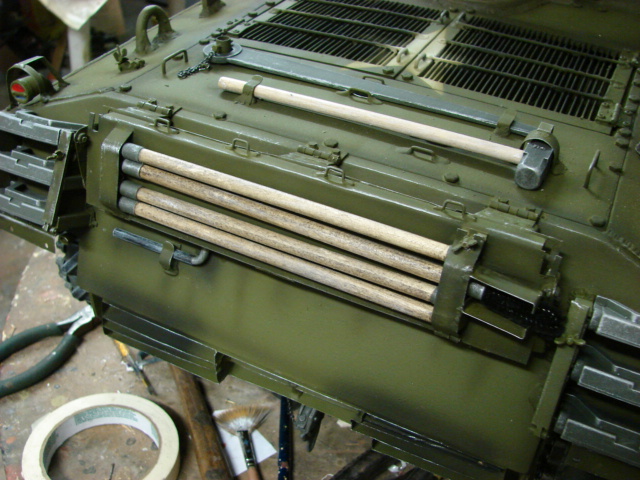
All of the tank’s pioneer tools and spare tracks have been built, painted, and mounted. All wooden tool handles are made from real wood that is treated and varnished.


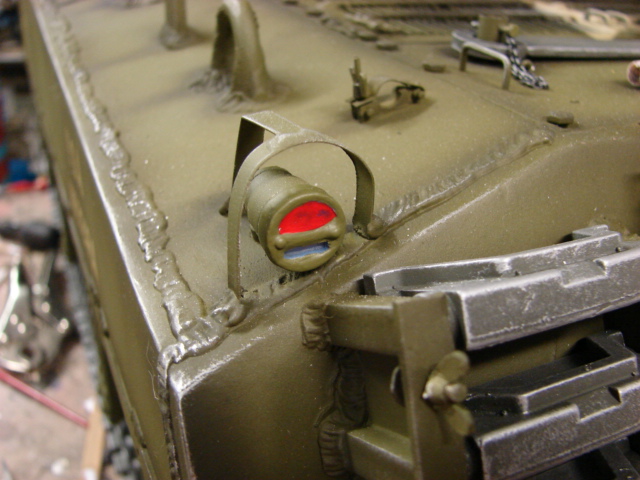
The tank’s headlight and tail light lenses were added.


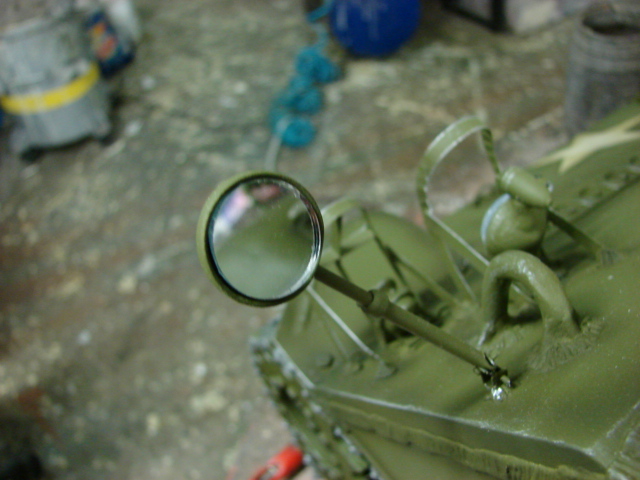
real glass mirrors were mounted into the rear view mirror mounts.
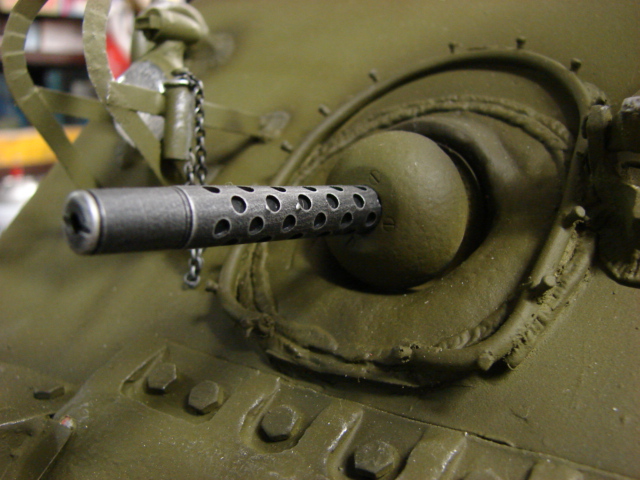
The bow and turret M1919 MG barrels was also mounted.

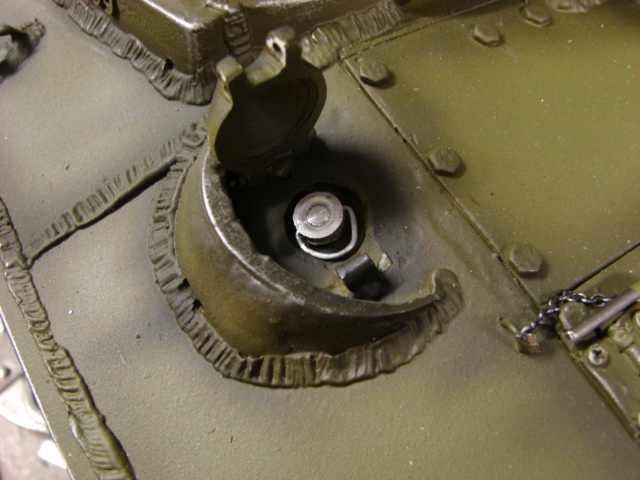
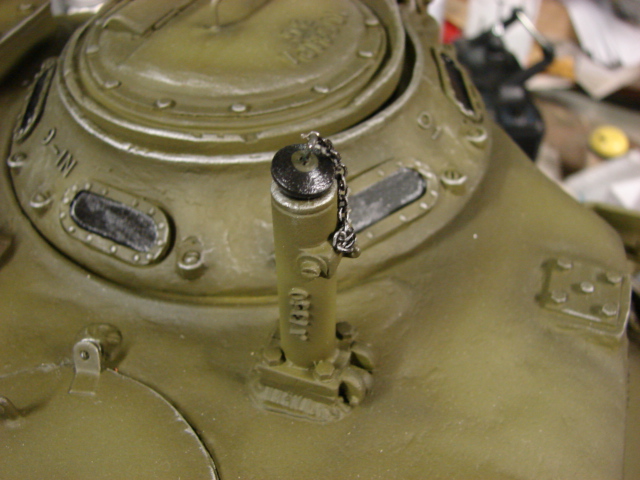
The tank’s fuel caps have been added. The detail fuel cap head has also been mounted to the rear locking bolts concealing them.
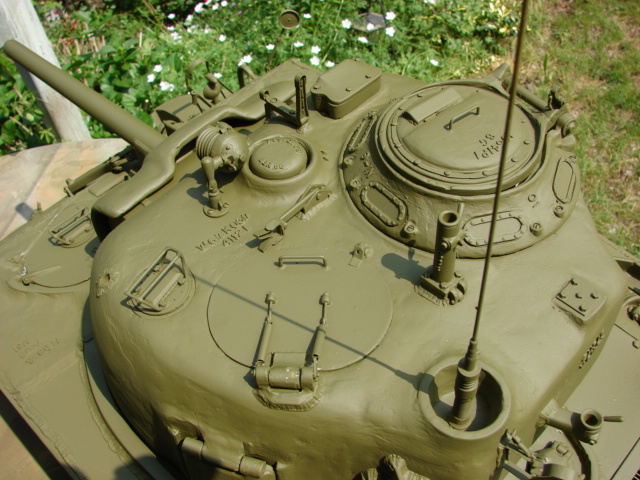
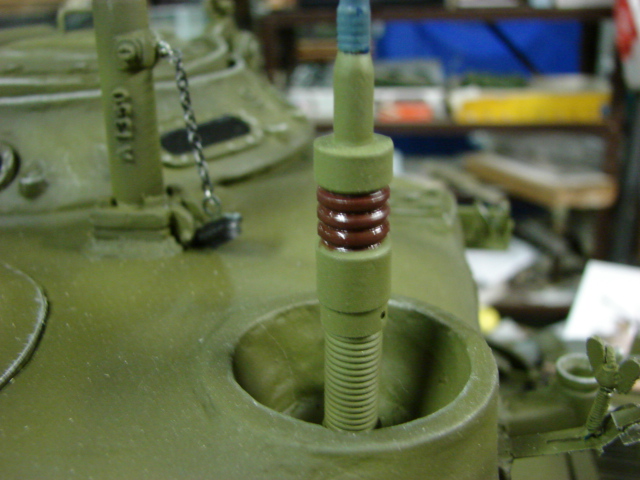
The ceramic insulator was painted on the MP-48 spring antenna base
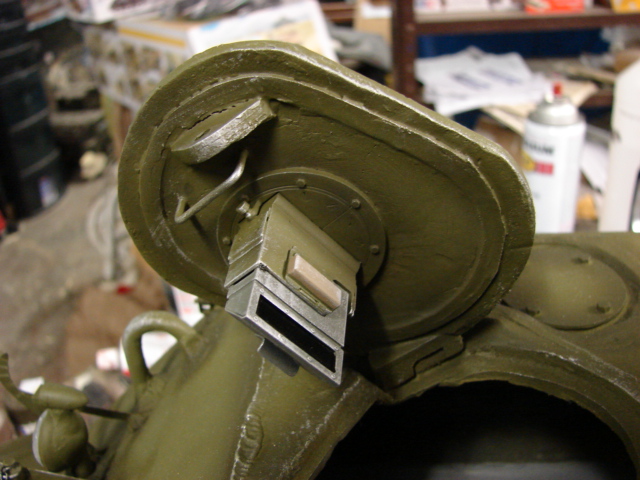
All hatches are painted and their periscopes have been added.
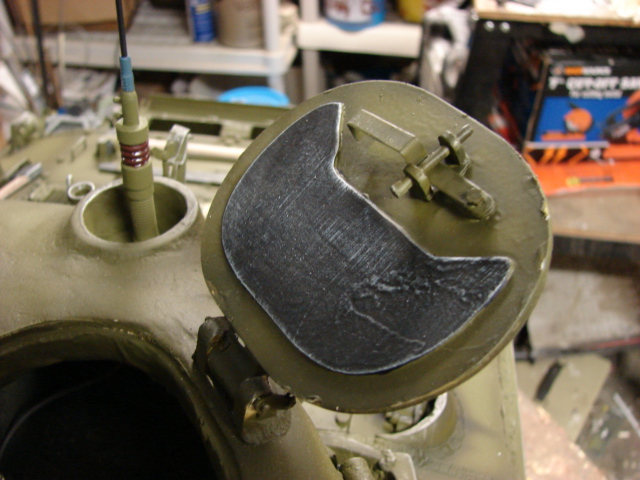
The cover caps for the searchlight and the 50.cal pintle mount were added. In addition all chain work has been added to the tank.


All the tank needs now to be fully completed is the gun cleaning kit, and the 50.cal MG. Once complete I can then give the shop a good cleaning and I can then start on my next project.
I love it man. I love the scale. I love those freekin rear view mirrors !
great job
tread
Thanks Will, I added the last of the parts and the tank is just about complete now.
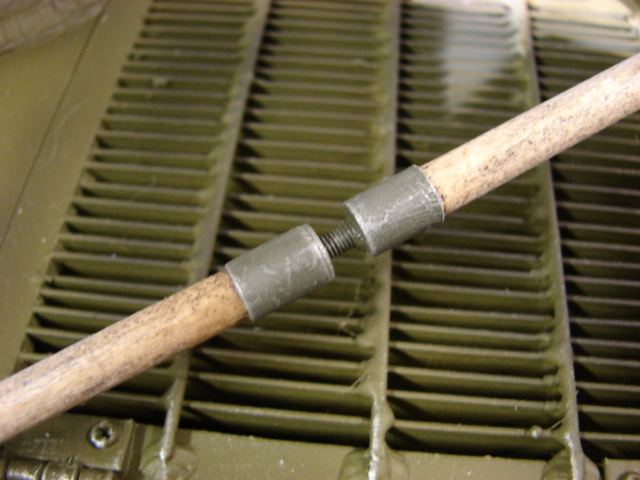
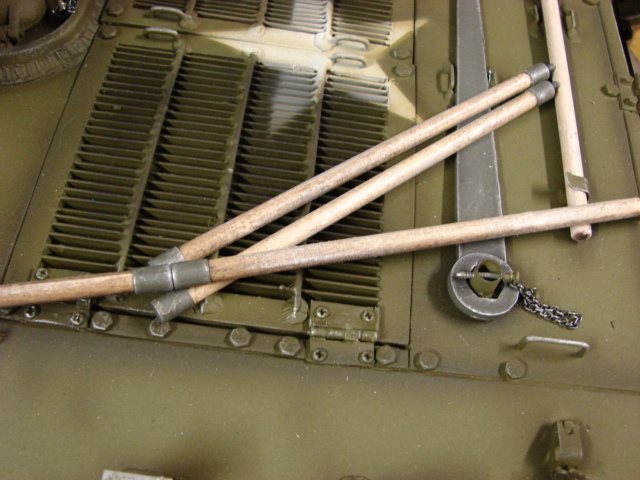
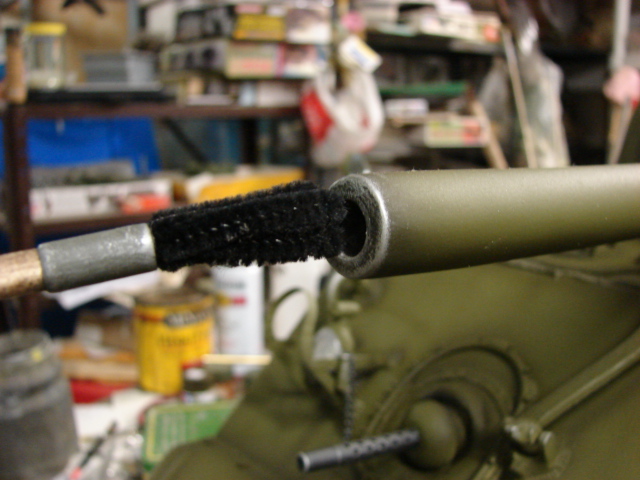
The tank’s gun cleaning kit was built and painted. The cleaning kit actually screws together. Once completed the rack was mounted to the rack.


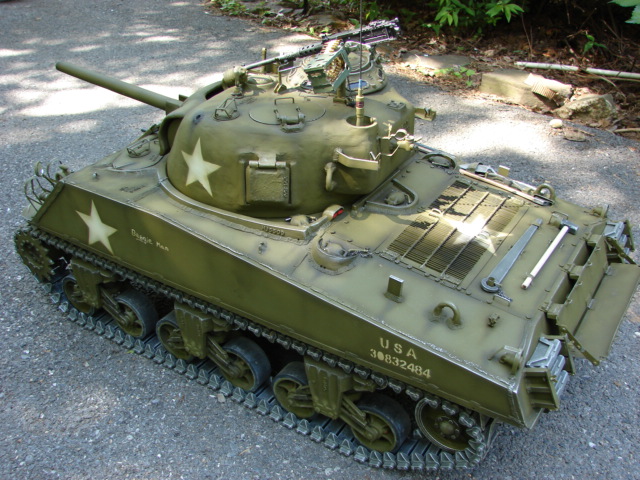
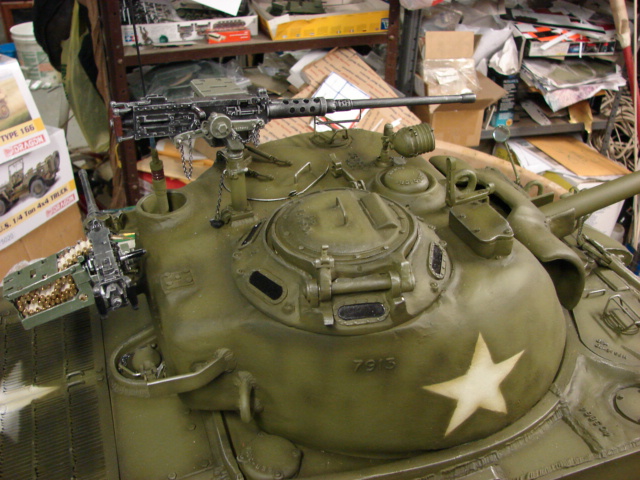
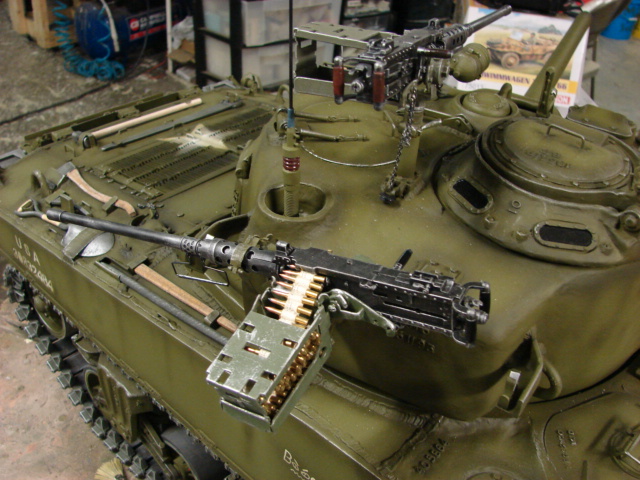
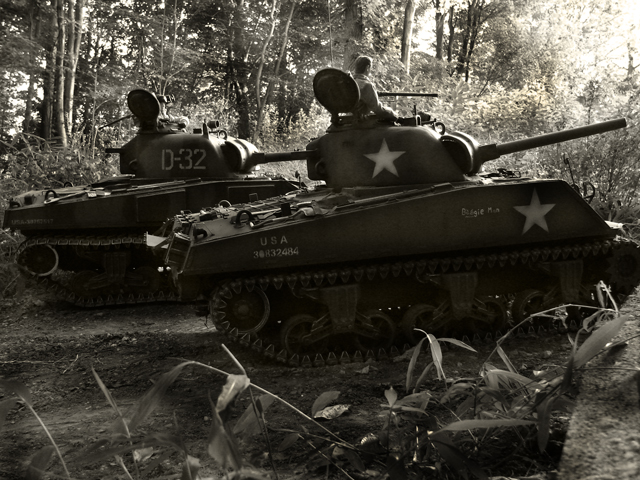
I have an armorpax 50.cal cradle on route. Until the mount gets here I borrowed a complete 50.cal and mount from one of my other shermans for some out door images.


I took some video clips of the sherman driving around. which I will post soon.


I will also be now working on the tank’s gallery website. Once complete I will be staring on the next project.
It has been a while since I had any updates on the tank since I completed it, but I was able to install the last two components fully completing the tank and taking some more out door shots.
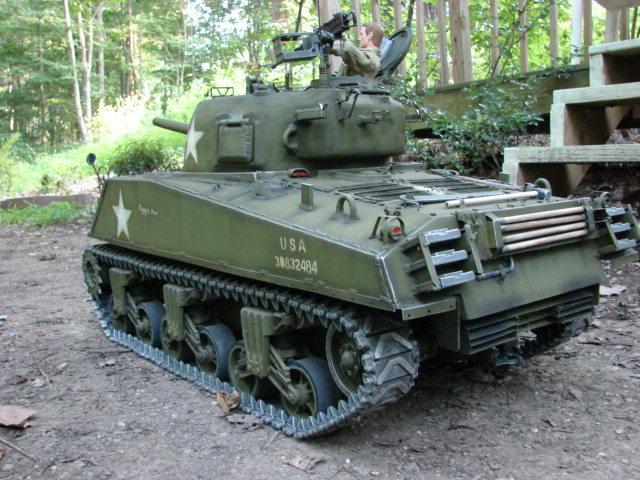

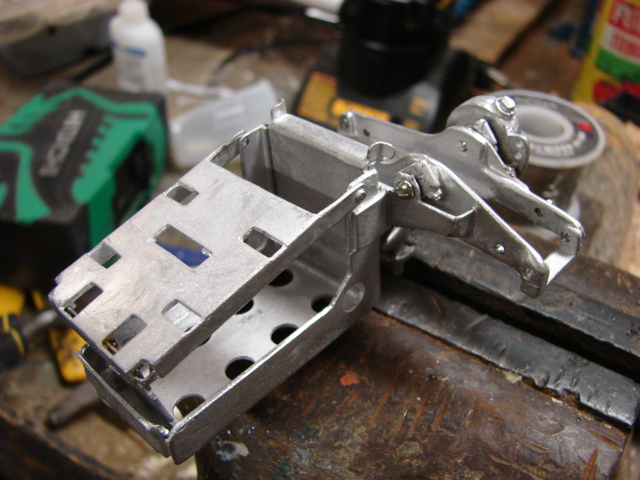
For the tank’s M2HB I again used the armorpax white metal cradle mount with the DML M2HB kit. The M2 received the same mods as I have done to these DML guns in the past.
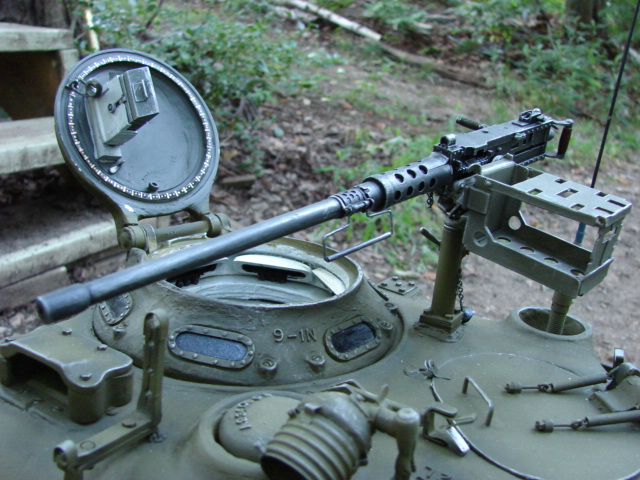
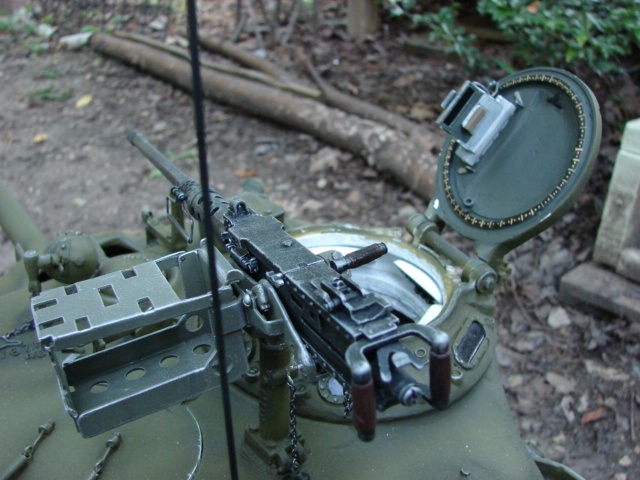
The mount was assembled and is fully functional.


After the mount was assembled the gun was mated.
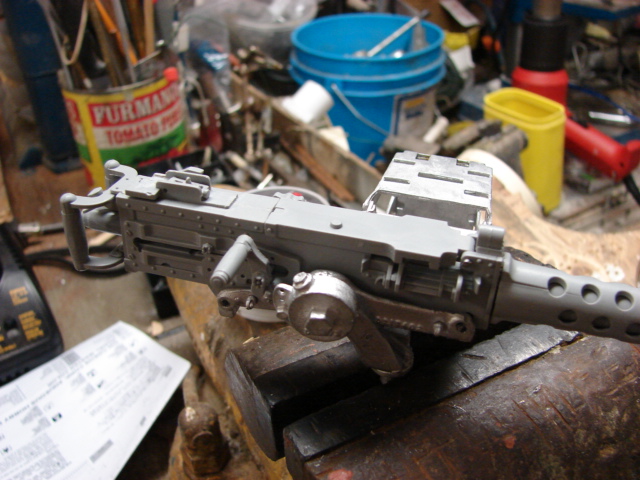
The gun and mount were then painted and weathered.

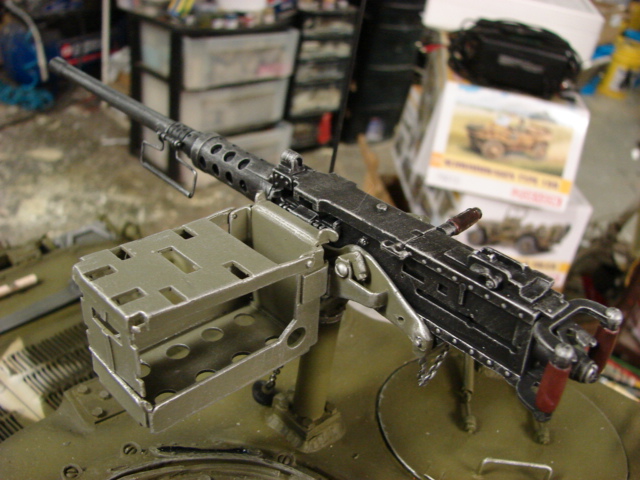
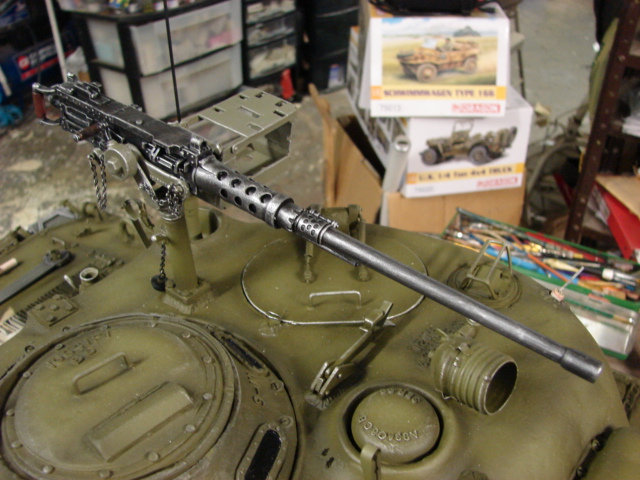
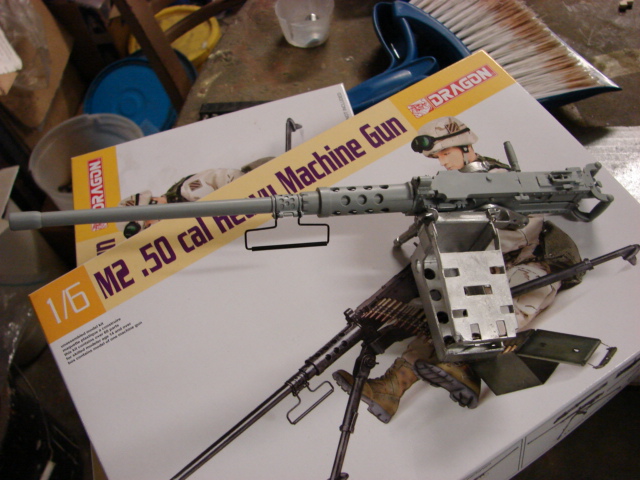
Before I put the borrowed gun back onto the model it came from, I wanted a quick shot of the gun on the storage mount. When in storage pintle the barrel would be removed from the receiver and placed on the storage rails (not shown in the images).

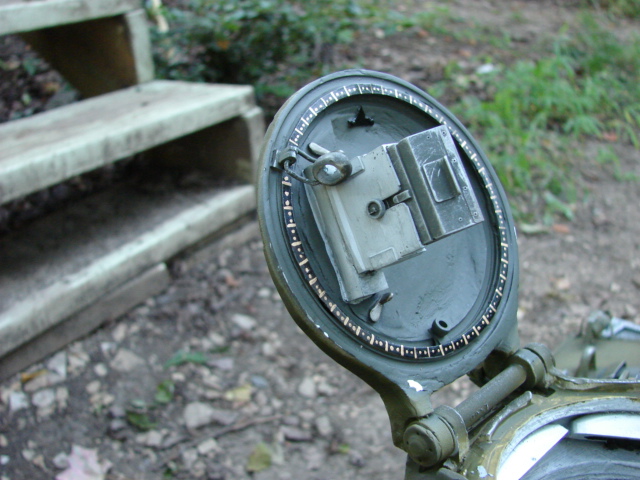
In addition to the 50.cal I was also able to add the interior commanders periscope detail. The periscope is the Panzerwerk US periscope and was modified to fit the copula hatch.

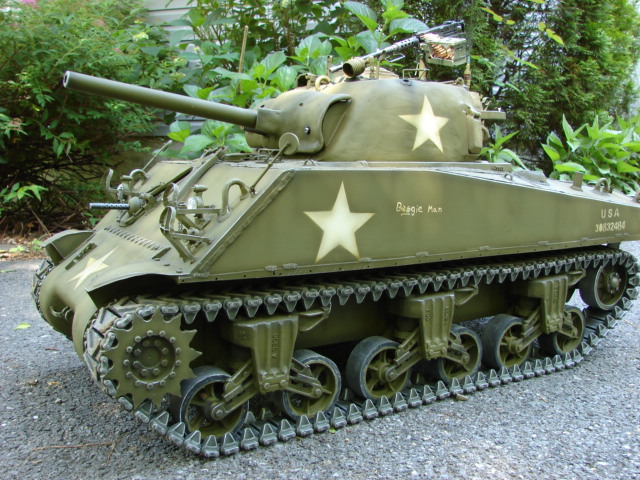
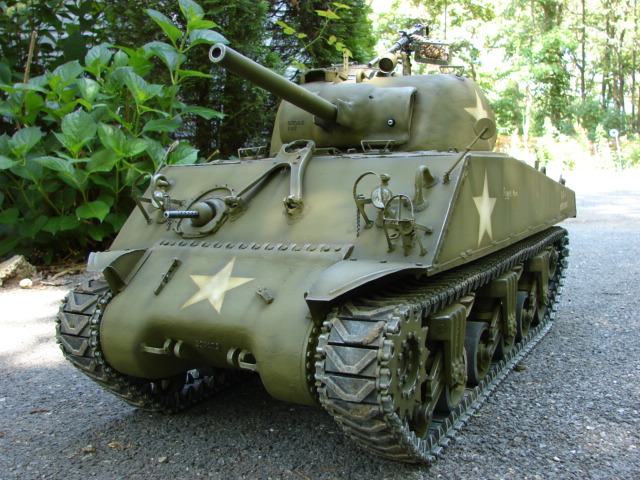
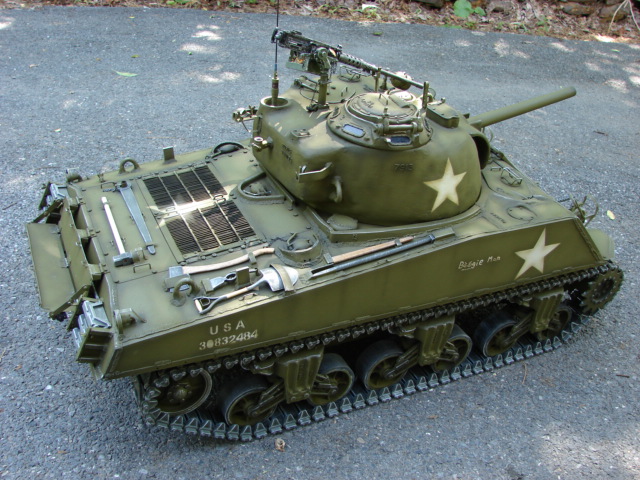
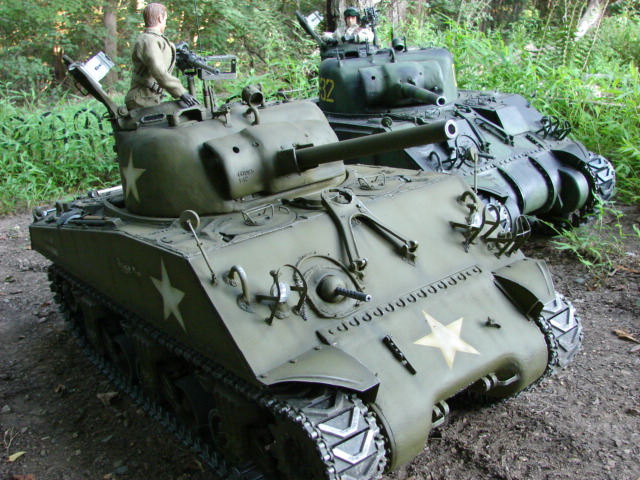
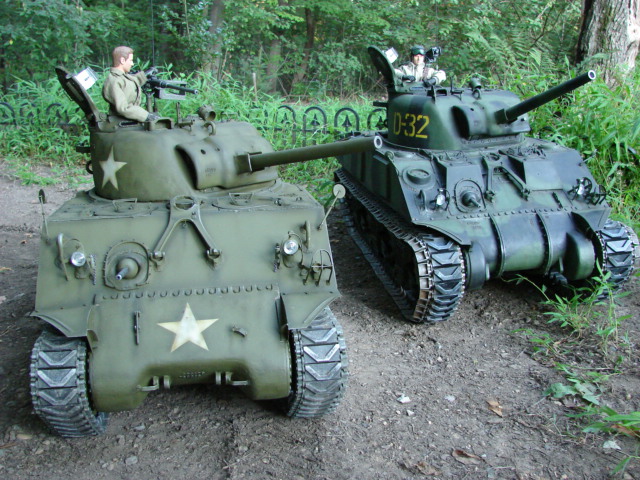
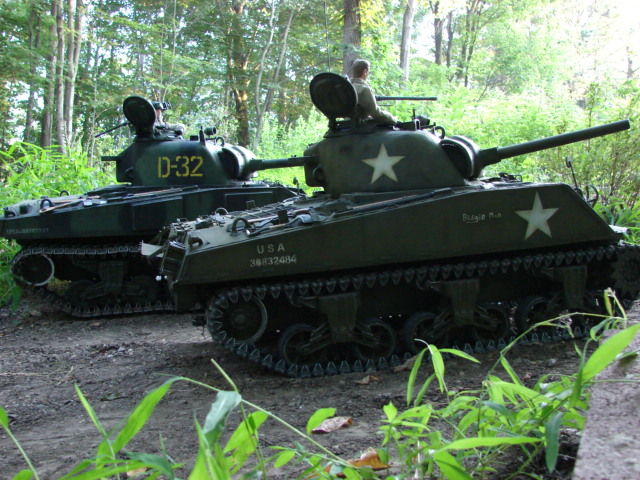
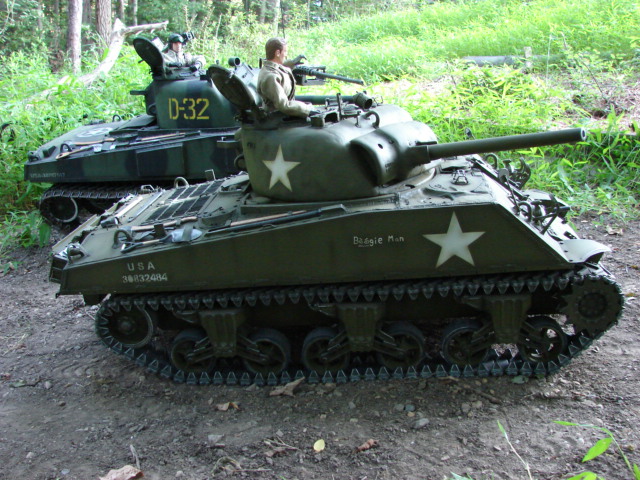
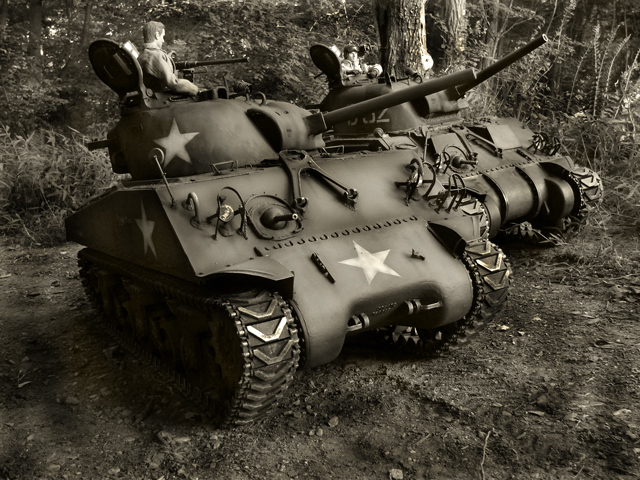
With the tank fully completed I took some out door shots along with my Viper M4.

I have also uploaded a video of the completed model driving on youtube.
http://youtu.be/a7GNp2G1rYI
With the tank now complete I will be making the model’s gallery webpage and will be posting more images once complete. More to come.
It’s been awhile since I posted on this model, but I have just finished the tank’s gallery webpage http://www.eastcoastarmory.com/vantexsherman/boogieman.htm .
On the webpage I have listed more images, and video clips of the tank.
With this page out of the way I can now start on the Jumbo’s gallery.