Looks really good! I had to zoom in on that picture to see that tiny piece on your finger, I don’t know if I could deal with having to do something with a piece that small.
I dont have an answer for that yet, when I get my other B-17 done with all the goodies I’ll have a better idea.
BK
Haven’t made it that far yet. Still working are getting the interior together. I’ll let you know when the time comes.
BK
Toshi, all the goodies, and more, plus loads of scratch work will go on the visible one. Most likely not for some time as I can see that build lasting 2 years. No joke!
BK
Update: Slowly making progress on A Bit O Lace. The interior is finally done and all the test fitting is complete and she’ll go together without too much fuss. The glass is all masked, that was fun [:S], and it is all installed. I used Micro Crystal Clear to secure the glass in place and fill the gaps. OH, and about those gaps, good Lord!! Many of the side windows fit pretty well, but the front corner windows and the two above the cockpit, not good, not good at all.
The fit was so far off, the glass was too small, that I very nearly gave up on them and was ready to use a Squadron set. But, I think now that I have used plenty of Crystal clear to fill in the edges and hold the glass, they appear to be ok. We’ll see about that when I try to pull the masks. It’s too bad that the openings and the glass are so far off. Otherwise the kit’s overall fit is not all that bad, given its age.
Anyway, here are some shots as I test fit it all. I’m waiting for the Crystal clear to full harden before I commit to closing it up. Hopefully, I will have it closed sometime today.
Thanks for looking,
BK


Brandon,
That’s coming along nicely! I must admit, lighting certainly plays a part in color perception (especially on a computer monitor). The interior cockpit color in your close-ups looks entirely different from those taken some distance away.
Your wood paneling is pretty good too!
Gary
That’s a gorgeous interior. really nicely done, especially the wooden parts. it almost makes me want to start on the one in my stash.
Interior details look nice! I’m always skeptical I’ll get glue all over the prepainted photoetch parts. What are you using for the Cheyenne tail turret?
I am just using kit parts for this build, nothing fancy. I wouldn’t have even done the PE on the instruments but I had a set so why not. The kit part will have to do for the tail gun on this one.
BK
Looking sharp Brandon. I’ve had success with clear 5 minute epoxy to hold the windows in place. I use the Gorilla brand. The bond is much better than the stuff you used.
Very crisp and clean Brandon. It looks great from here.
Joe
Thanks for the heads up Joe, I picked some up and I’ll give it a try.
BK
Your B-17 interior is looking really nice Brandon, although I fully agree with your comments about the glazing. When I built mine I used the kit-supplied parts for the gun ‘blisters’ on either side of the nose, but for all of the other individual windows I replaced them with panes cut from thin acetate. It was a bit of a drag cutting each one to fit its aperture but it did look much nicer when done, and they were so much clearer than the thick kit parts.
 Brandon, I have this one on my shelf as well and plan on getting it going this next Spring hopefully. I was seeing the difficulty you had with the upper fuselage windows and said it took a lot of Micro Crystal Clear to fill the gaps. Is this something that I could possibly make some ledges out of thin styrene strip to eliminate the gaps, sort of build a small ledge for the windows to sit on and then fill in the surrounding “canyons”?
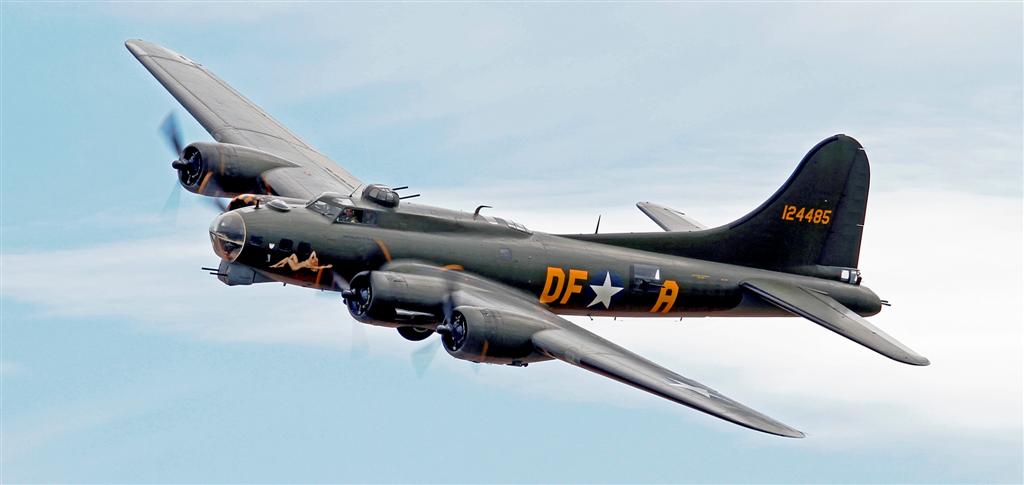
The picture above is what I plan on doing with mine, also the olive drab version, instead of NFM.
Everything on the kit is totally fixable. The window fit could be solved with some styrene and patience. I plan to use Squadron canopy next time so that will be a whole new problem I’m sure.
BK
Well, Ive had a major setback with the Alclad. I’m not even gonna bother you with the details. I’m off to order rattle cans and change the scheme. I will not be using Alclad on a kit again. Too many problems. Bare metal foil next time.


BK
BK
What the heck hapenned? The first shot shows a great NMF.
At a guess, masking for the anti-glare panels on the engines pulled the Alclad up. I’ve read of that happening before.
I’ve grown to hate this stuff. I won’t be using it on a full kit again. Bits and bobs, but that’s it. I cleaned and sanded the kit. I primed the surface fully with Alclad black primer and microfiller, and sanded that smooth as heck. Shot the Alclad polished aluminum, a bottle and a half with multiple coats. Let it dry 2 days and clear coated it with Alclad Aqua gloss, twice. Let that dry two days. Masked for the anti-glare paint and this happens.
I’ve already sanded it all down with 3000 grit and will shoot some OD over NG in the next few days. I have enough NG, but I think I may run out of OD. Next one of these is gonna get the full bare metal foil finish. I’m just at my whits end with the stuff.
BK
When I saw your post and what hapenned I suspected that you used their black primer. I have heard horror stories about that black primer. They had a lot of problems with the early batches so maybe you had one of those?
I use Testors gloss black enamel in the small bottle and haven’t had an issue yet. Sorry to see that happen to you BK.