It’s coming along very nicely. Super work my friend.
BK
It’s coming along very nicely. Super work my friend.
BK
If not to late, how about making a silicone mold of the float and a copy of it, then use the copy of the float to set in your pours. Could give the copy a coat or cooking oil to make it not stick to the resin pour.
GH, that probably would have worked had I thought about it.
Here’s another update. I believe I’m done with the Rufe once I finish the canopy.
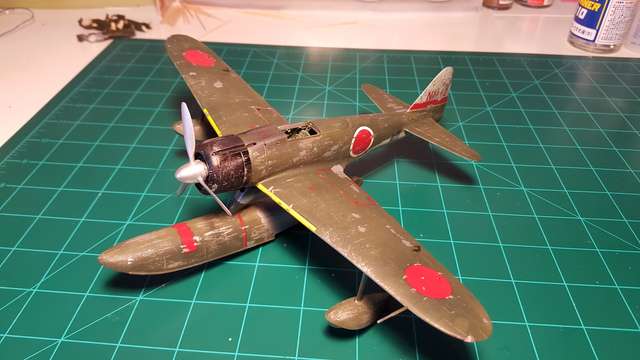

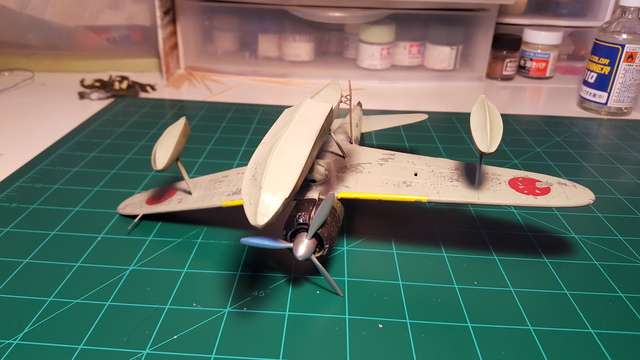
I was able to pour quite a few more layers of resin and just about ready to install the build. In fact, once this last layer sets up enough I will set the Rufe on the surface so it sinks into the last layer a bit.

Steve
Steve that is just too cool. It’s going to look great
The upside may be that the last layer of resin will/might anchor the floats and keep her in place permanently.
Looks great.
OK guys I put the Rufe on the “water” and OMG! I am soooo pleased with this. This is actually looking like water! I will give this a few days to dry before I apply the last few layers. I will blow some waves in the last layer for some small surf. Oh boy, I can’t wait!
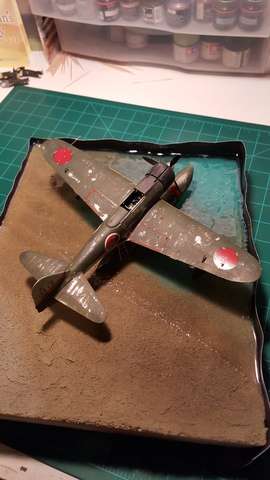
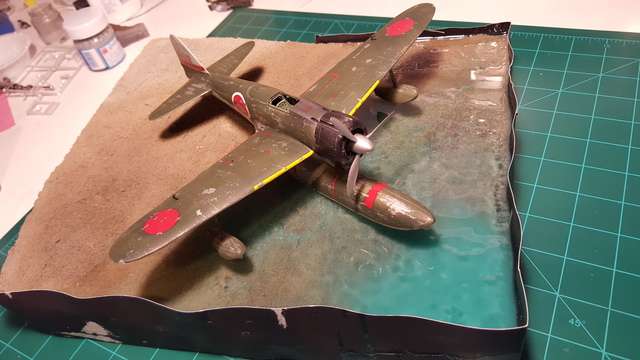
Steve
Just watch the heat levels on blowing in the waves, don’t want to start deforming floats at this stage of the game
Thanks GH, I was going to blow than with the heat off. It seems like it may not take much to form them.
This looks really good!
Looks superv Steve. I’m glad you chipped the hinomarus cause often modelers leave them in one piece with the wear around them. It looks like real water so excellent effort. What kind of resin did you use? I happen to have a small two bottle set of Envirotts Lite plastic Pouring Resin that I used on a plaque 20+ years back.
You are a true master modeler Steve. Your works are simply amazing!
Thanks guys,
PJ, I used “Castin’ Craft Clear Polyester Casting Resin” 16oz. I picked it up at HL with the 40% coupon. It is $20 here and I need to get another can to finish off the last levels. Stinks to high heaven and I needed to put it outside and put a cardboard box over it to offgas. The cold doesn’t seem to hurt the curing process and keeps the heat down. Once it has hardened enough I bring it in to warm up.
Another beautiful diorama. I’d love to see the completed kit!!
Toshi
That really looks great. How long does it take for the resin to set up and doe sthe stink stop as soon as it does?
I put in twice the hardner that is called for so it sets up pretty quickly, and gets hot doing it, about 3-4 hours. I won’t put in as much hardner for thee last layers to keep the heat down now that the kit is in the resin. The smell does go away after it hardens, but wow, what a stink while it is.
Steve. Hot damn! That’s coming out very nice. =] Very impressive. I hope to one day fool with something like this. But I’m guessing it won’t be in the near future. =[ Too many irons on the fire.
Looking forward to how this turns out.
I haven’t progressed on the Rufe much, HL is out of the resin and I’m waiting for them to restock.
Steve
I bought some more resin, mixed and poured the next layer. Once this is dry, I pour the last layer and form the waves….hopefully.
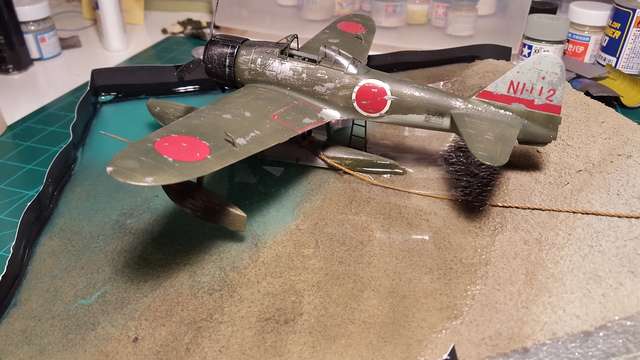
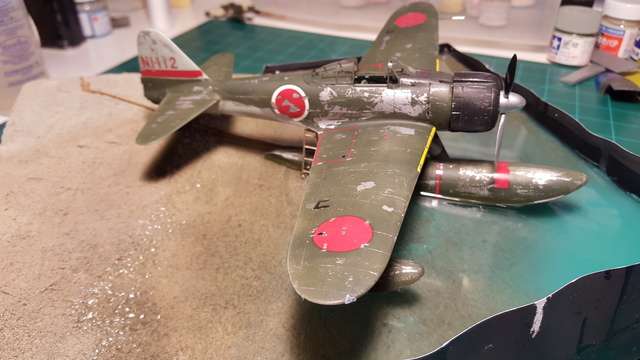
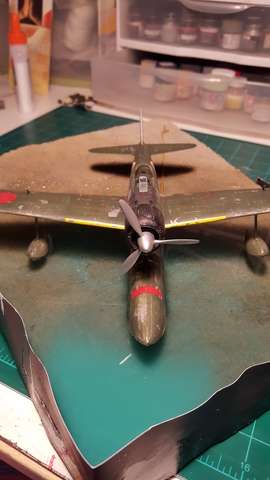
Steve
That is looking really good! I have an LCVP sitting on the shelf waiting for me to get around to putting together a coastline for a D-Day diorama, but I’ve been nervous about trying the resin.
Steve,
Your Dino look awesome! I really like how the beach base and water - very realistic looking. Thanks for posting this - the resin looks fairly easy to use. I can think of several dio ideas after seeing this.
Steve