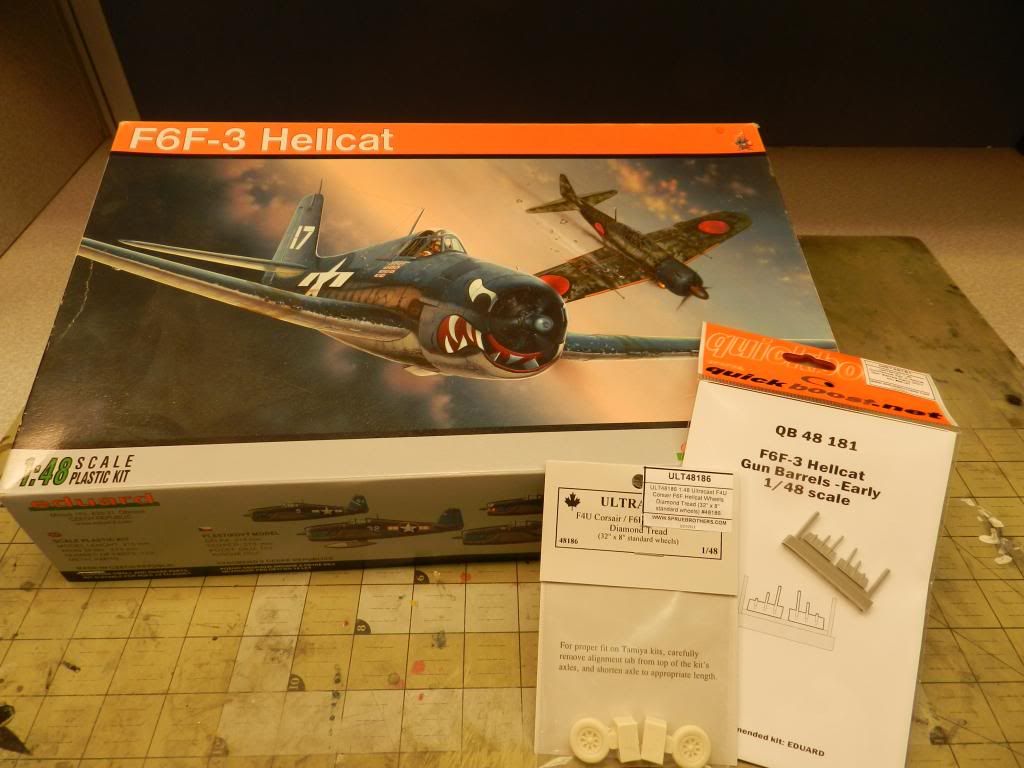
Hello, over the past year or so since I’ve signed up here, I’ve been getting alot of positive feedback on my WIP threads and its seems some of my techniques have been adopted and used with success by others. That said, I myself have picked up several things I’ve seen here (the Flory wash is the first to come to mind). To me, that’s what its all about…not the hokey pokey (sorry, couldn’t resist). I’ve decided to continue the trend with my 1/48 Eduard F6F3 Hellcat that I got off E-bay fairly cheap. I’ve been dying to tear into this thing for quite some time…what a nice kit. I decided to get Ultracast wheels and Quickboost gun barrels. I will probably replace the prop too which looks kind of lousy. I don’t know which plane I’m going to build yet. I may go with one of the options offered or look for Aftermarket.
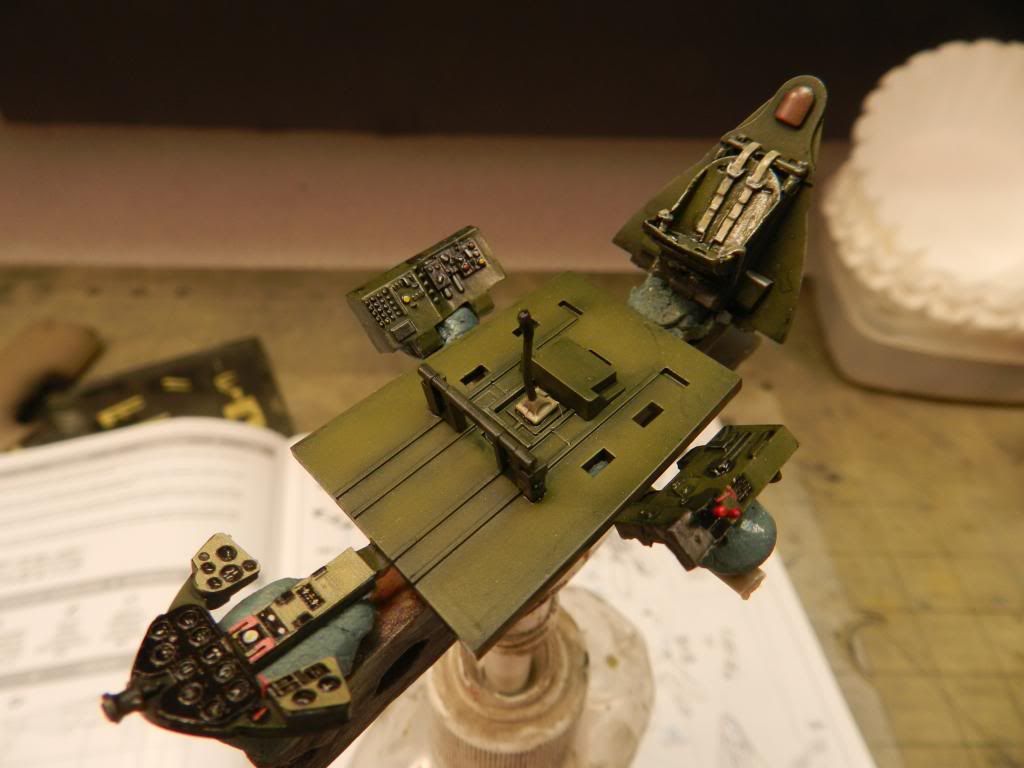
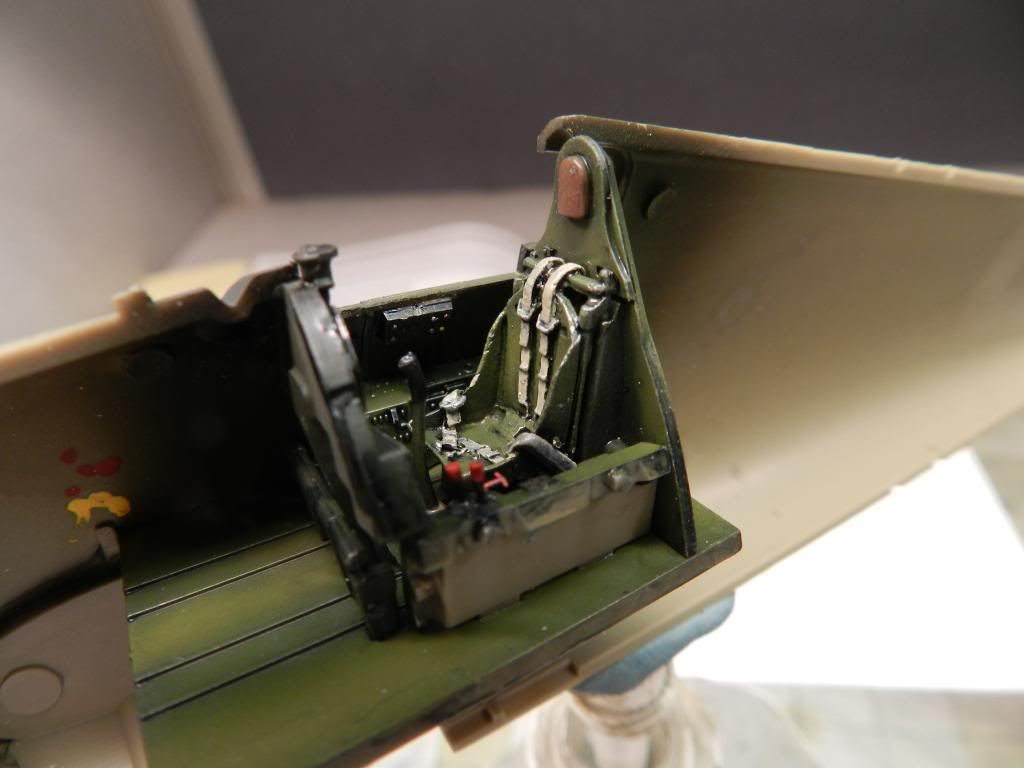
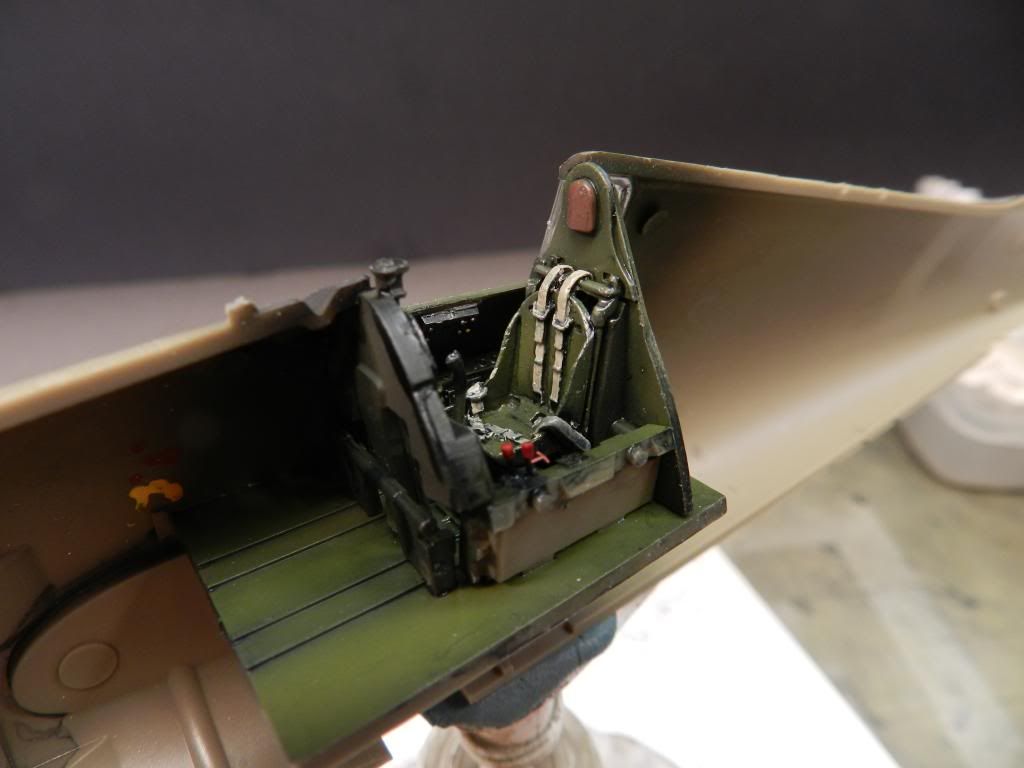
I started with cockpit. Its kind of basic and reminded me of the HobbyCraft P-40B I built years ago. Fortunately you get a PE fret to dress up the instrument panel. Truth be told, other than the seat, aftermarket resin on a Hellcat in this scale would be kind of a waste because it will be hard to see once closed up. I found a left over True Details seat left over from a Hasegawa 'Cat that I decide to use here. I will save the PE seatbelts for another project. I preshaded everything XF-1 Flat black then feathered in Gunze Interior green. I’m starting to like Gunze. Their colors seem to be dead on. Blackmarket here I come…lol. I then hand painted the boxes and such in XF-69 NATO Black which then got a Floquil Old silver dry brushing. I added a couple of throttle handles with styrene rod to spruce it up a bit . The PE instrument panel was then assembled. It looks decent but Eduard’s interior green is way off. This seems to be common with them but at least it will break up the monotony of an otherwise spartan pit. Here it is after a Testors gloss coat and “The Detailer” wash.
I had a mishap with my Testor’s dullcote. I normally thin it with lacquer thinner but I ran out so I decided to substitute it with Mineral Spirits. Don’t do this. It didn’t mix and left white dusty specs everywhere. Fortunately I was able to somewhat fix it with a slight blast of Future. I decided to leave well enough alone.
Good thing I read the insructions since I almost forgot to add the “opera” windows (did the same guy at Grumman who designed this later design the Oldsmobile Cutlass…just a thought?). I just used Elmer’s glue for these. Hopefully it holds. I may go back and reinforce these so they don’t fall in later.
I’m about to start the R-2800 mill. I’m going to forego the inculded PE wiring harness and build my own. Thanks for looking and stay tuned.
Coming along nicely so far, Lawdog. I find Eduard’s colors are usually quite ‘off’ when compared with paint offerings. Doing a FW 190, I found their ‘RLM 66’ very blue. I guess we can’t really complain when using pre painted parts, and generally once the gauge boards are sandwiched in and naturally shadowed I find the color difference isn’t glaring.
I’ve also recently learned about Flory washes. I’m still playing with artists oils, but nice to know there’s such a simple solution out there. Not using acrylic clear coats?
Your’re doing great work to another great kit Joe. Yeah I wish eduard would leave the PE color alone. I much prefere Aires pe stuff, I can just paint and weather it the way I like. Who makes an AM prop for the hellcat?
Thanks guys. Andrew, Agreed, the detail on the instruments is enough to let the colors slide. Reference clear coating, I used to use Furture for my clear coating needs up until they changed the formula. Sorry, try as you may to convince me its the same old formula, but the stuff just doesn’t cure anymore. Now I use Testor’s gloss which dries much faster…like a hour or so. I can almost complete a cockpit from sprue cutting to final clear coat in one evening. I use Alclad gloss coat before decaling.
Nathan, indeed it appears nobody makes an AM prop for the Hellcat. I was hoping Ultracast did. I think the Corsair utilized the same prop and I cant find one of those either. Oh well, guess I’ll have to make due or rob my Tamiya Corsair kit for one.
…and Jester…“Lawdog Treatment”…surely you jest? I’m hardly good enough to warrant my own catch phrase…LOL. Thanks for the compliments though.
Nathan, its funny you mentioned the Jug prop. I actually thought of that and considered raiding my Tamiya P-47 stockpile until I realized the Hellcat was a three blader. I wonder how much faster it would have been with an extra blade like the Jug? Same with the Corsair.
Thanks Gary. I found an Ultracast HS Prop at Sprue Brothers. I missed it somehow the first time I looked. These guys are incredible and it will probably on my doorstep tomorrow. Impressive customer service there.
On the clearcoat, Lawdog, it was just curiosity. I agree about Future, just doesn’t work the same anymore. I’ve swung over to acrylic clear coats, and that’s why I ask. Flory washes should still work with the acrylics, no? I only ask as I want to make sure I have my technique good still. I know the oils play well over top the acrylics.
Ultracast is a very nice outfit to deal with, just about bending over backwards to help.
I seem to remember seeing a picture of an Experimental F6F with 4 bladed Hamilton Standard prop. May have had the split case R-2800 as used in the P-47M and Bearcat. That would be a neat simple conversion.
I just bought the Ultracast HS props for the Italeri F7F-3N Tigercat and they look really good. A question for you on the clear coat. I’m almost out of Future and have been looking for a replacement. Is the Testors clear coat their clear laquor? Thanks!
Thank for the compliments guys. I just finished rigging the mill and will post some pics once my camera charges. Andrew (and this should answer Steve’s question too), I use Alclad Clear Gloss Coat which I believe is mineral spirt based (smells just like it), so I have no idea if the Flory will work on your acrylic. I dont see why not. Steve, I think your refering to Testor’s Gloss Coat. I use it to seal my cockpits for a wash and cut it withe lacquer thinner. The upside is it dried very quick. The downside is it smells awful.
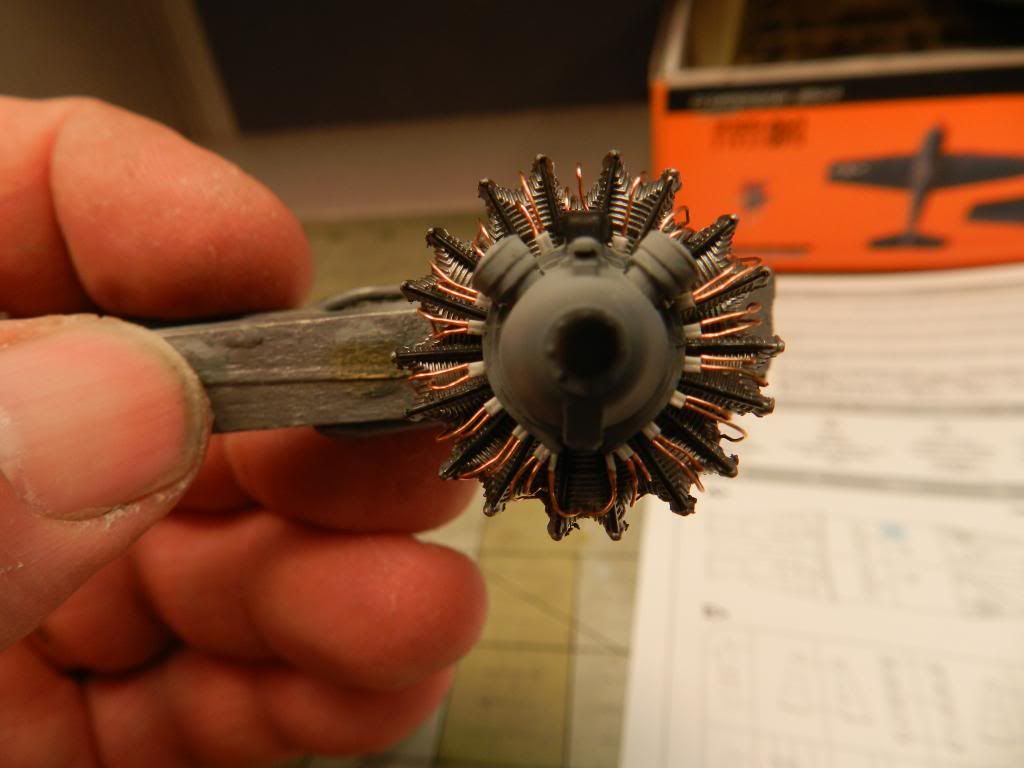
In for an update. I have completed the PW R-2800 and began assembly of the fuselage. The engine was sprayed Alclad Dark Aluminum and the propeller gear box XF-53 Neutral Grey. Like I’ve said, I would rather rig my own ignition harness instead of using PE. Its tedious work but worth it to me, especially on planes where this area is so visible. I just don’t find PE harnesses all that convincing because in actuality, they’re trying to make something that’s flat appear round. My method consists of styrene rod and stereo fuse wire. Rather that rehash my method, allow me to direct you to a tutorial I posted last year which explains step by step how I achieve it:
Heres how it turned out. This took a shade over an hour:
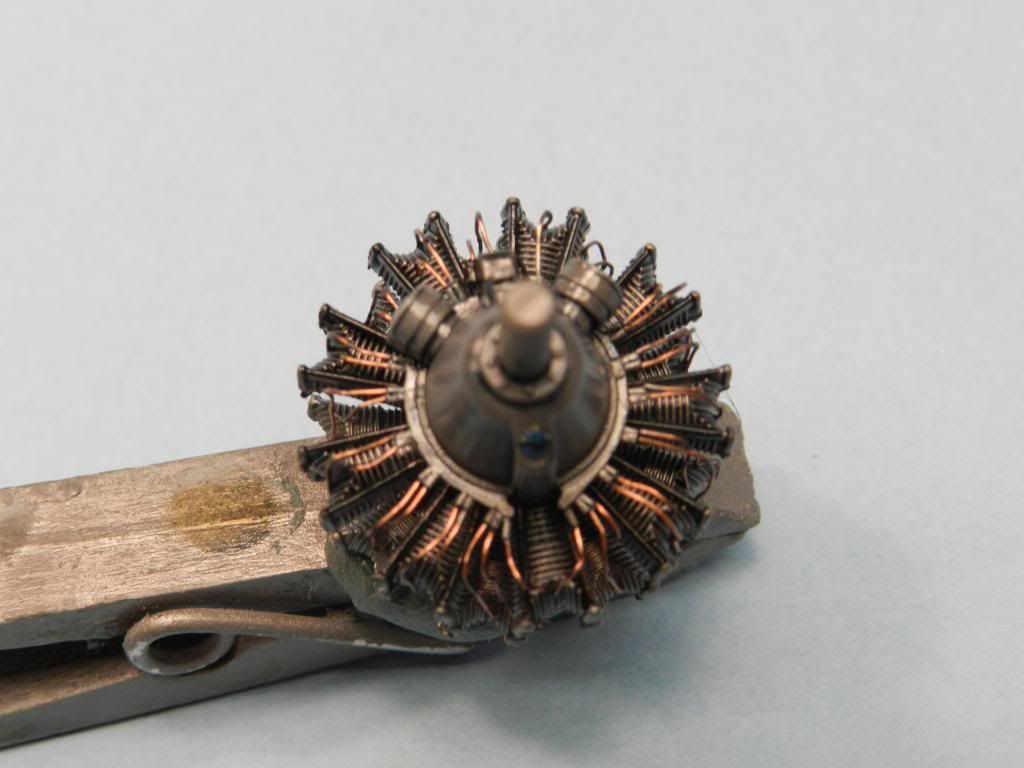
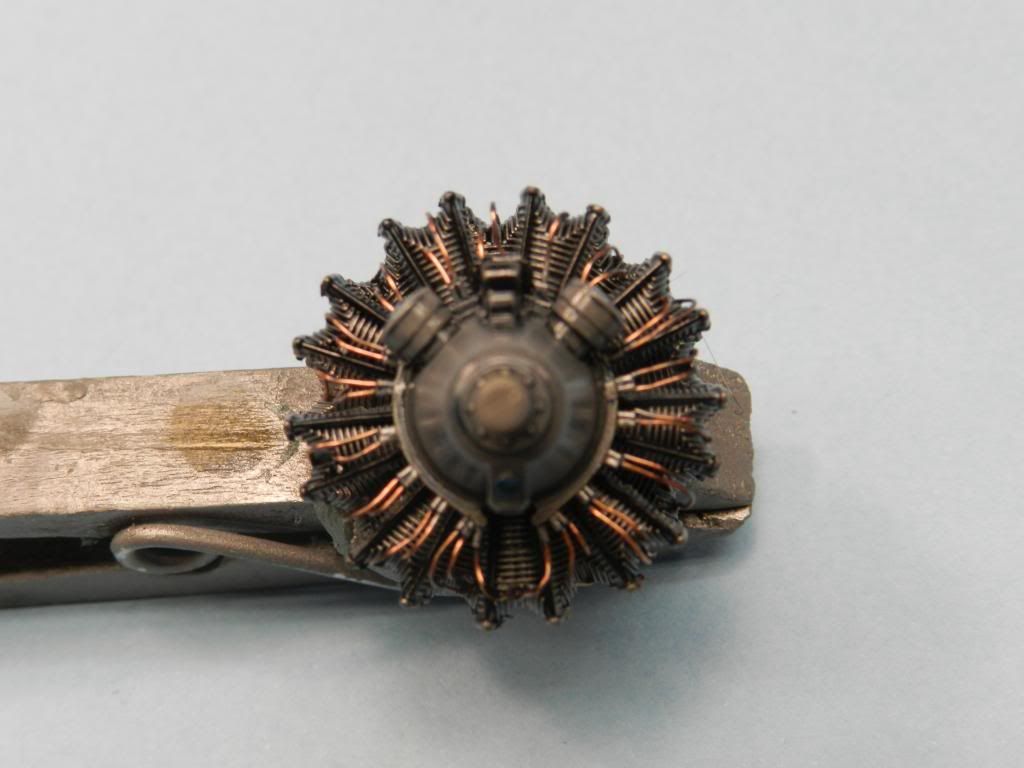
After a Testor’s Gloss Coat, “The Detailer” black wash and blast of Tamiya Smoke X-19, Here’s the finished product. I don’t normally dullcoat it because I like the oily sheen the Smoke leaves.
See…it looks much more convincing that PE.
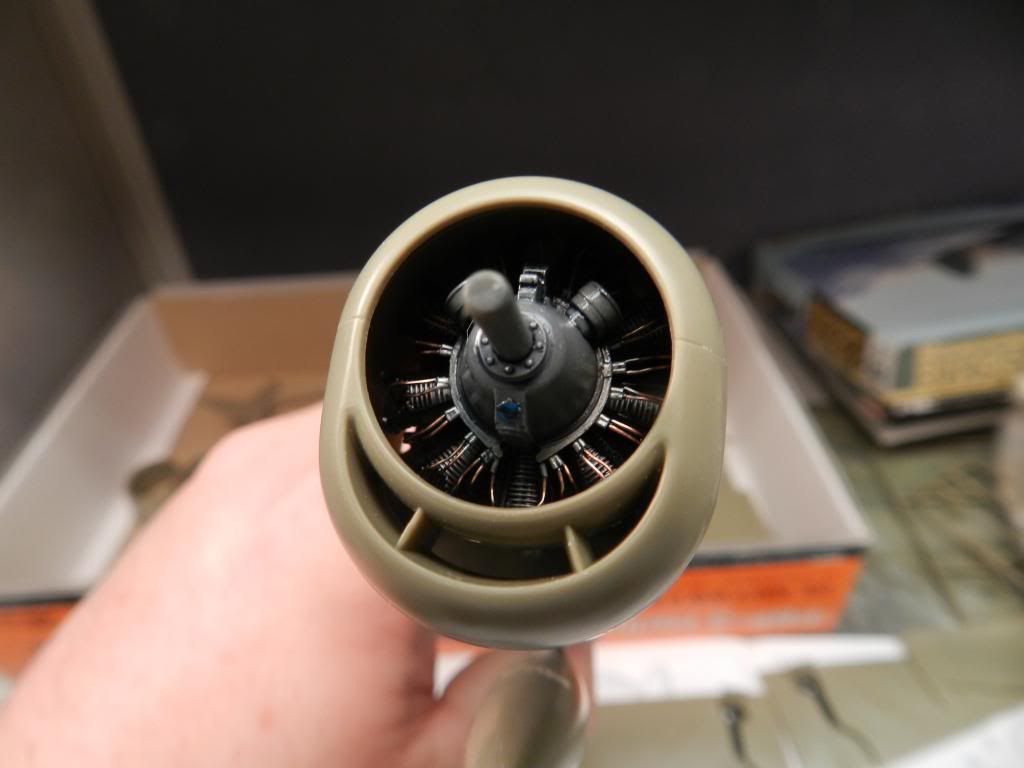
I joined the fuselage and assembled the cowls…yes cowls. I built all three of them because I’m not sure which F3 varient I’m going to build. I also assembled the drop tank. The fit on everything so far has been good. I particularly like the ridged panels on the top of the fuselage, almost if they were going to overlap each other. It was kind of a pain for sanding the seam but still a nice touch. I assume the real Hellcat was done this way. I will be starting on the wings and such soon. Here’s the fuselage with the engine and cowl tacked in place. The fit looks good so far.
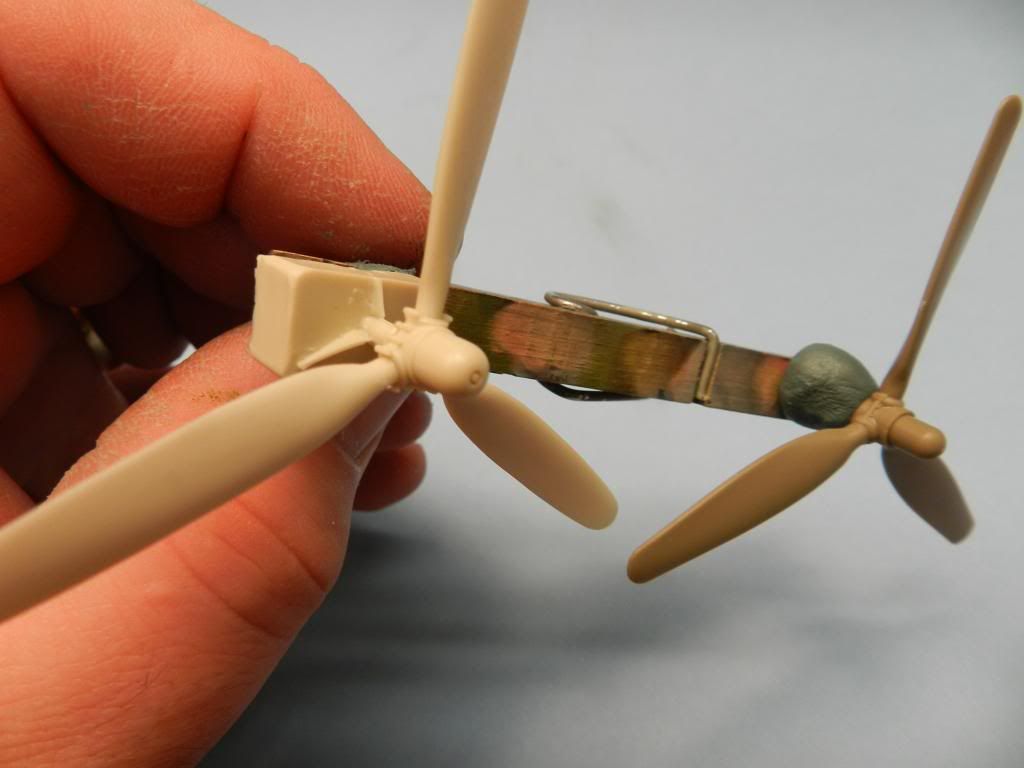
My Ultracast Prop arrived yesterday and it was assembled with Gorilla glue. As you can see when compared with the kit part (the olive colored one on the right), they aren’t even in the same league. To me this was worth the $11.00 since it is so prominent on the front of the plane. I can’t wait to paint and detail this guy.
Nice Joe! Your engines always turn out superb! Can’t believe the difference in that prop, so much more detail than the kit version. I pulled my Cat out after seeing this build log and drooled over the sprue…some more, and was surprised at how bulky this a/c actually was.
Beautimous, Joe! What a great start on the Hellcat. And aren’t those Ultra-Cast props sharp? Got one for the P-47 I’m building, and it’s makes all the difference (well, considering it was a Monogram prop, that’s not saying much).
I hope I can find one of these at the upcoming model show.