Now this is some amazing work and a brilliant idea. Will be sure to keep an eye on this.
UPDATE 14
Thanks Bish!
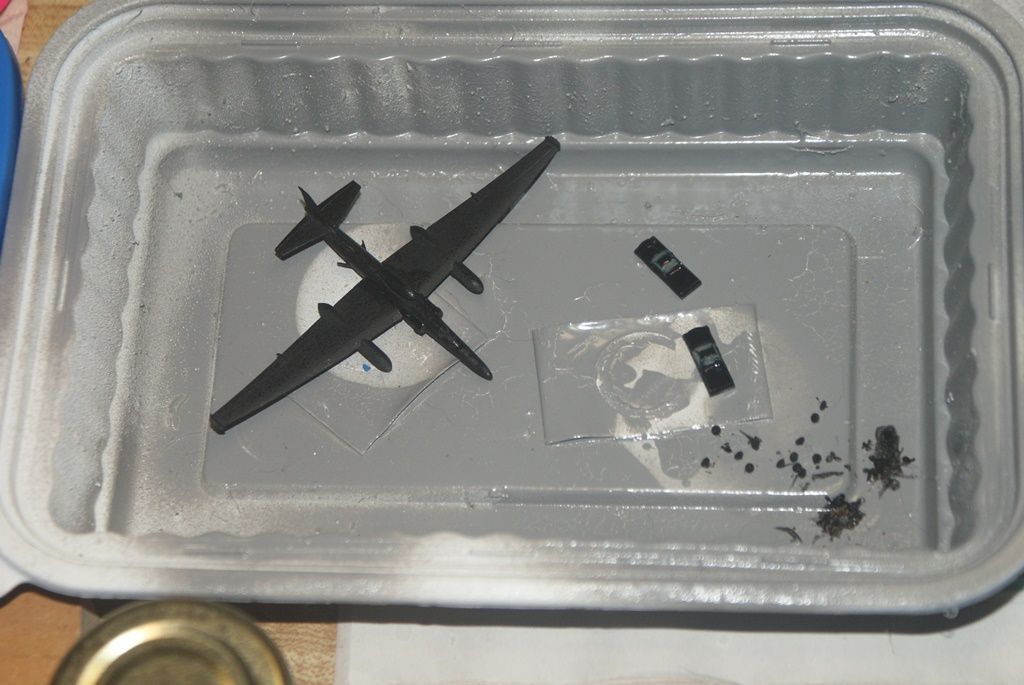
I’ve made a start on another “scene” of the dio. I partially assembled the U-2R and first sprayed a coat of Future on it followed by a coat of Rust-Oleum flat black. Next, I will sand it and give it another coat. I also brushed on 2 coats of Modelmaster’s “Ensign Blue” enamel on the chase El Caminos, and a coat of Testor’s gloss black enamel on their wheels. The El Caminos are TINY! Putting the wheels on is going to be a challenge.

Hi again everybody!
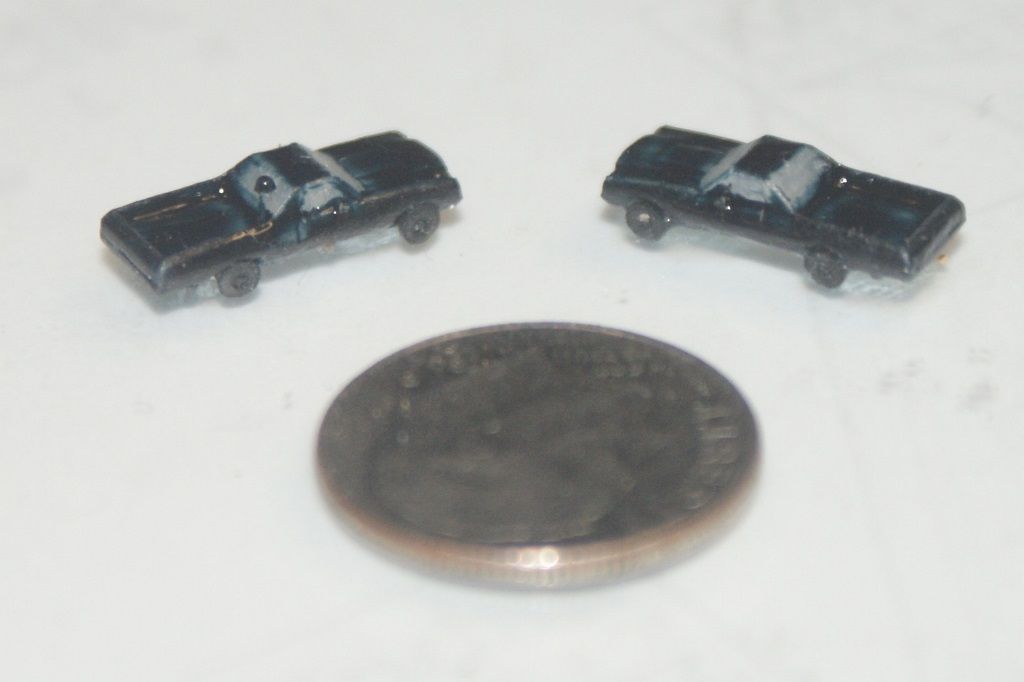
I had some time to kill this afternoon, so I put the wheels on the El Caminos. It went way smoother than I thought it would. I only lost one. Fortunately I had several spares. You might notice that the alert beacon in the back of one of them is missing. It printed OK, but I think I knocked it off when I unpacked it. I still have it, but I think it would be near impossible to get it back on. I guess we’ll see.


Greetings All!
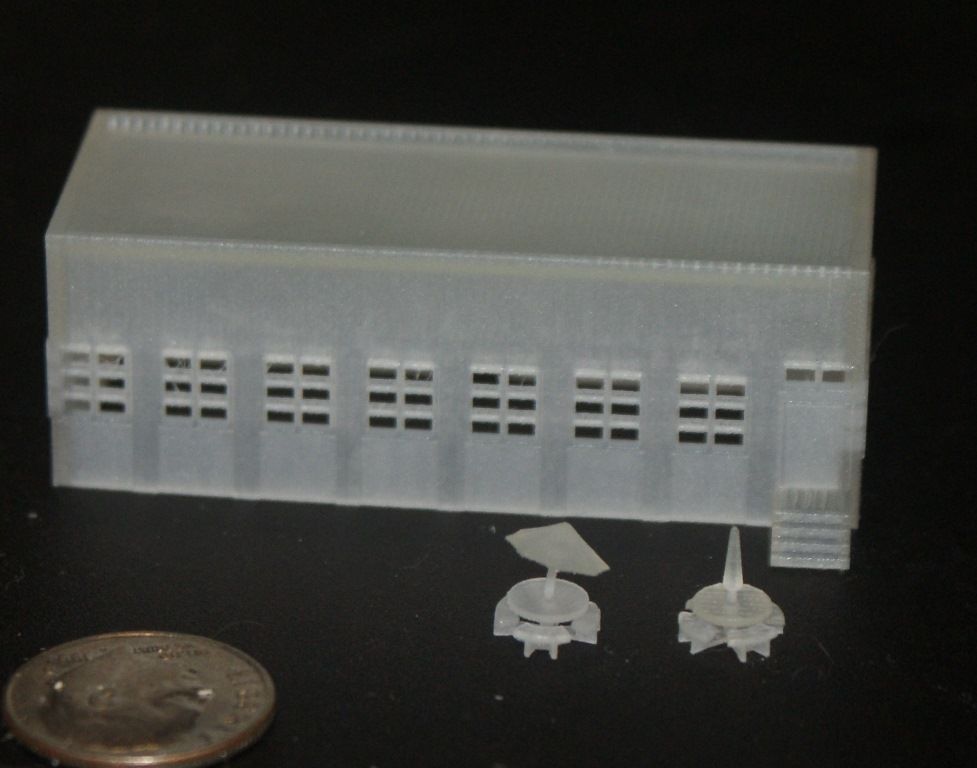
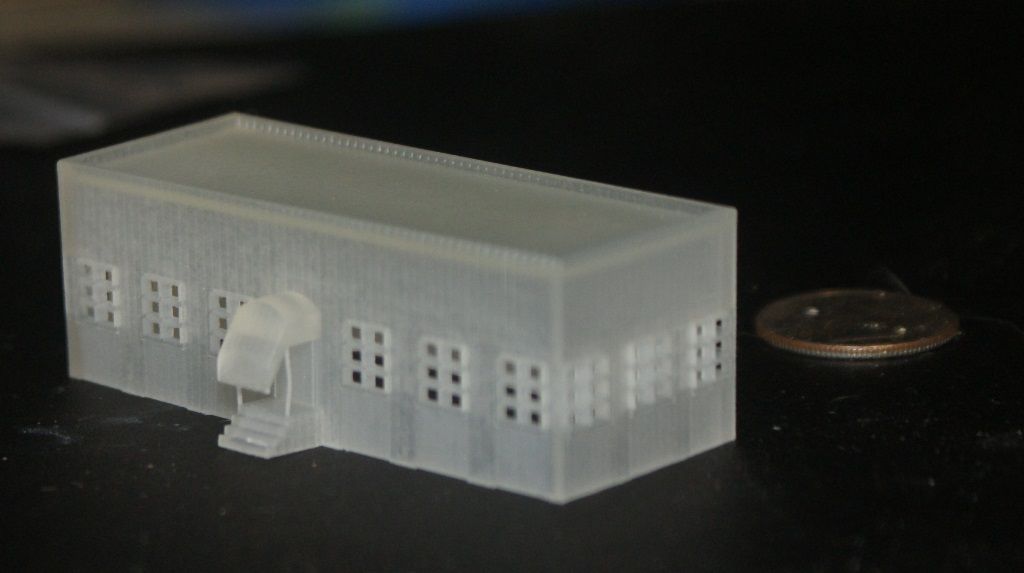
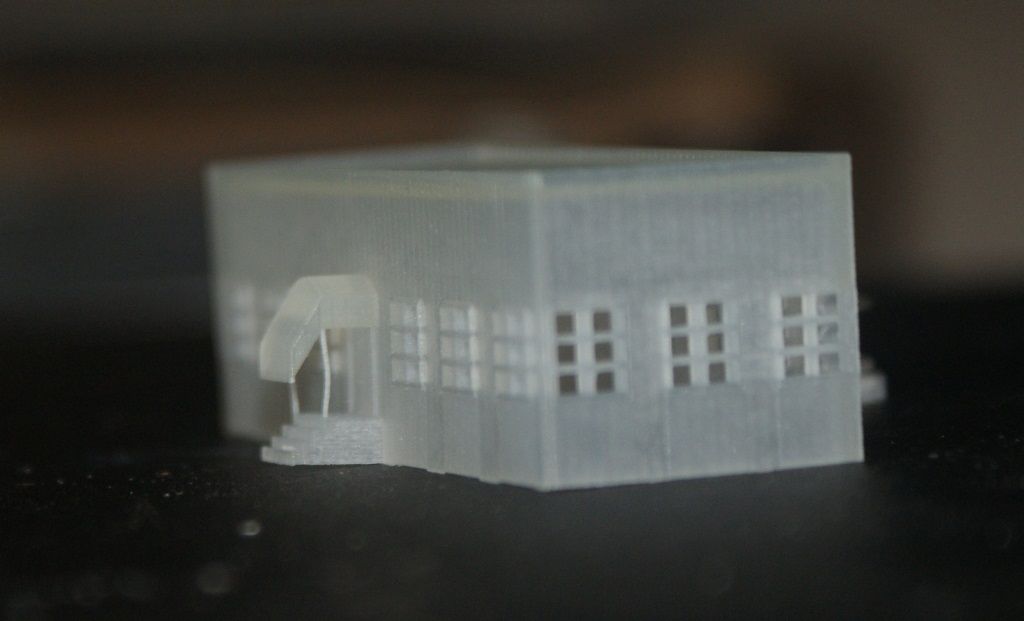
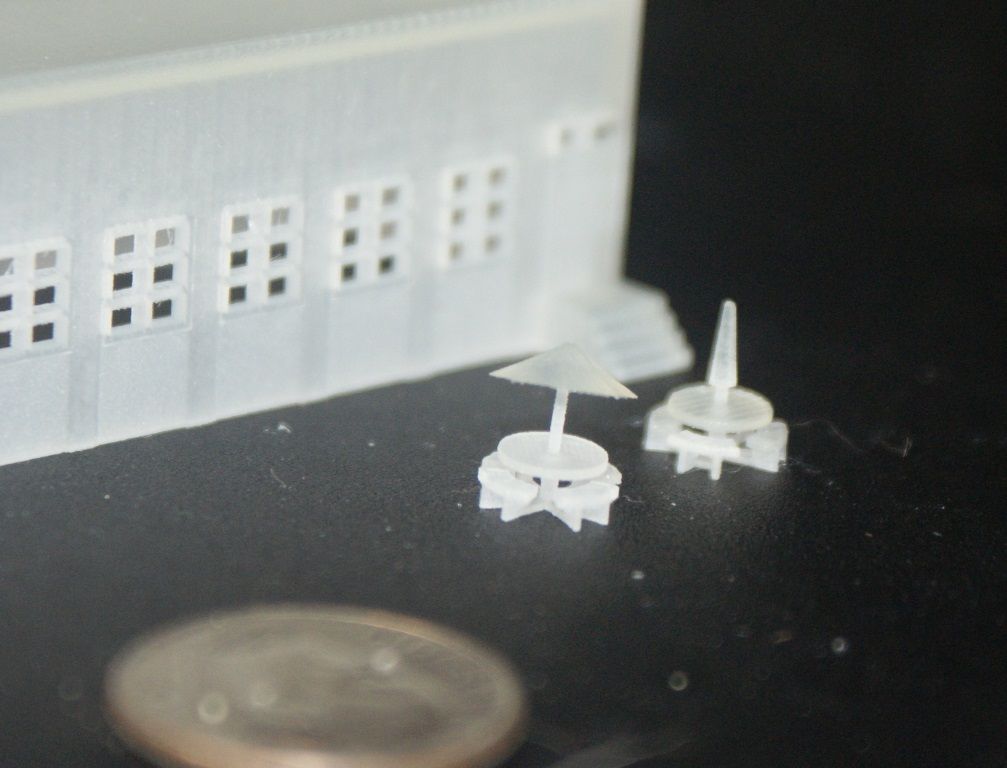
It has been a while since my last update, but I haven’t had anything to report, as I have been waiting to get the office building/circuit board holder printed. It’s a long story, but I finally had C2D print it, along with some tables (with umbrellas) I made. For the most part, I’m pretty happy with the way everything turned out. The only real issue I had was that the supports for the front door awning. The outer most ones are gone and the inner ones are warped. I should have over sized them more and used a larger diameter, but I can easily use styrene or brass rods to replace them.

The circuit board fits perfectly,…
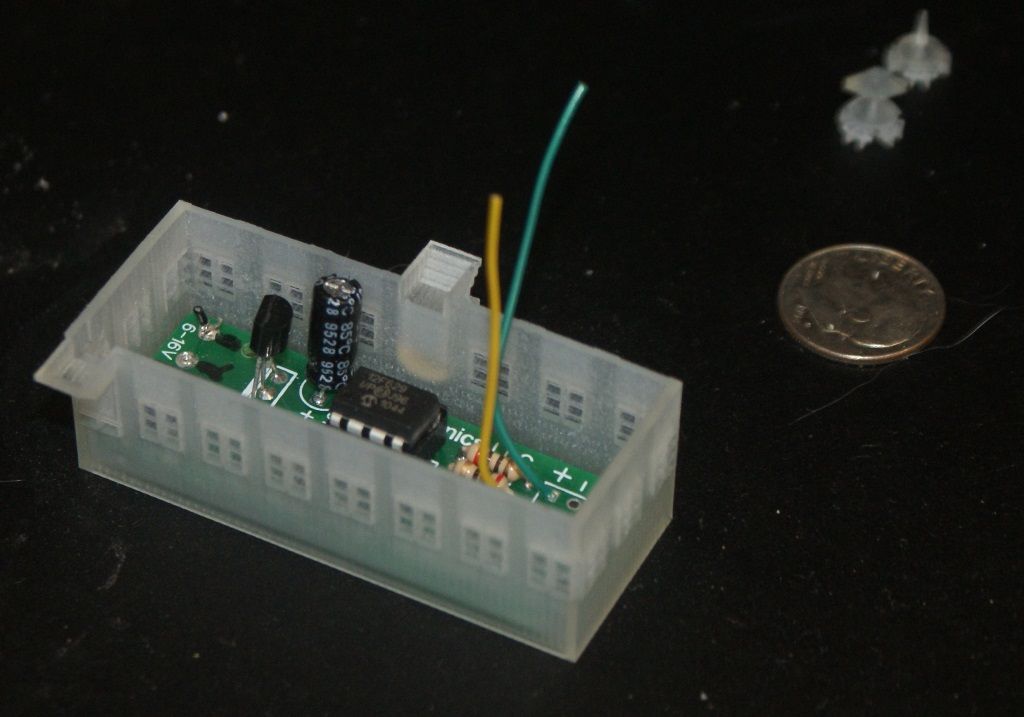
…So now it’s time to drill out the base board and do the wiring for the beacon light.
Hi again guys,
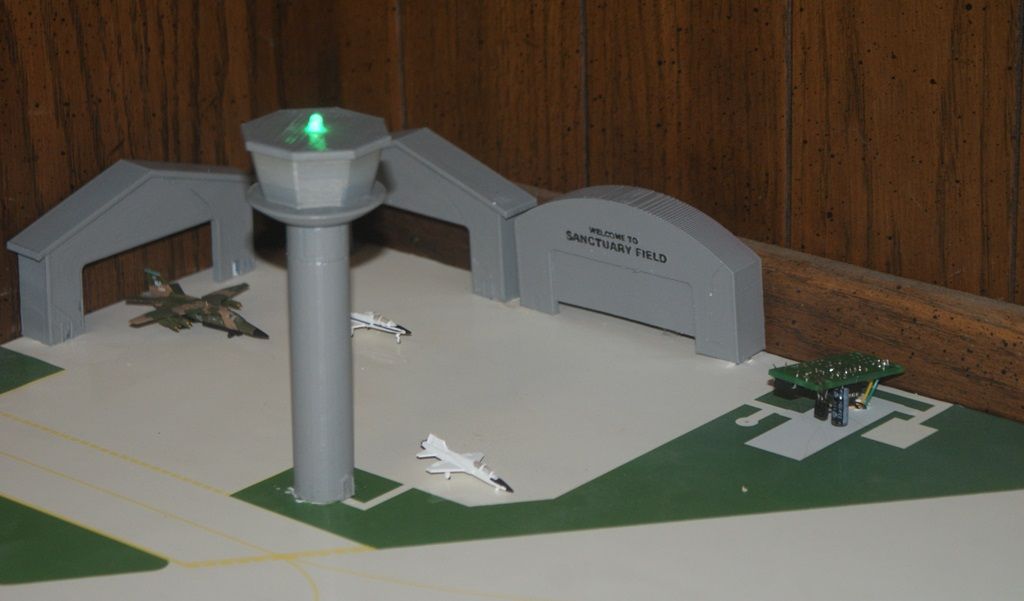
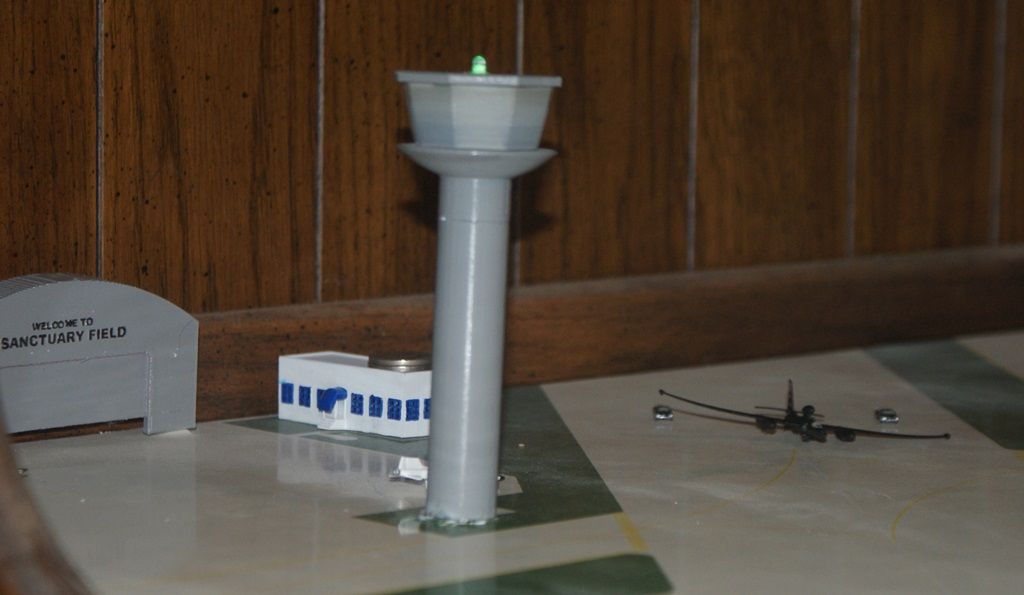
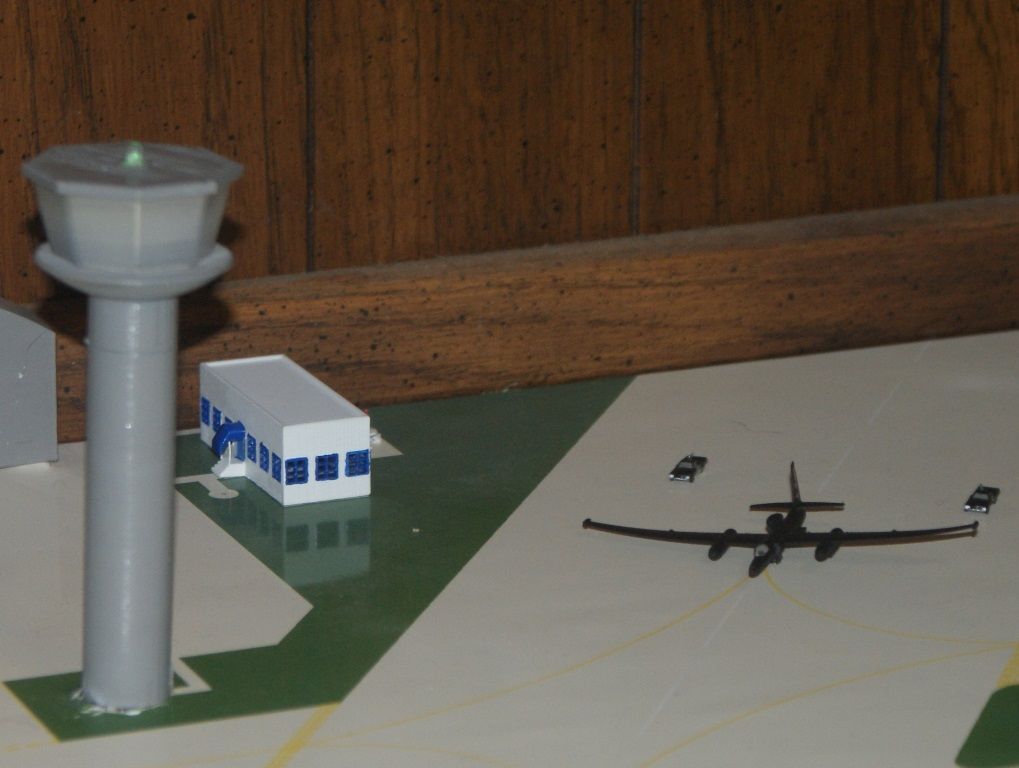
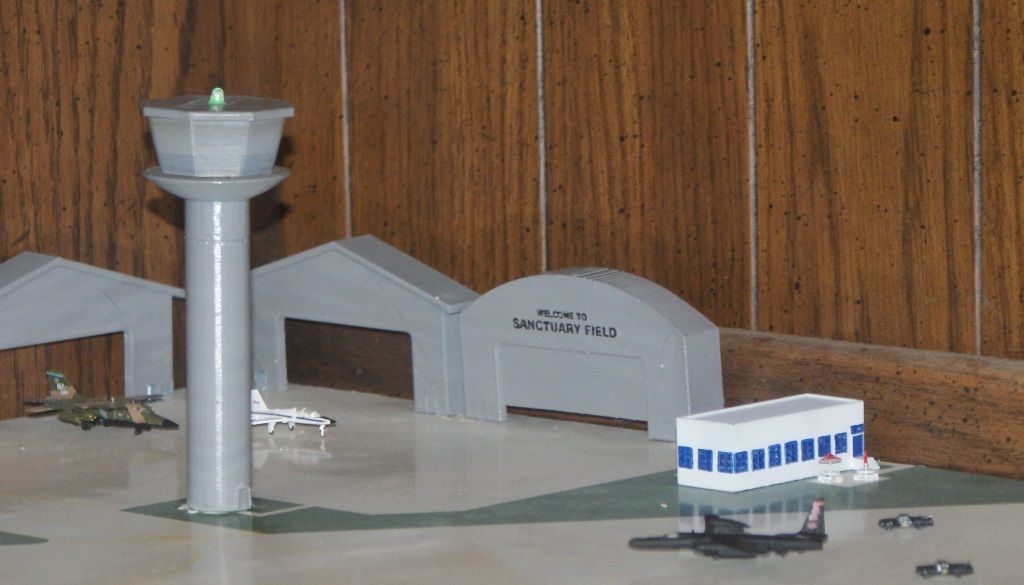
I drilled the necessary holes and did the wiring for the beacon light. I did it wrong the first time and had to redo it, but it’s working good now, as you can see below. I also glued the hangars and tower in place, adding posts to the hangars in the form of ¼” styrene tubing, which went in holes drilled in the base. The office building is just sitting there and I’ll start the painting process on it tomorrow.
http://vid1352.photobucket.com/albums/q659/rdutnell/350 Scale Diorama/350scale Dio-FS017-01_zps4f8jskmz.mp
UPDATE 18 – 2/1/2015
Hi All,
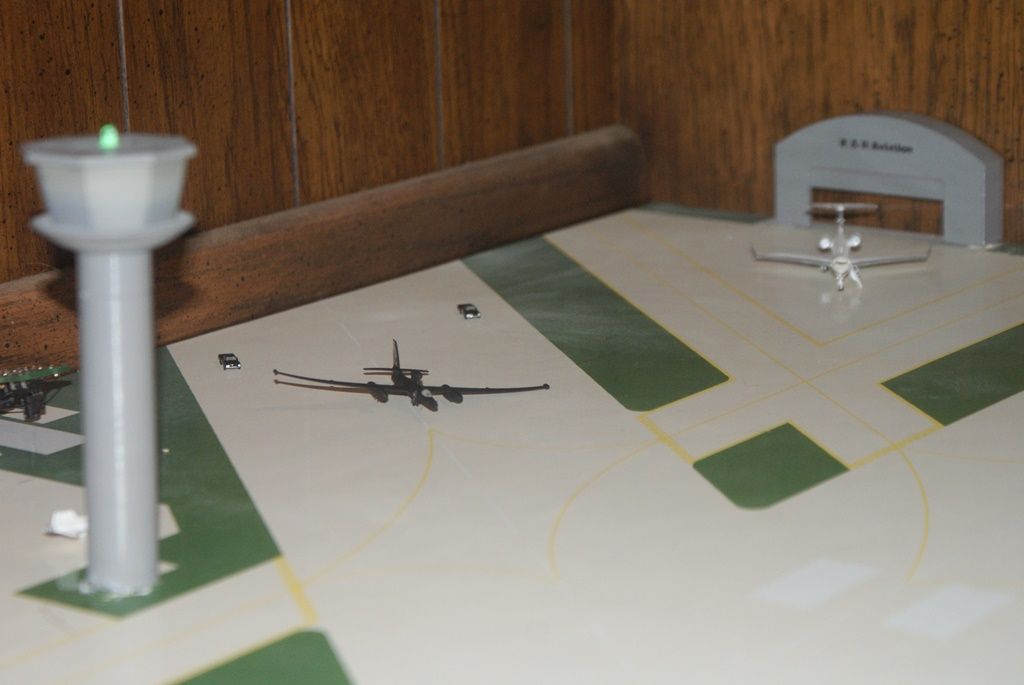
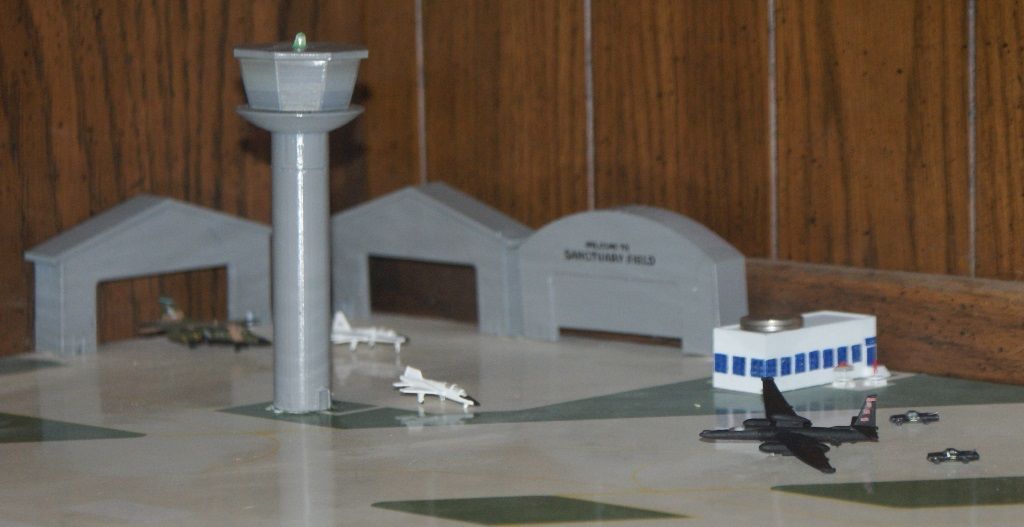
I glued the G-IV in position on the dio, as seen in the following two images. I don’t plan on gluing planes on, unless I have to. The G-IV was back heavy, and wouldn’t lay flat. I’ll have to glue the U-2 on, since I am displaying it on the runway after landing. They didn’t have wing gear, and I doubt it will stand up by itself. And of course, I’m going to have to glue the F-111TACT and one of the T-38’s on, since they will be at least partially in-flight.
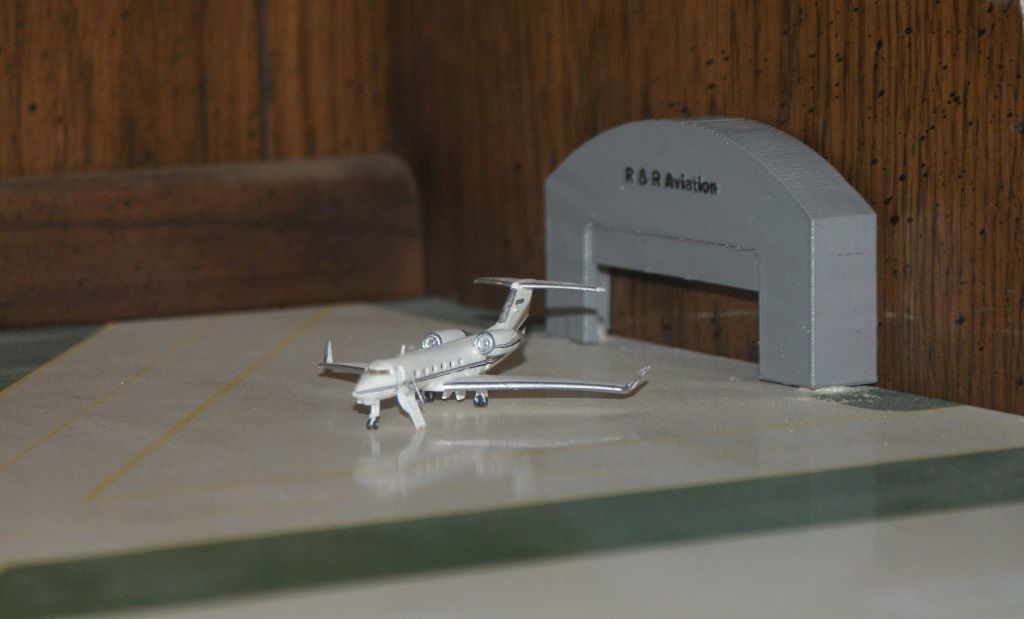
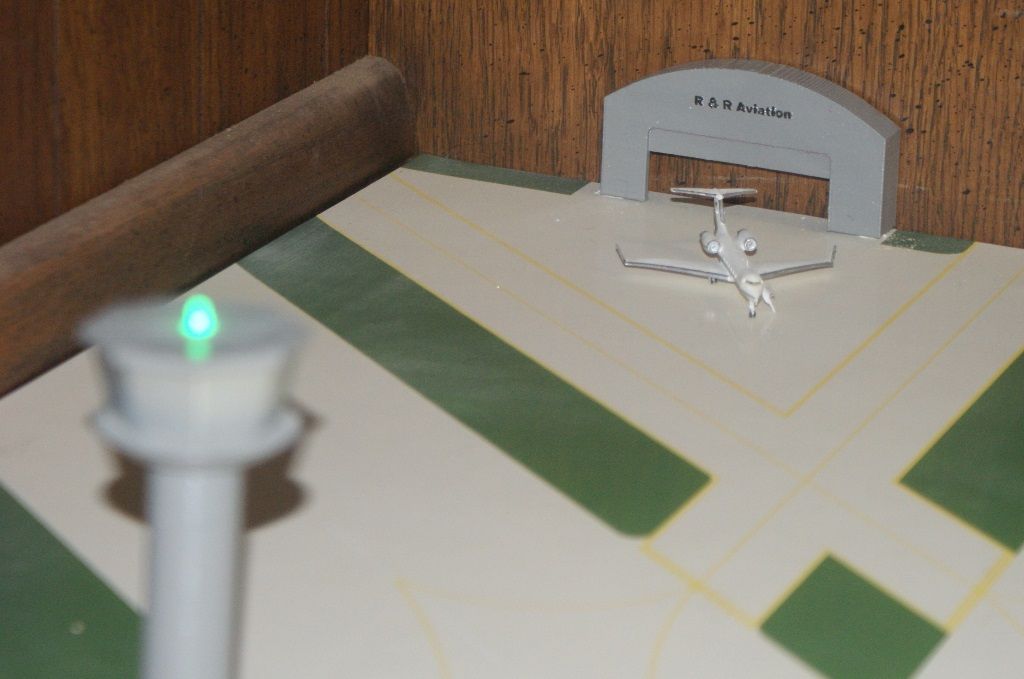
After taking the pictures, I realized that I should probably dull coat the base, because even though it’s kind of cool to see the slight reflection of the model on the ground, it’s not very realistic. I used only a small dab of superglue to attach it, so I can always take it off if I decide to do it.
I gave the office building and tables a Future dunk and am waiting for them to dry so I can prime and paint them. The image bellow shows the circuit board without the office building covering it. It is upside down because I had already designed the office building to house it based on the dimensions on the internet, and there wasn’t room for the wires. The board is so light though, that it is support by the wires connecting it to the light.
Hey ! That’s neat
.I liked your G-1V . Are you gonna do a Falcon 10 or 20 in natural metal ? Ya know for when I landed at Sanctuary field ta get gas ? L.O.L. I flew unmarked ( temp markings . ) Falcons from Orly to the States for Falcon of North America many yearens ago. The only thing finished inside was the ferry cockpit .
UPDATE 19 – 2/3/2015
Thanks tankerbuilder!
I hadn’t thought about doing a Falcon, but it isn’t out of the question.
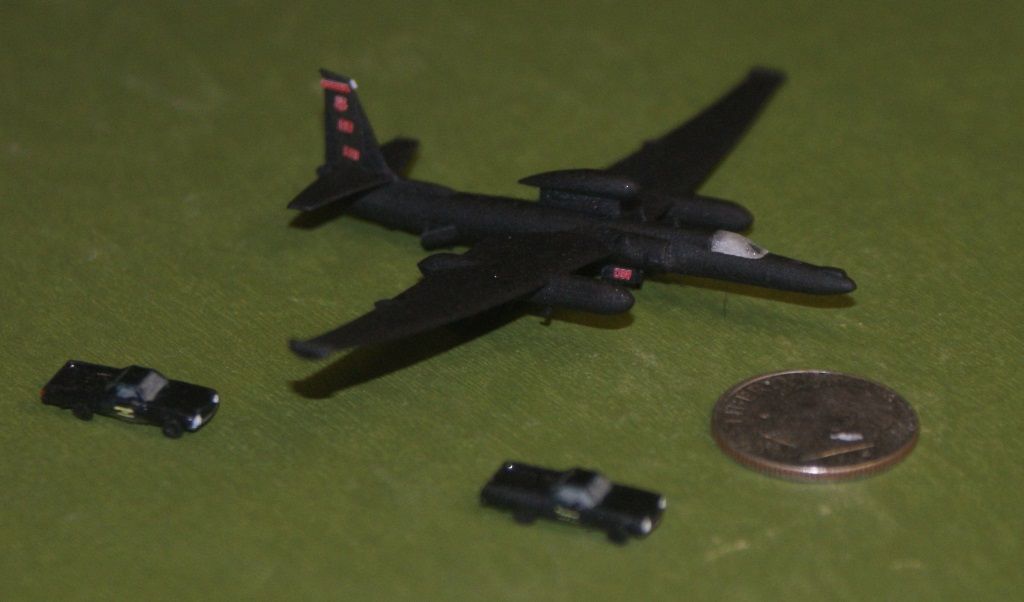
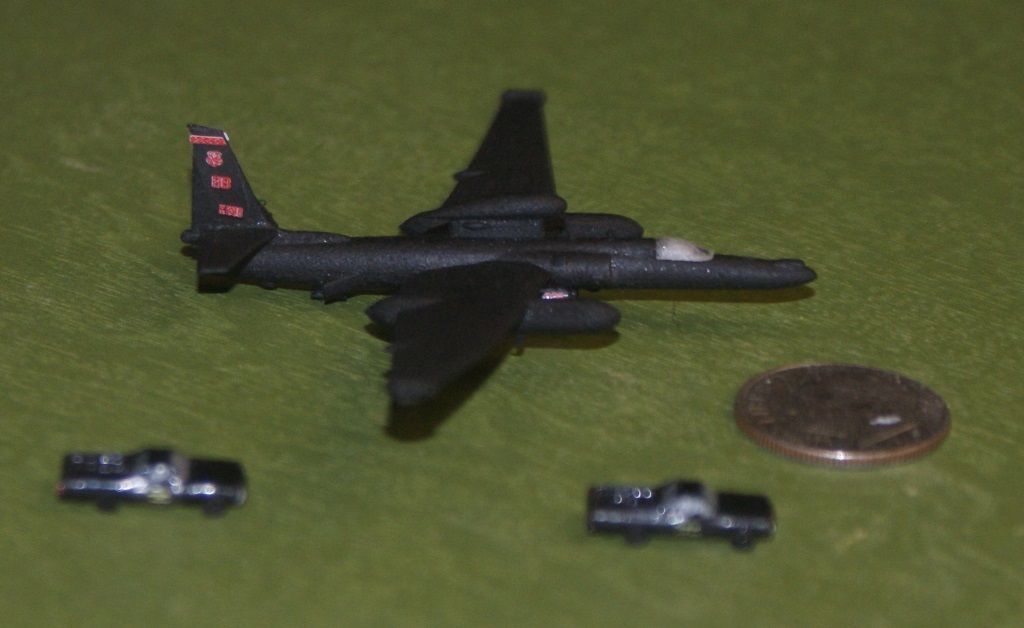
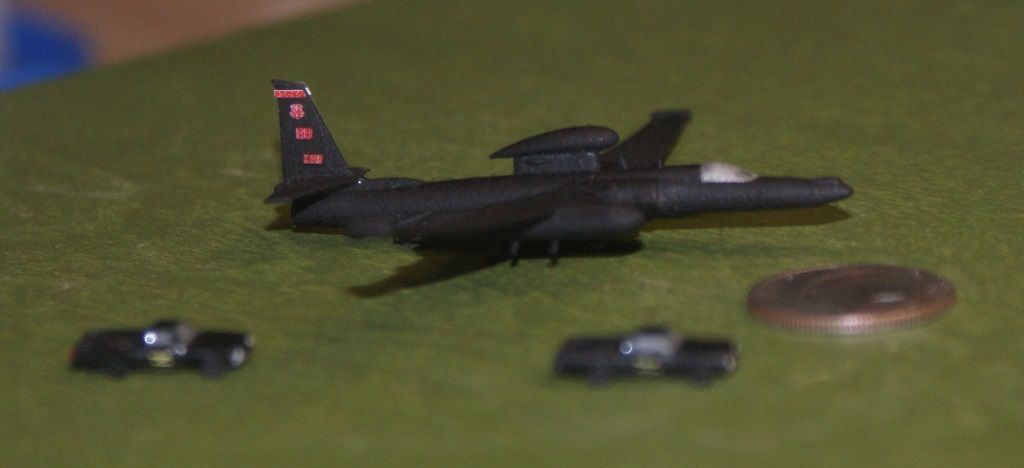
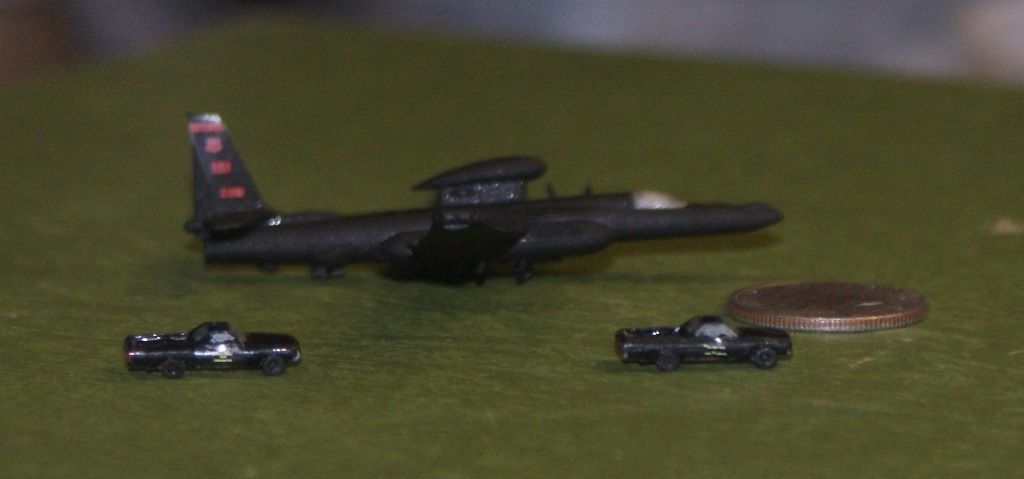
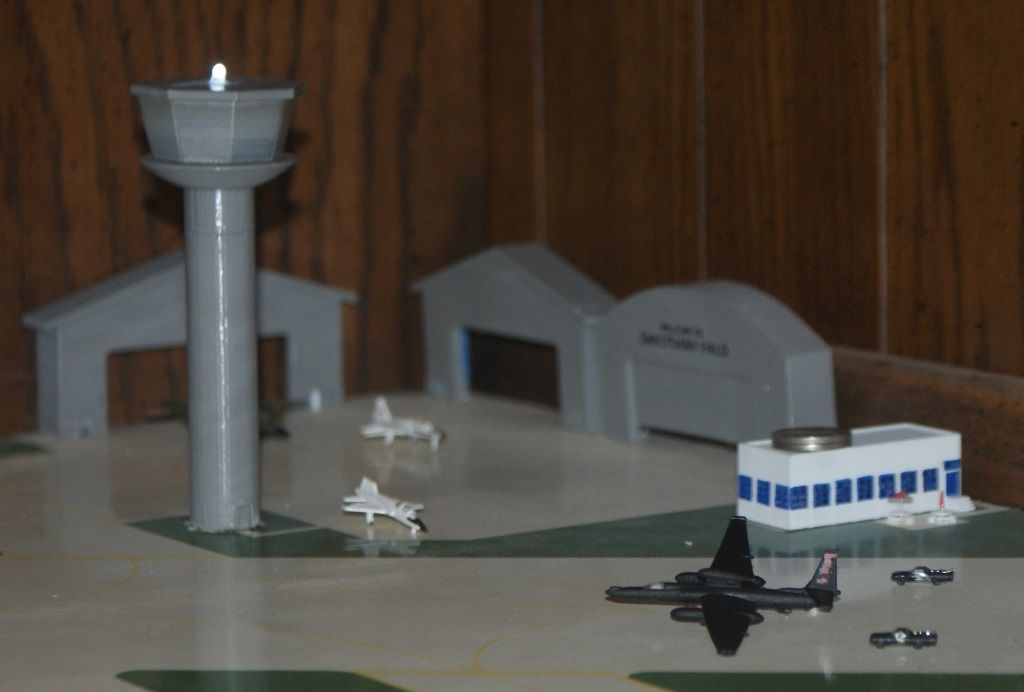
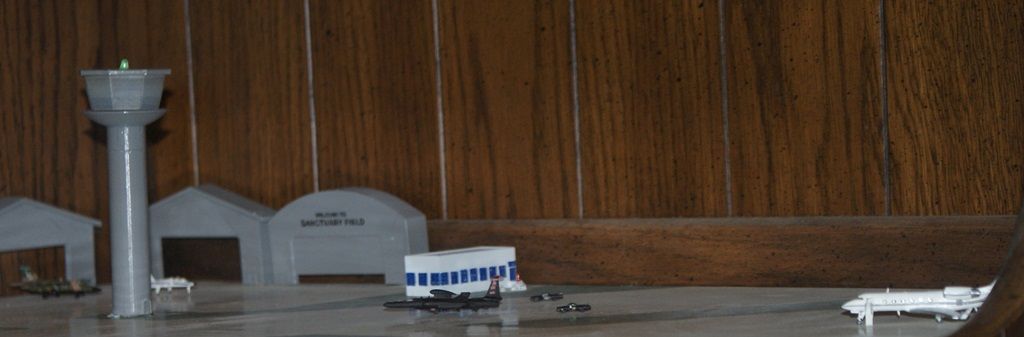
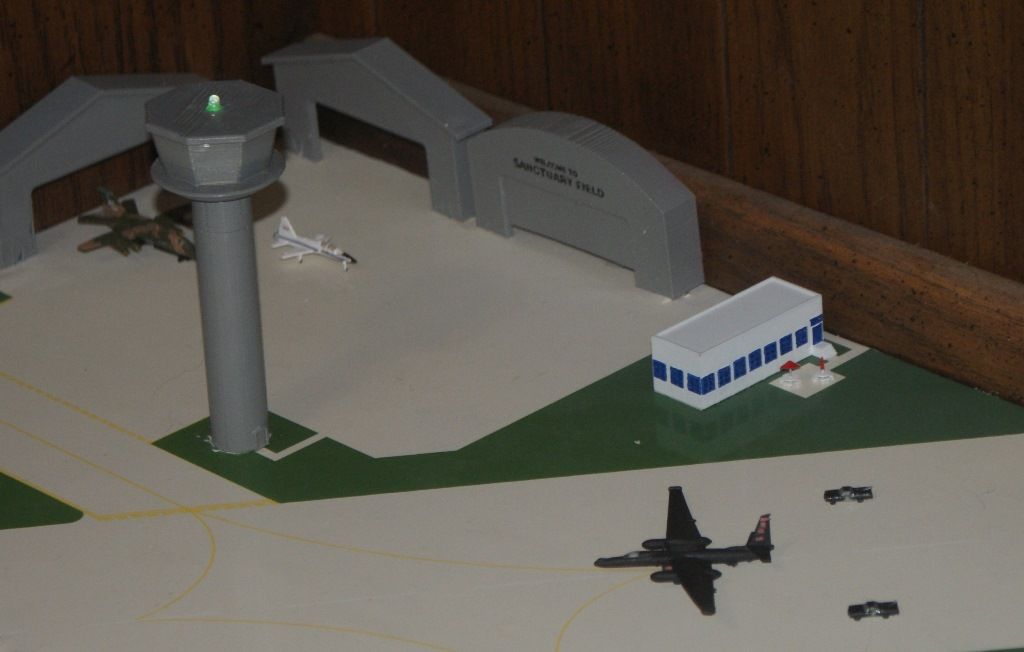
With the tower wired and working, it was time to start building some of my models for the dio. I completed the U-2 and the El Caminos, although in the process of taking these pictures I realized that the tail decals separated from the surface in places, so I redid I, but I’m going to redo it again, because it has been recommended that I spray a coat of glosscoat, or even future on it, before applying the decals, followed by a coat of dullcoat.
The last picture shows the models in their spots on the dio. I was initially going to display the U-2 still beating it down the runway and the El Caminos in hot pursuit, but when I put it in position, I started thinking that it may be better to have it as if it just came to a stop and toppled to one , with the El Caminos close in. This will prevent me from having to glue it in place, which, at least for the time being, I would like to avoid doing as much as possible. If I ever get around to putting people on it, I could have airmen putting the pogos in place.


UPDATE 20
Hi Again Everybody!
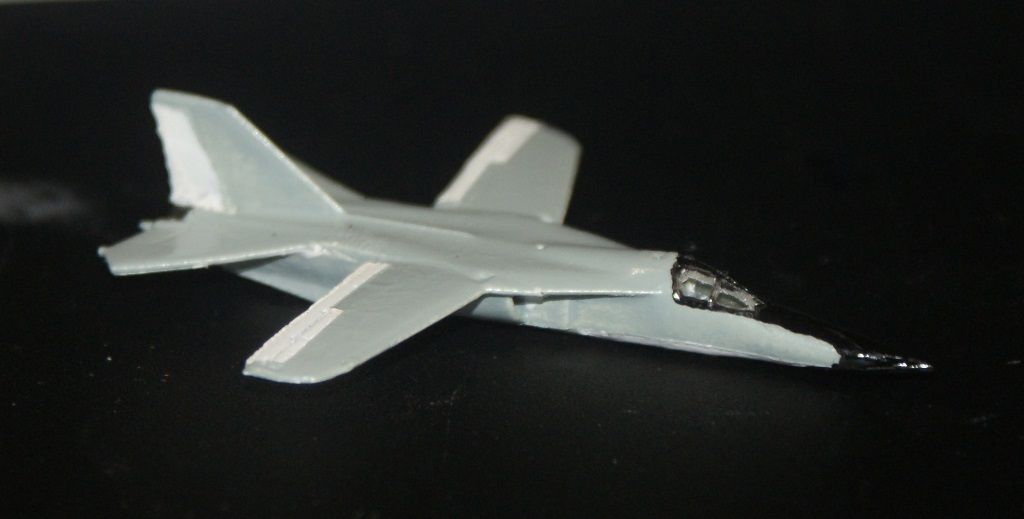
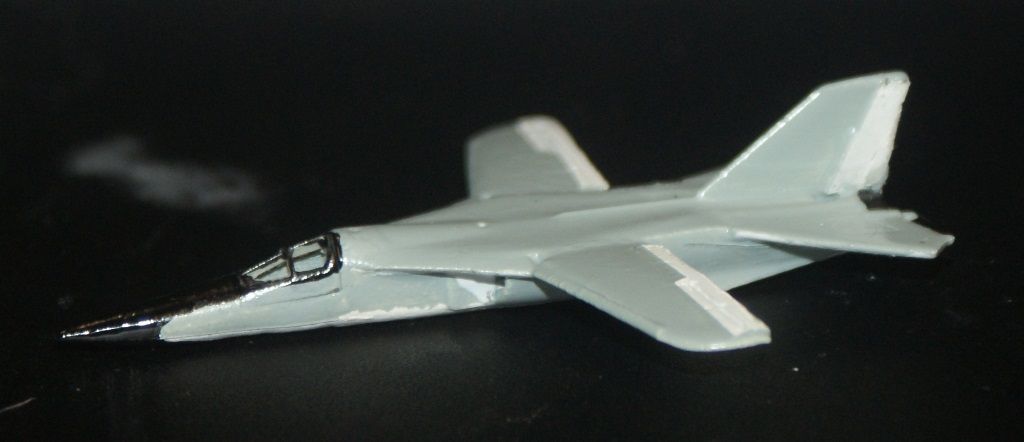
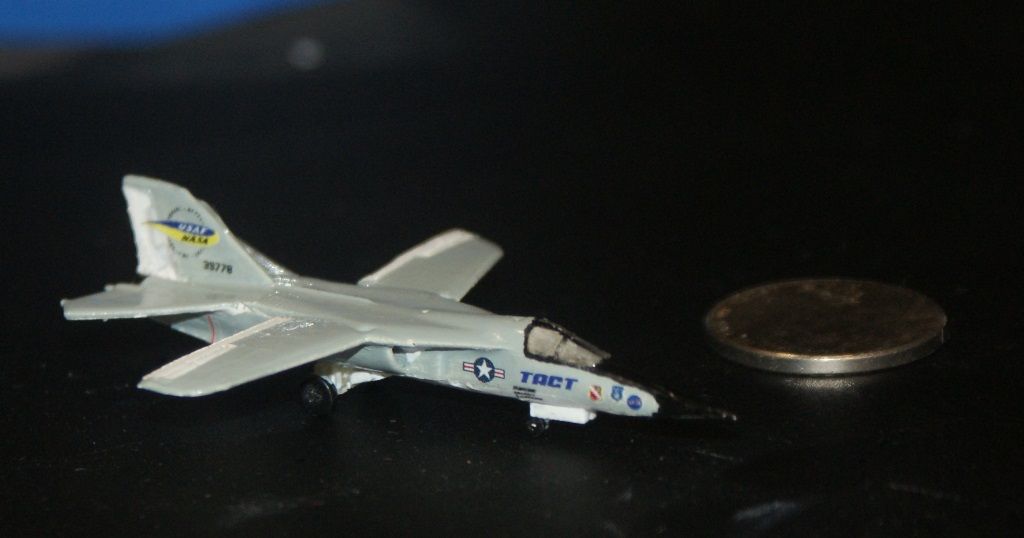
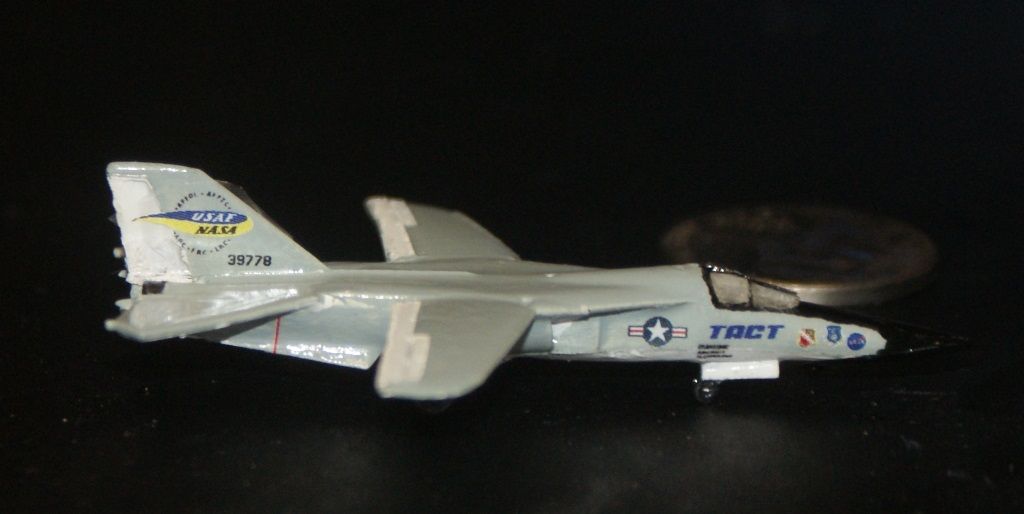
I’m continuing to make progress on my diorama. I painted the black bit on the nose of the F-111TACT. I thought about trying to make a template, but in the end I did it by hand. As you can see, the left side came out better than the right side, which is no surprise since the plan was for the right side to be facing the viewer. Even so, it looks pretty good with the naked eye.
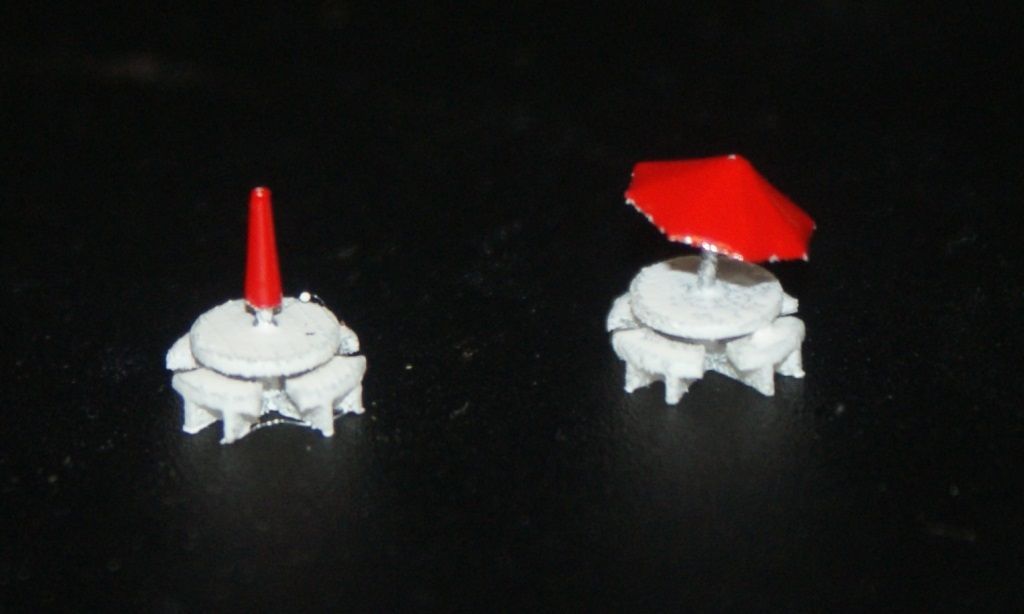
I also painted the tables. The tables themselves are white (at the moment although I’m considering painting them grey) the umbrellas are red and the umbrella poles are silver.
CHEERS!!!
UPDATE 21
Good Morning All!
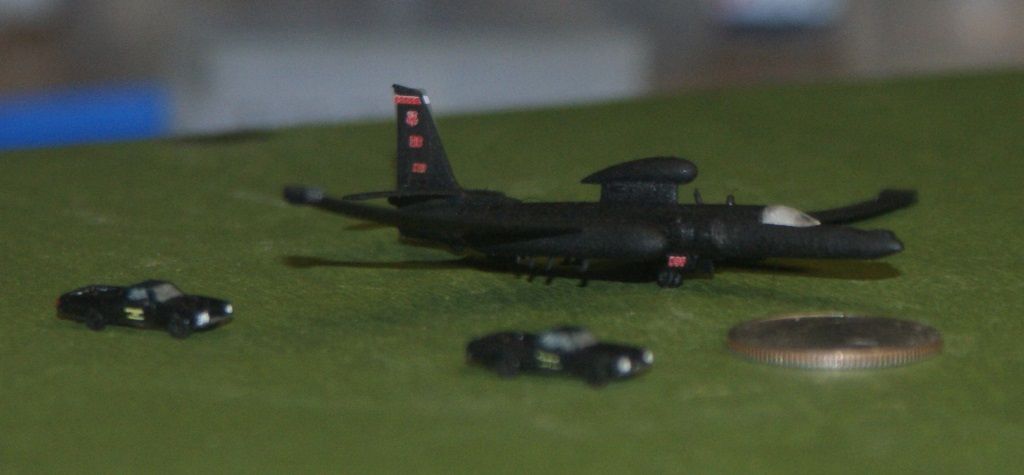
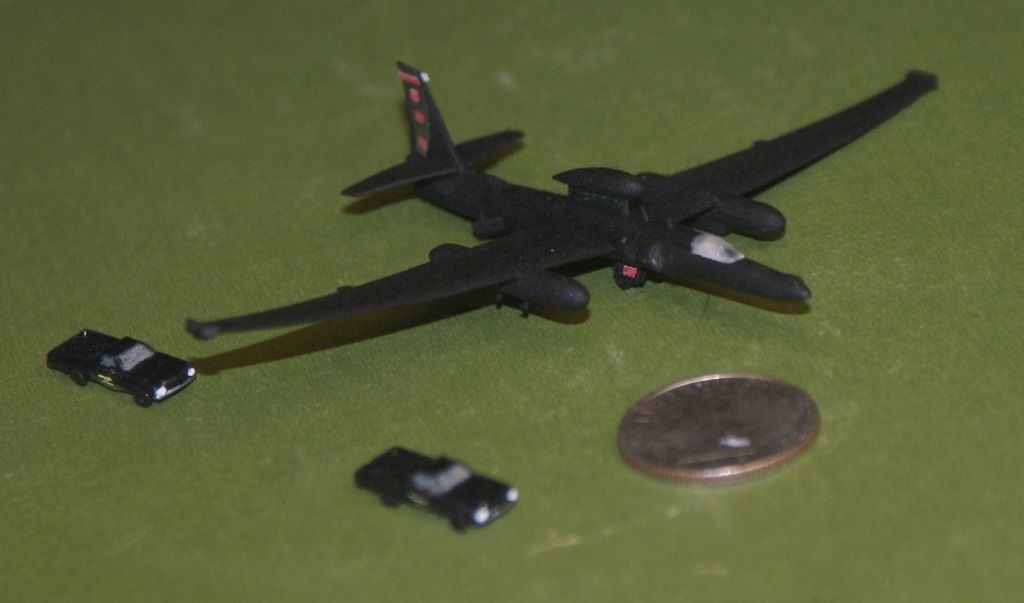
I redid the decals on the U-2, following the advice I received from a fellow modeler, with much more experience than myself. I first removed the decals and sprayed the model with Future. When it dried, I applied the decals, and when they dried, I sprayed it with Dullcoat. I think it looks better.
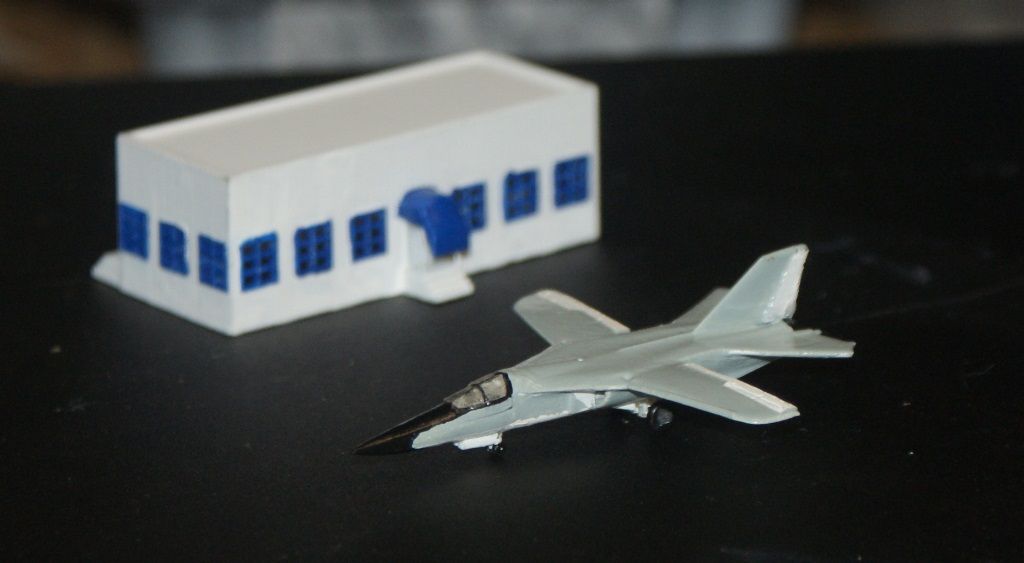
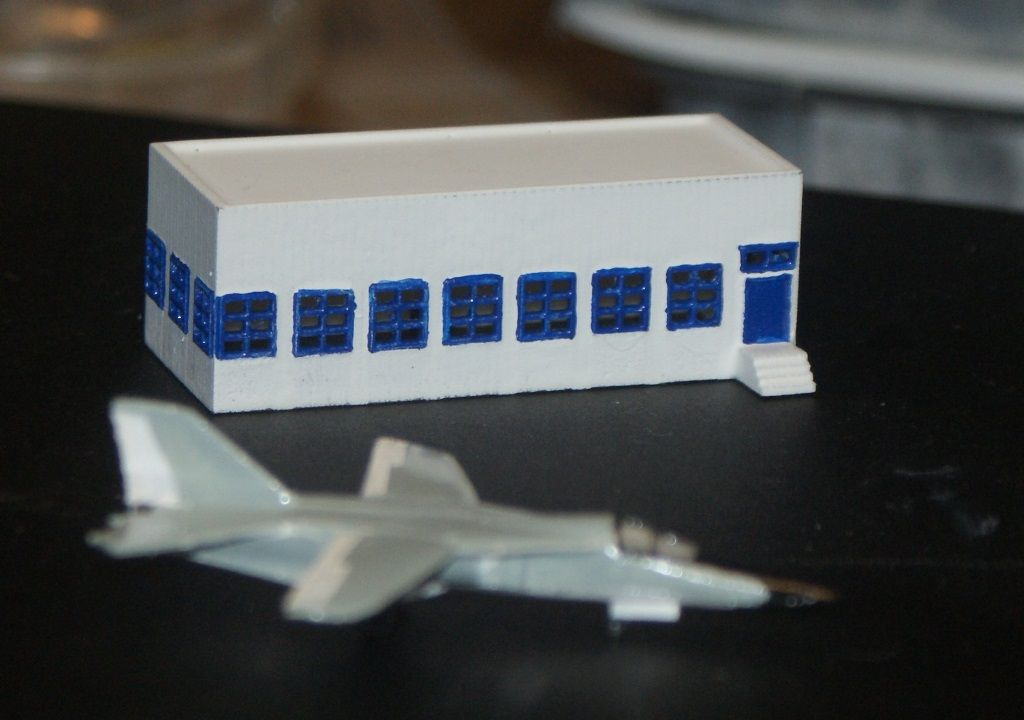
I also painted the Office Building, using 3 coats of white Rust-Oleum Plastic Primer, with a light sanding between coats. The window frames, back door (I forgot the front door) and awning were painted with dark blue Model Master’s Acrylic. I still have some touch ups and the front door to do, and of course, the nickels are only temporary. [:)]
HAPPY MODELING!!!
UPDATE 22 – 2/15/2015
Ola Mi Amigos!
I haven’t done too much modeling over the last few days, but I did put the F-111TACT together, and gave it a coat of Future. I also touched up the white parts of the office building/circuit board housing.
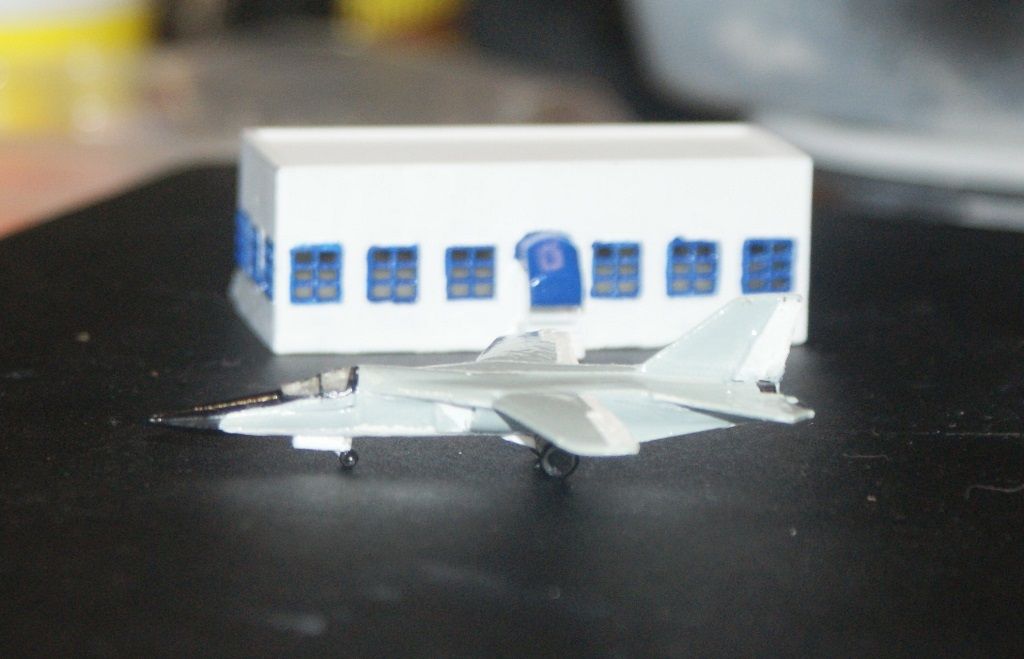
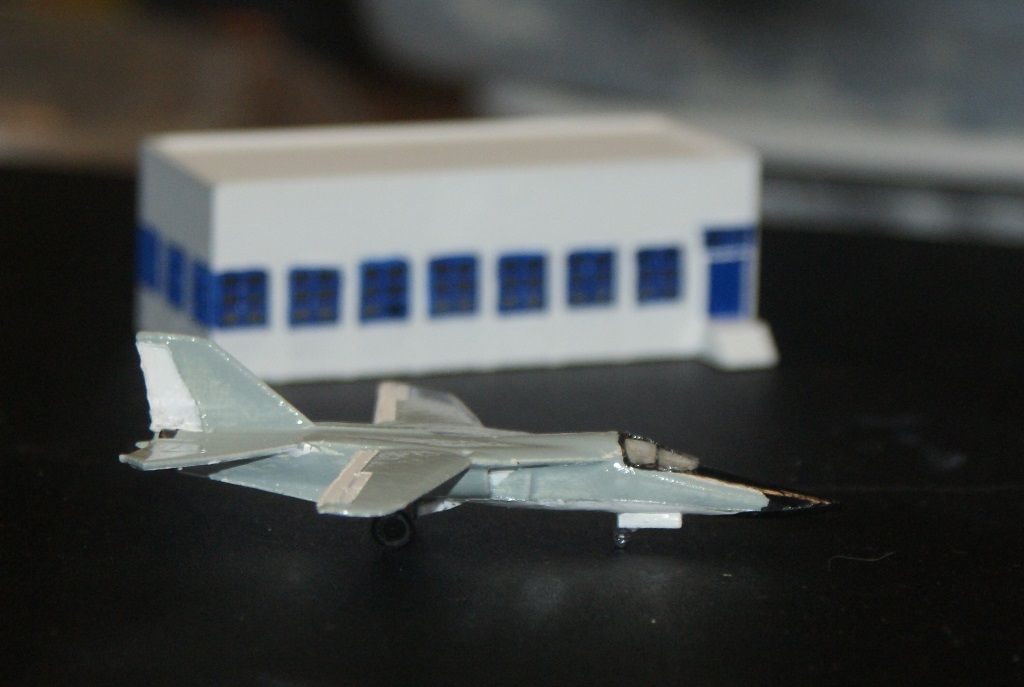

I hope to put the decals on later today.
CHEERS!!!
UPDATE 23
Hi Again Guys!
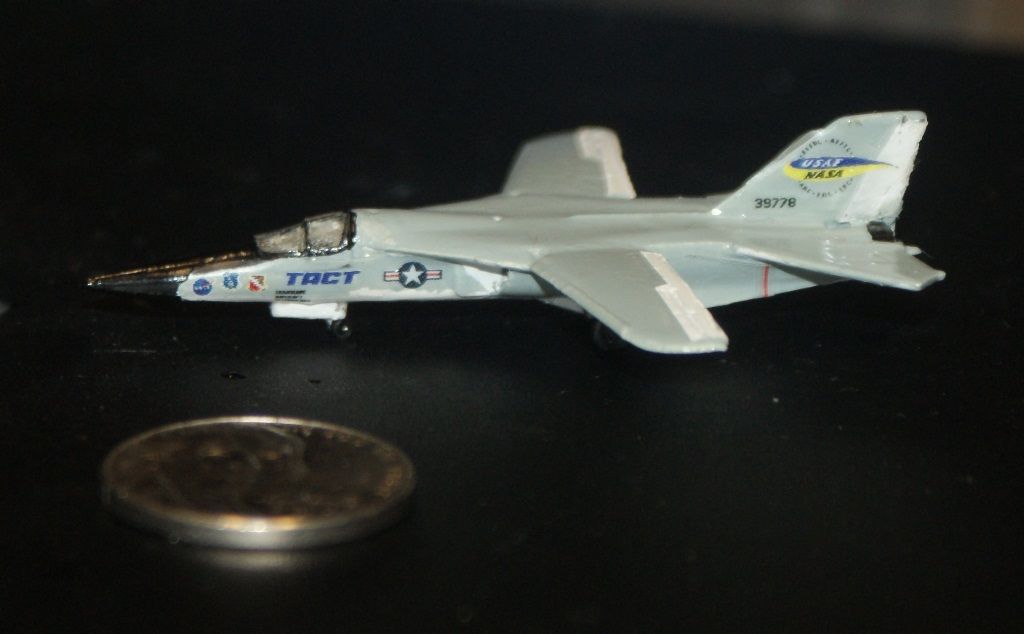
I put the decals on the F-111TACT. They went on without a hitch. The only problem is that I noticed when I was putting them on that the text below TACT did not print across as it should of, and printed on multiple lines. My file isn’t that way, so Yuuichi must have truncated it by accident when he printed them, and neither one of us noticed it. It’s unfortunate, but I can live with it (I think).

I also went ahead and glued the office building in place.
CHEERS!!!