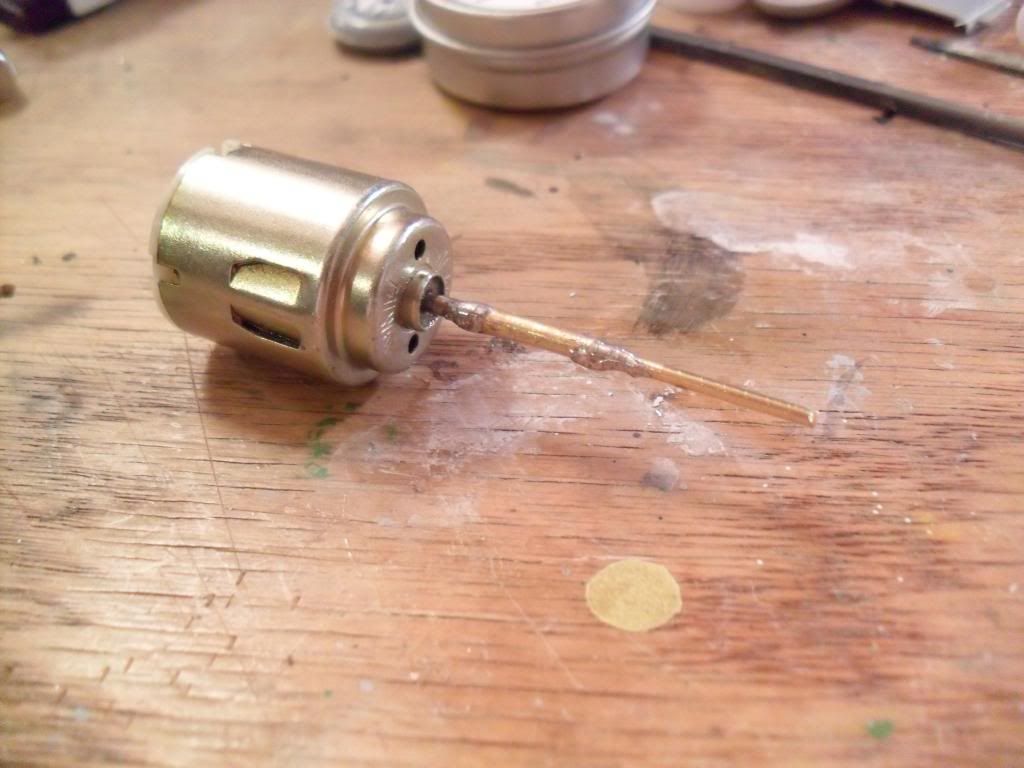
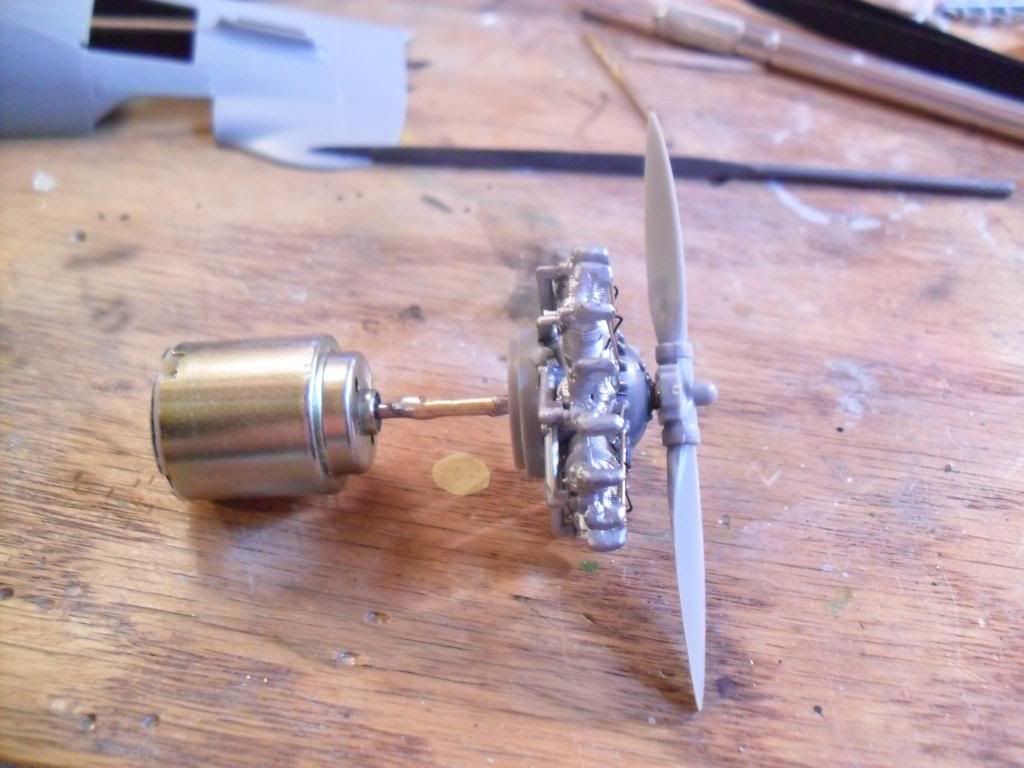
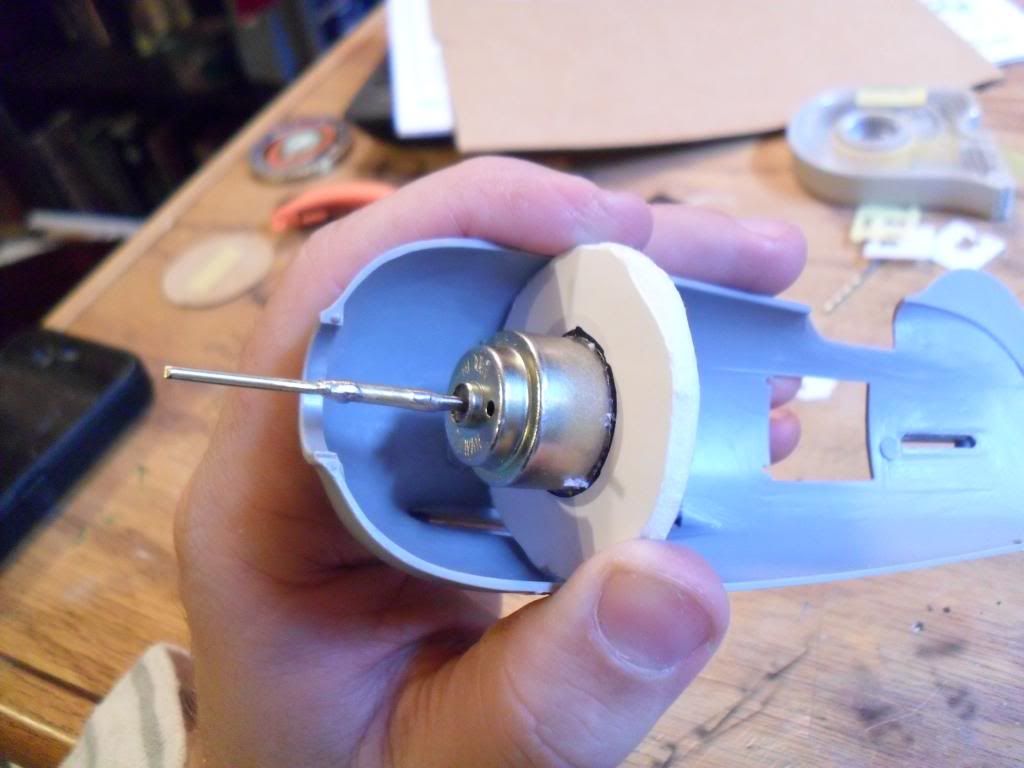
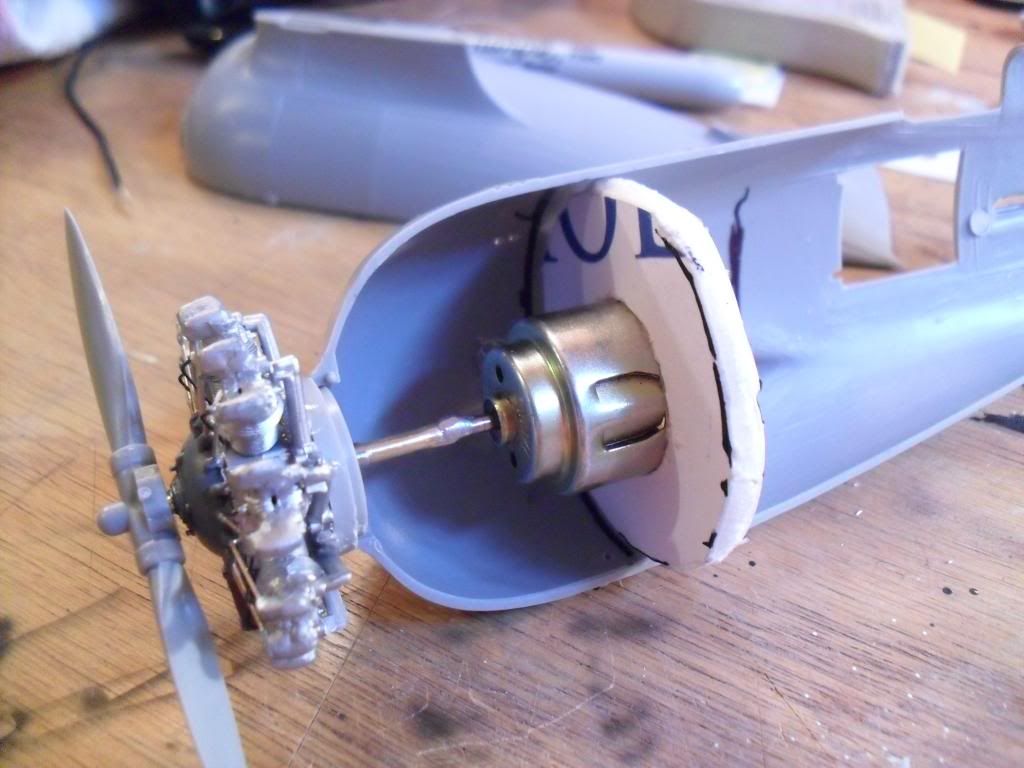
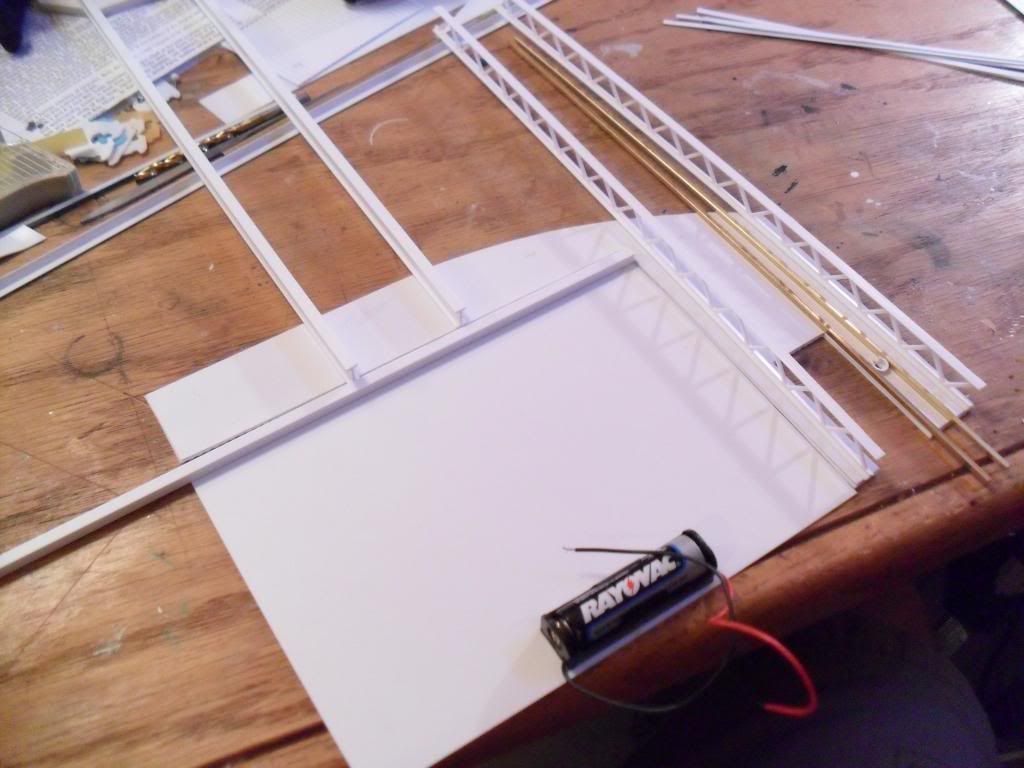
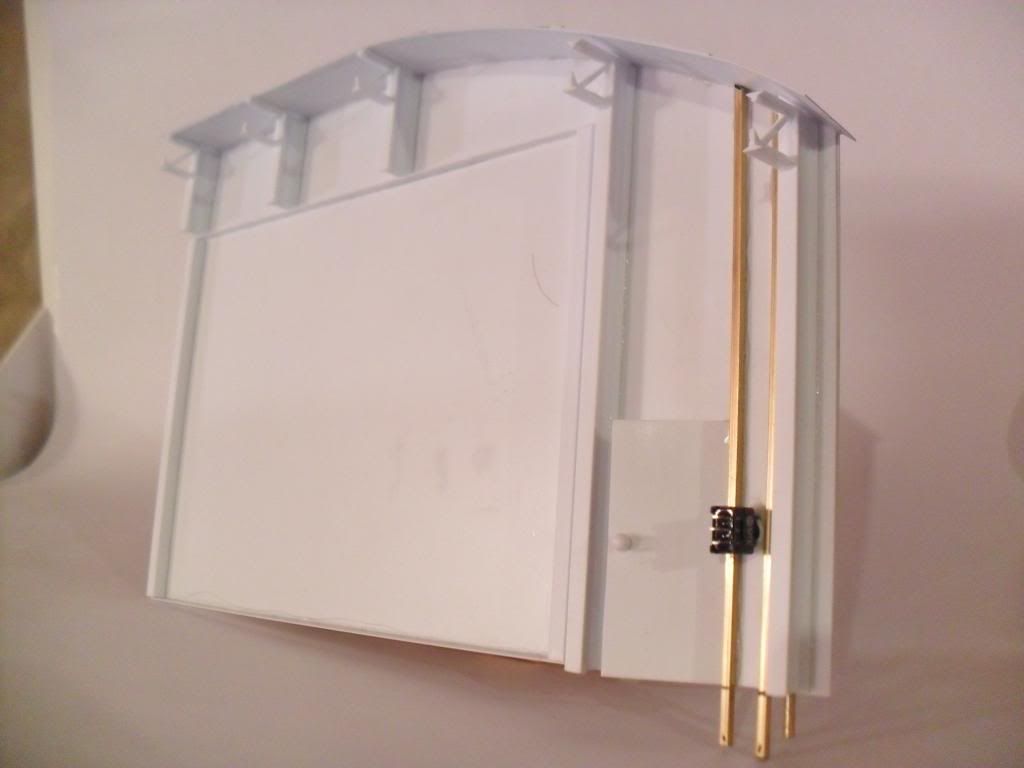
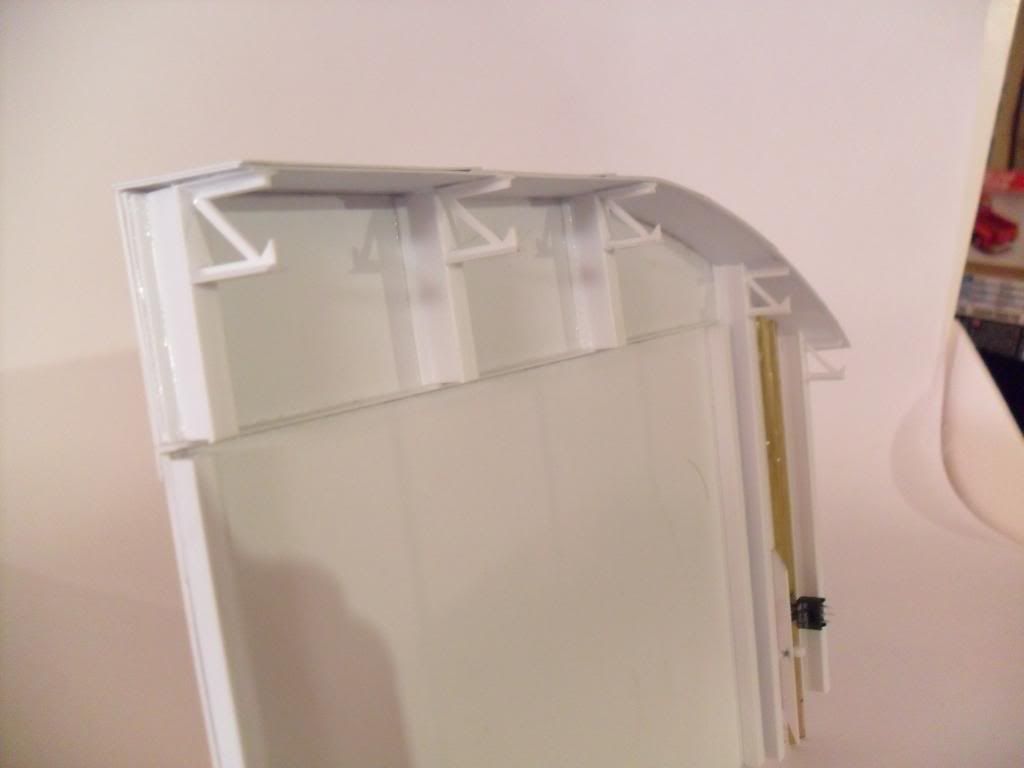
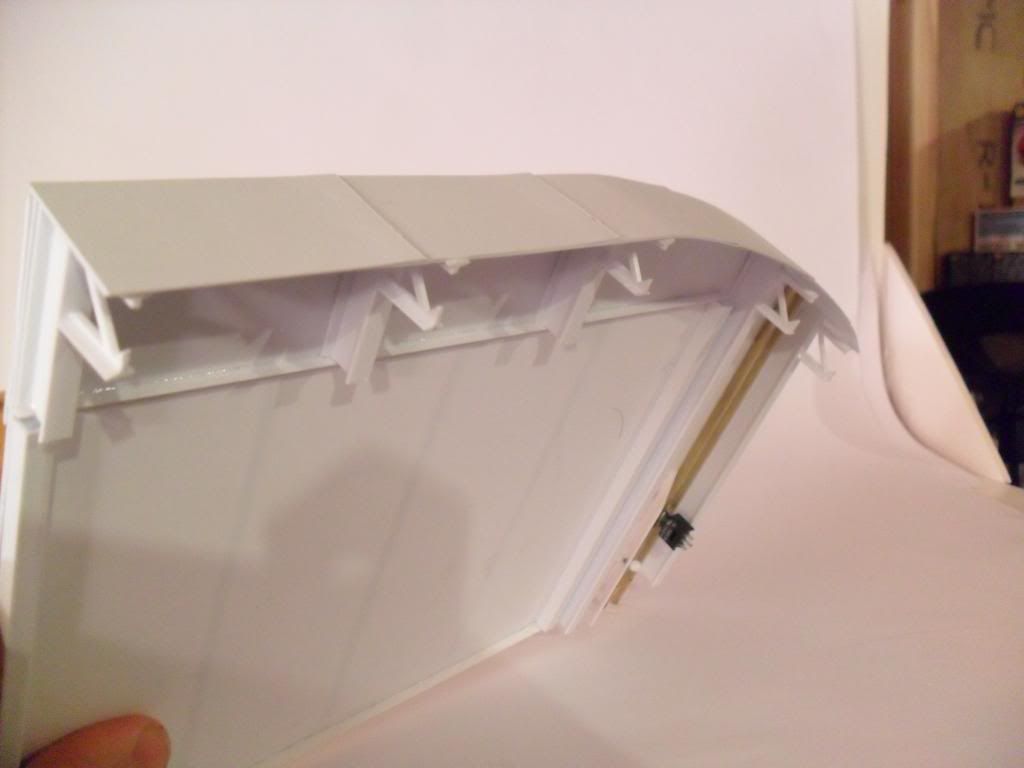
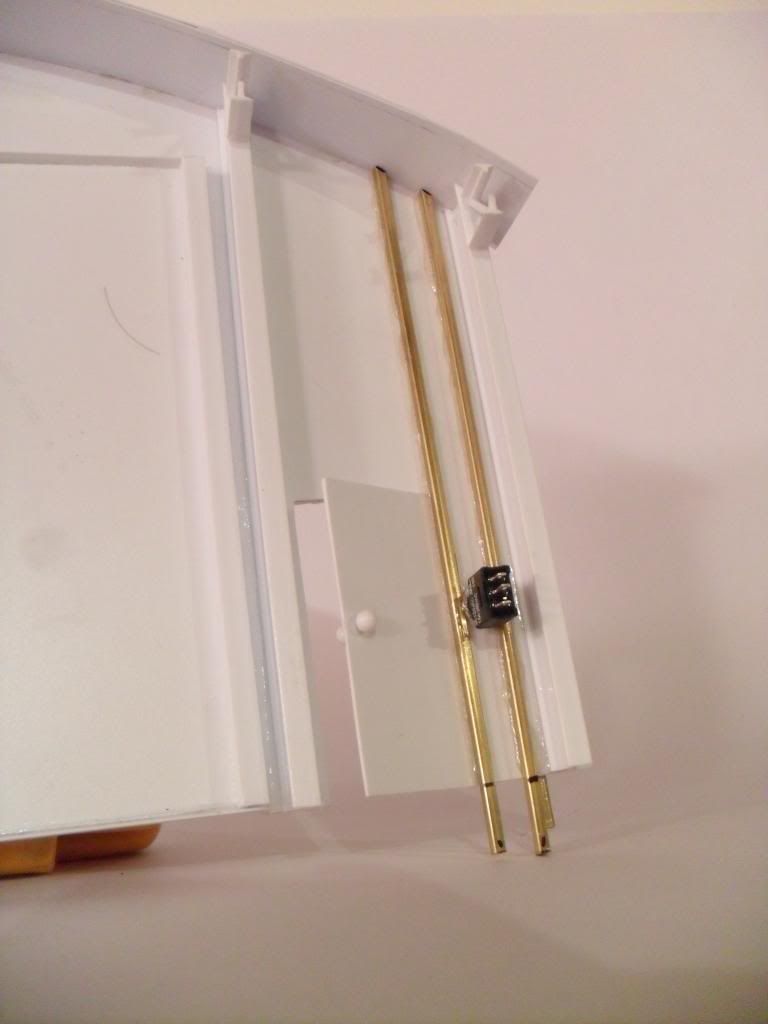
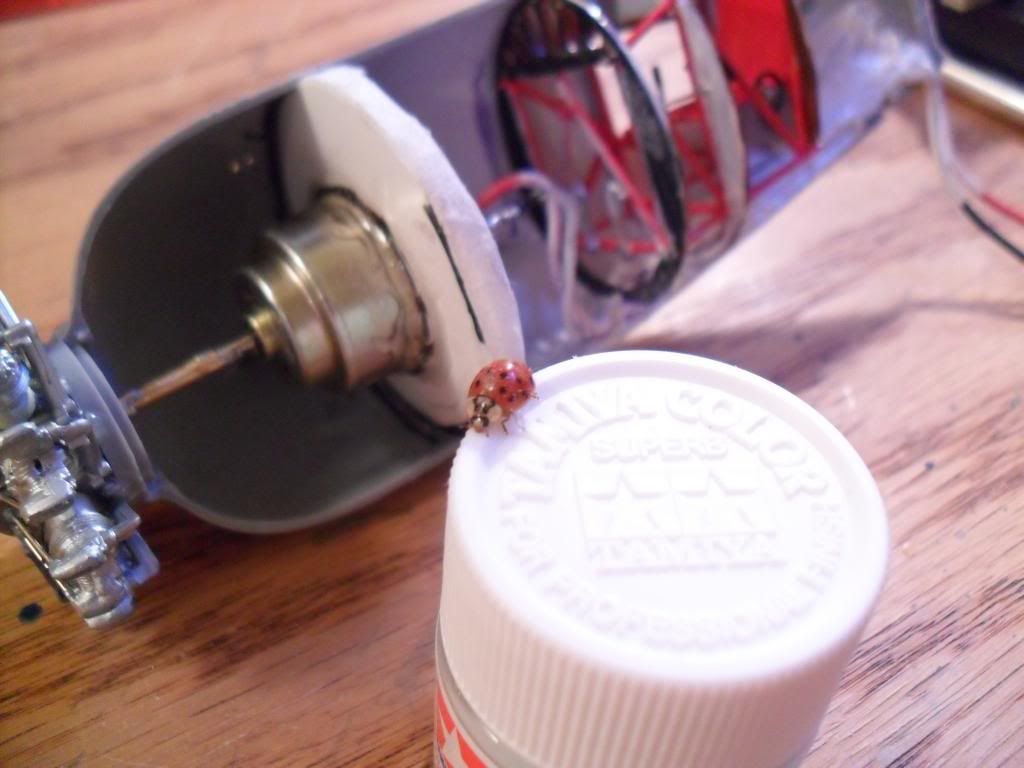
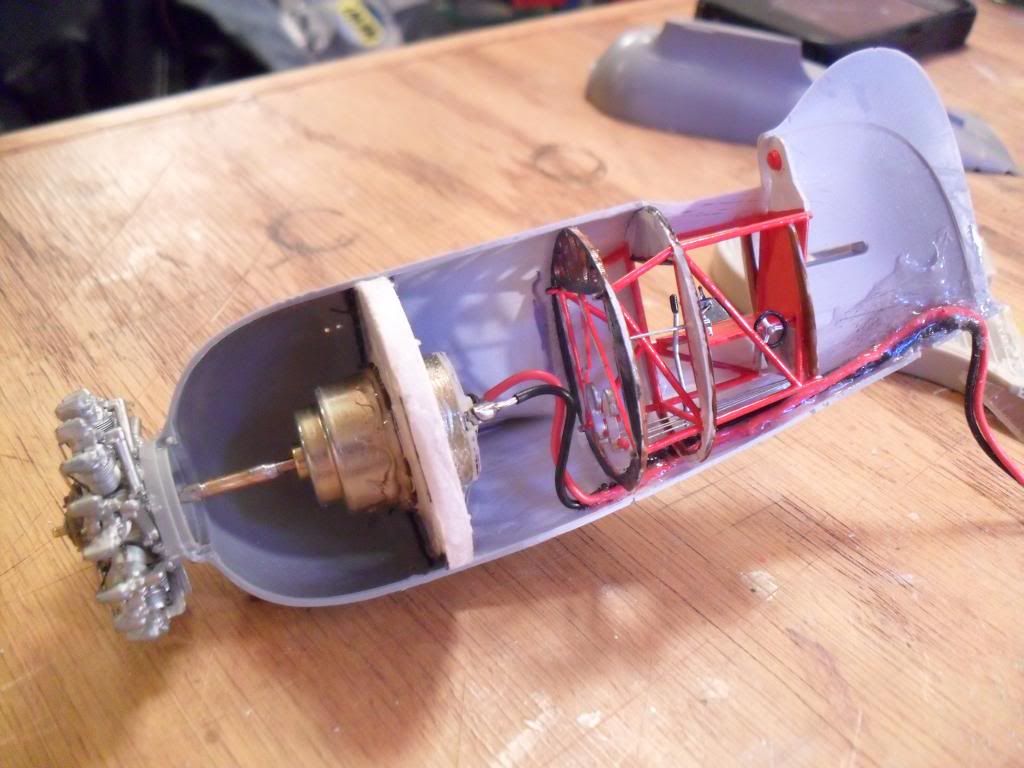
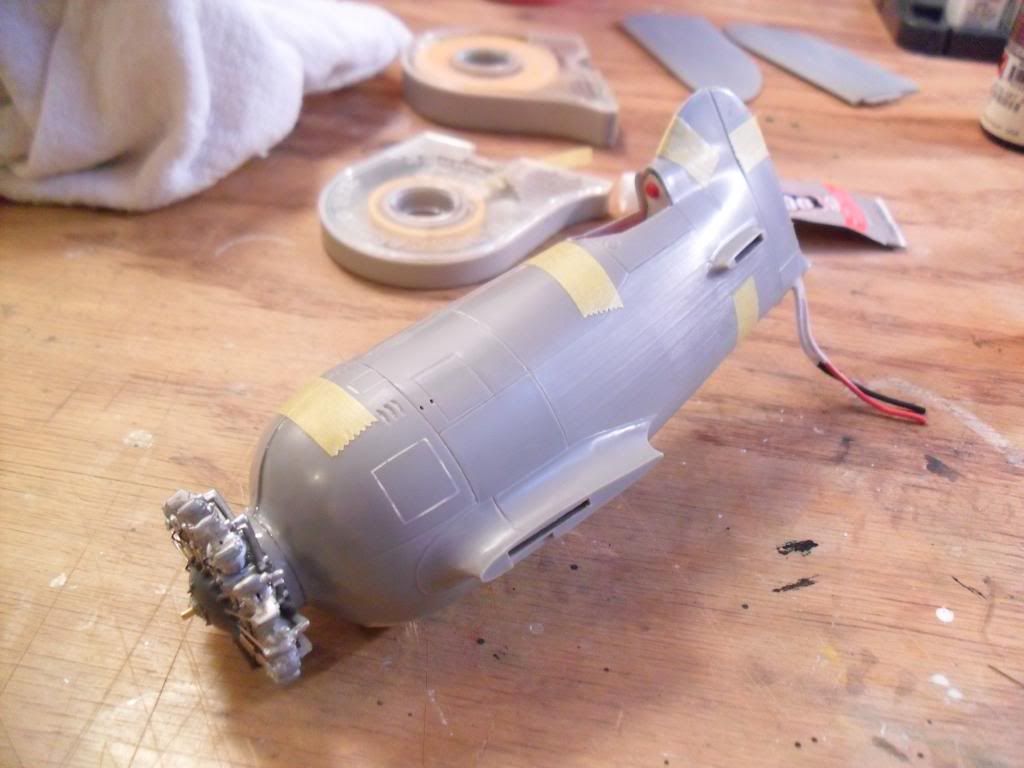
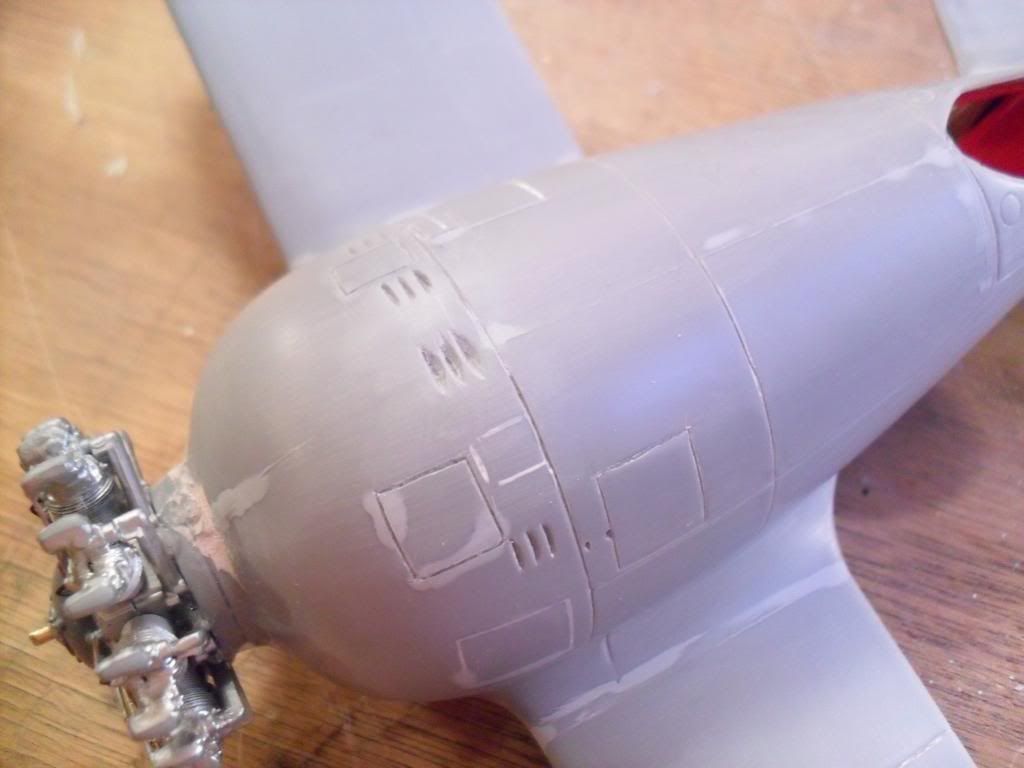
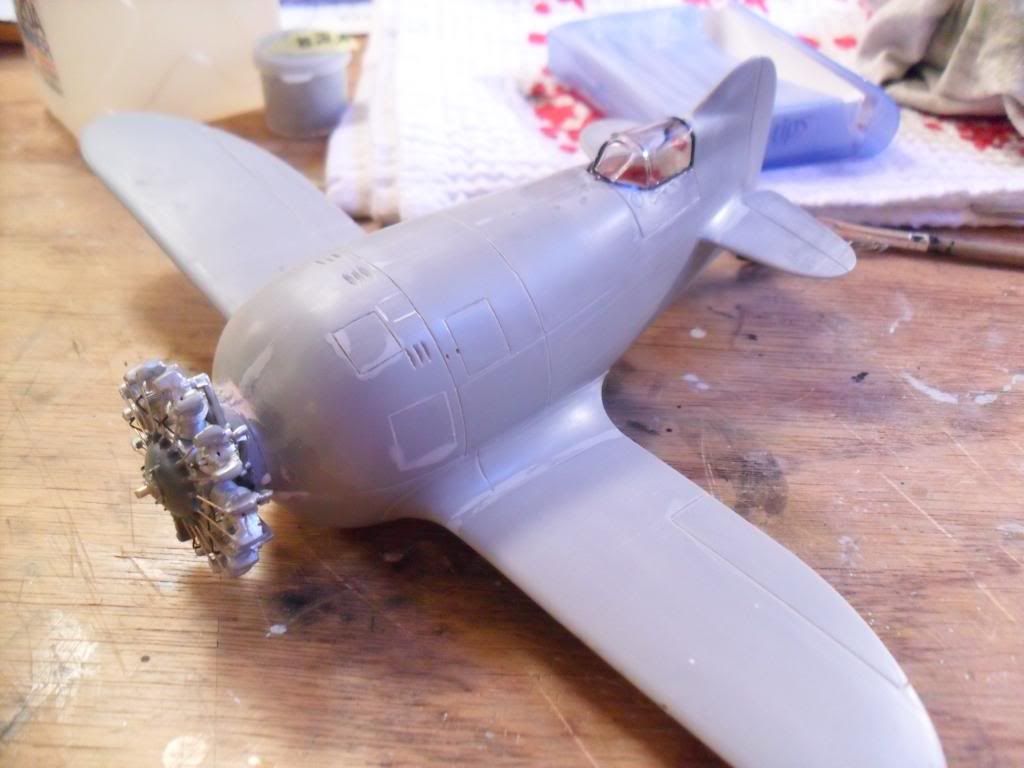
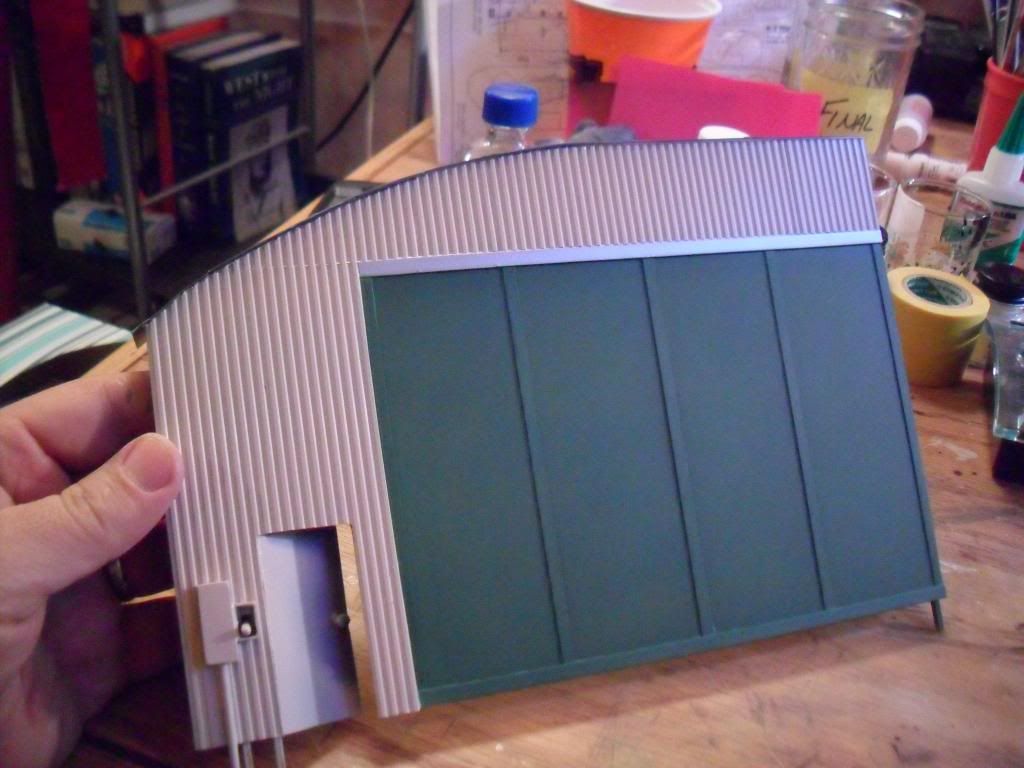
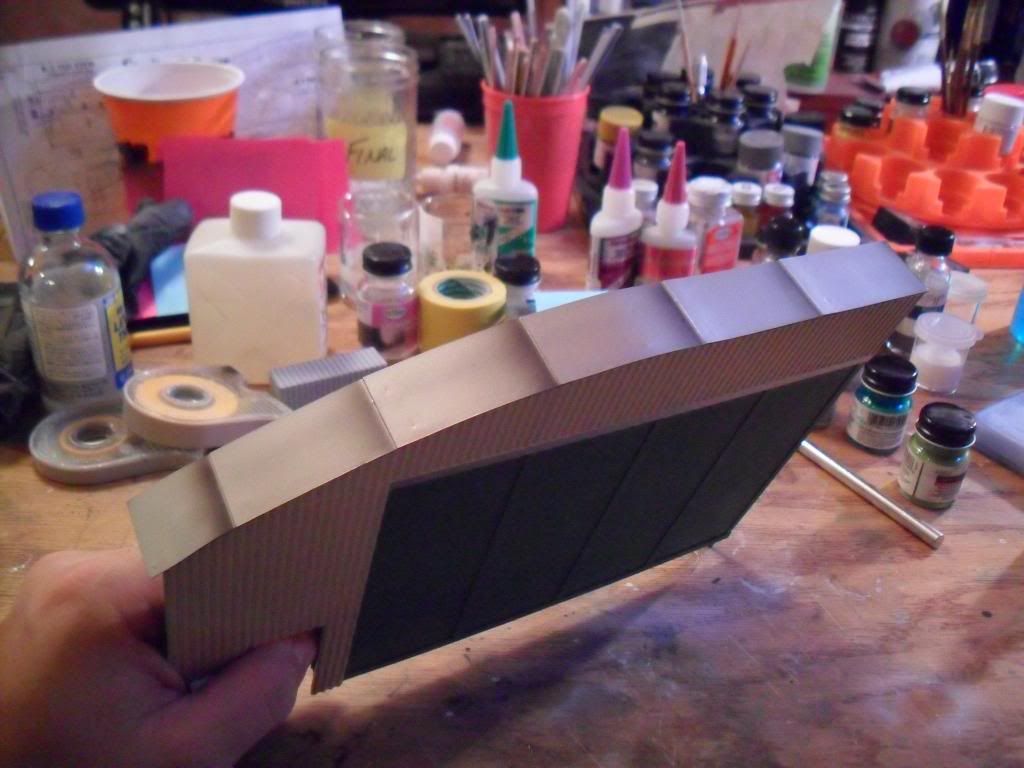
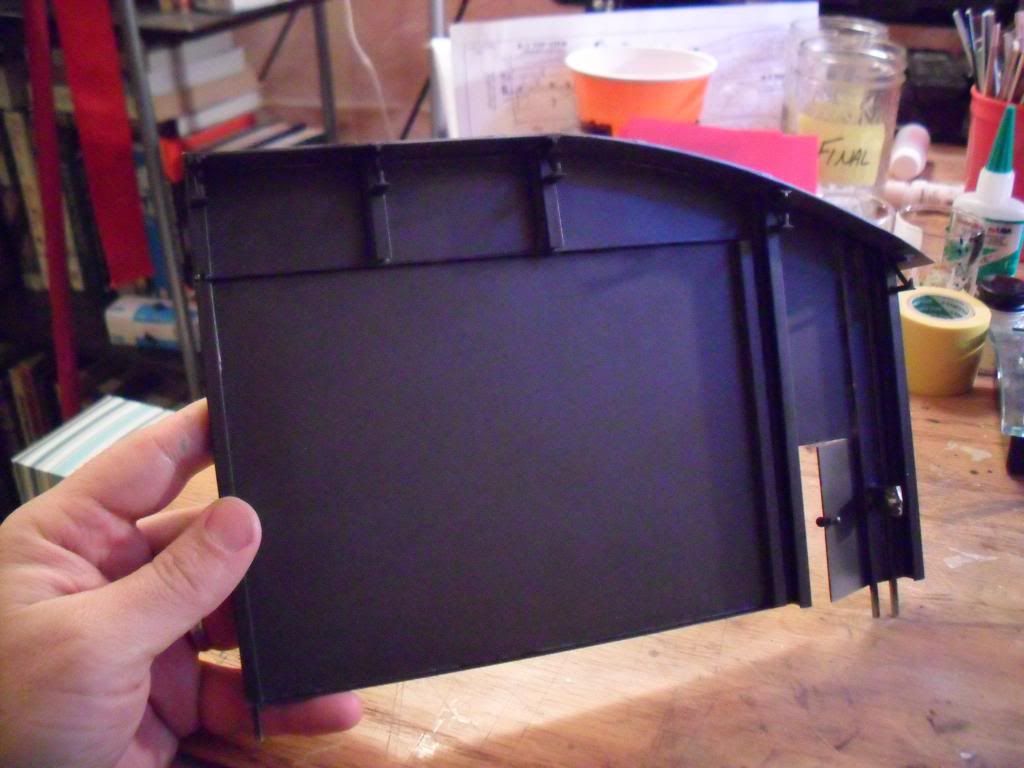
Made a little bit of progress today. Been stuck on trying to solve the issue of getting the engine mounted and figuring out where to put the battery box with the on/off switch. After several hours of trying different things, I finally got the electric motor shaft extended through the engine block and spacer and ready to mount - I think… [whstl]
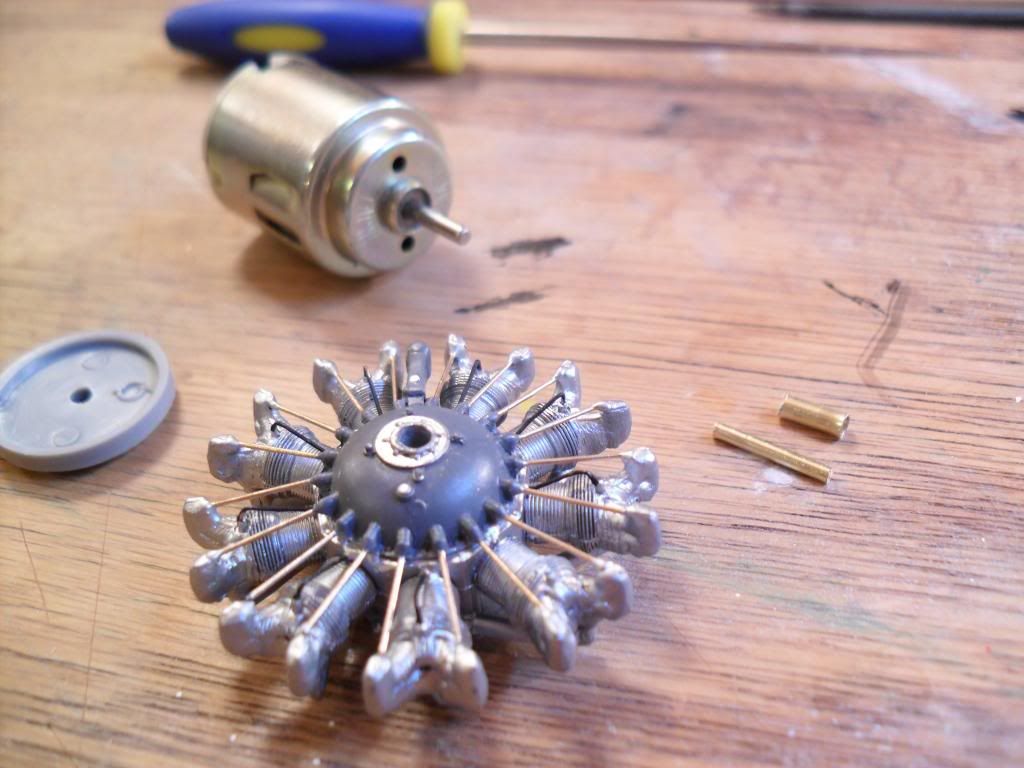
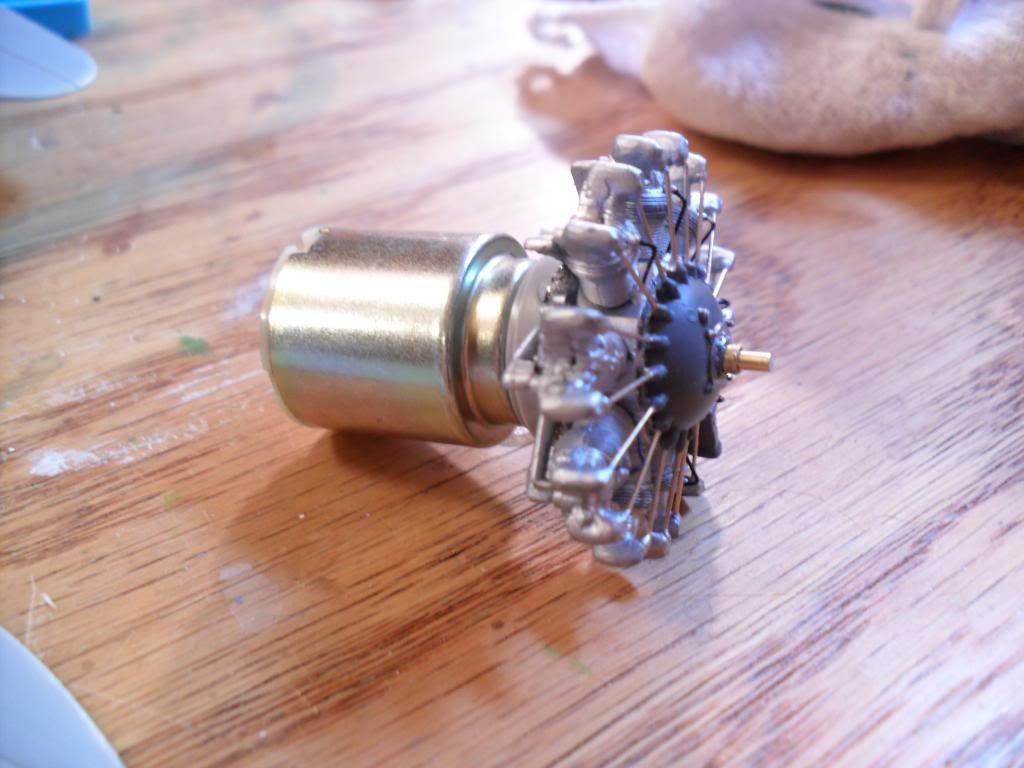
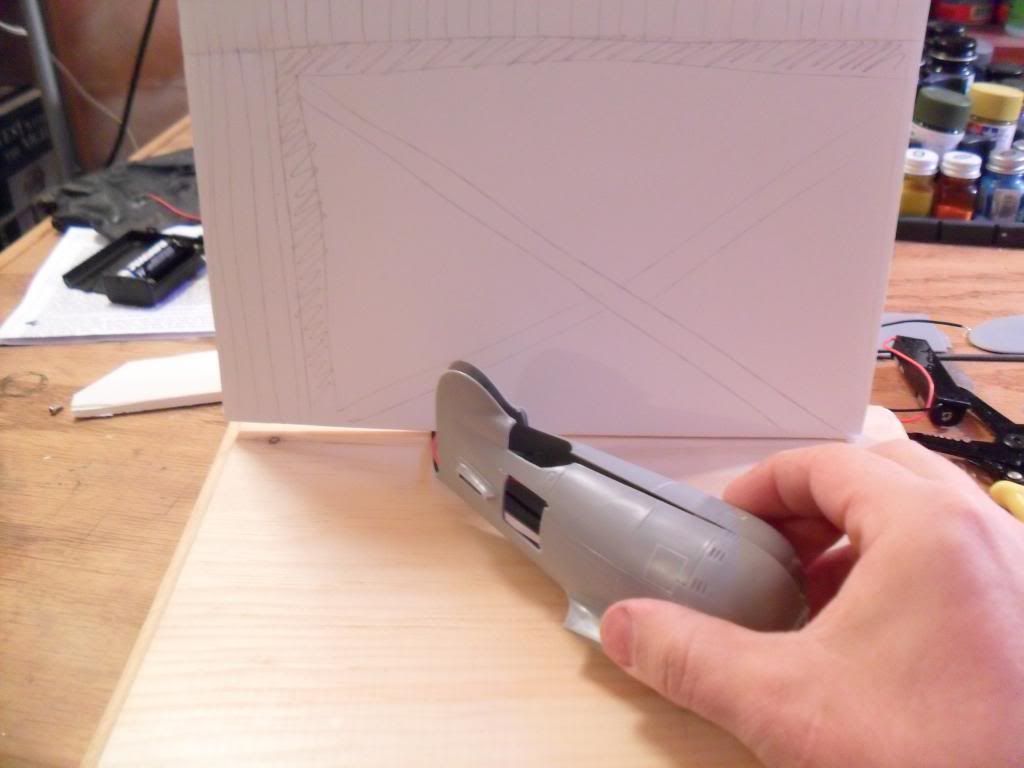
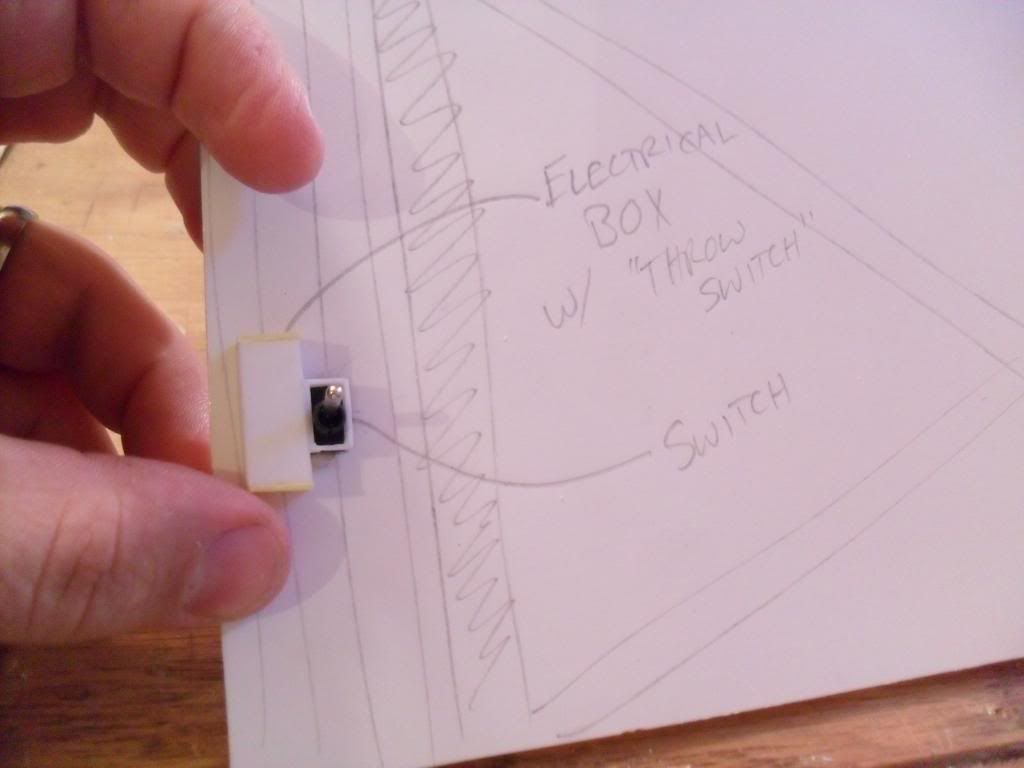
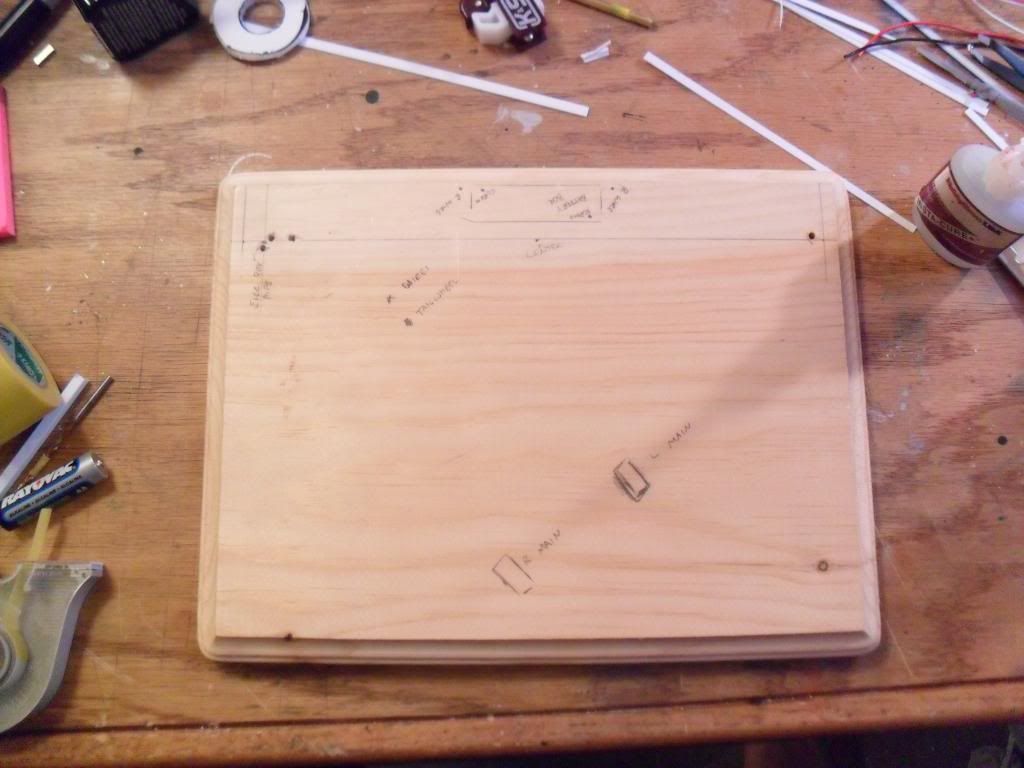
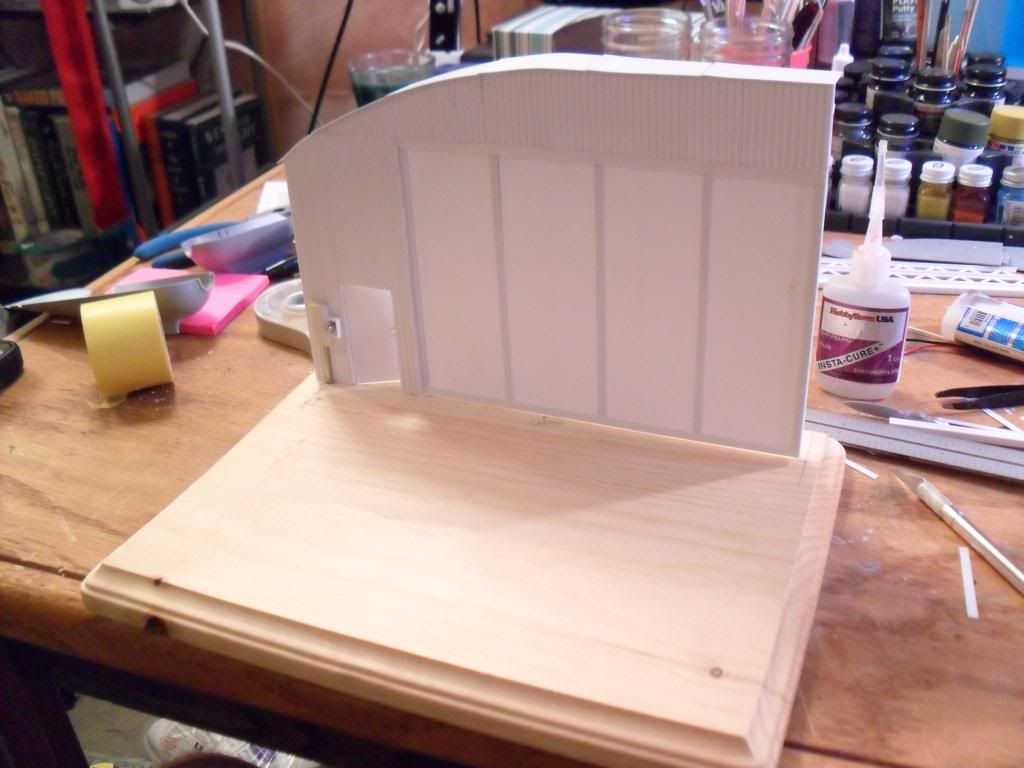
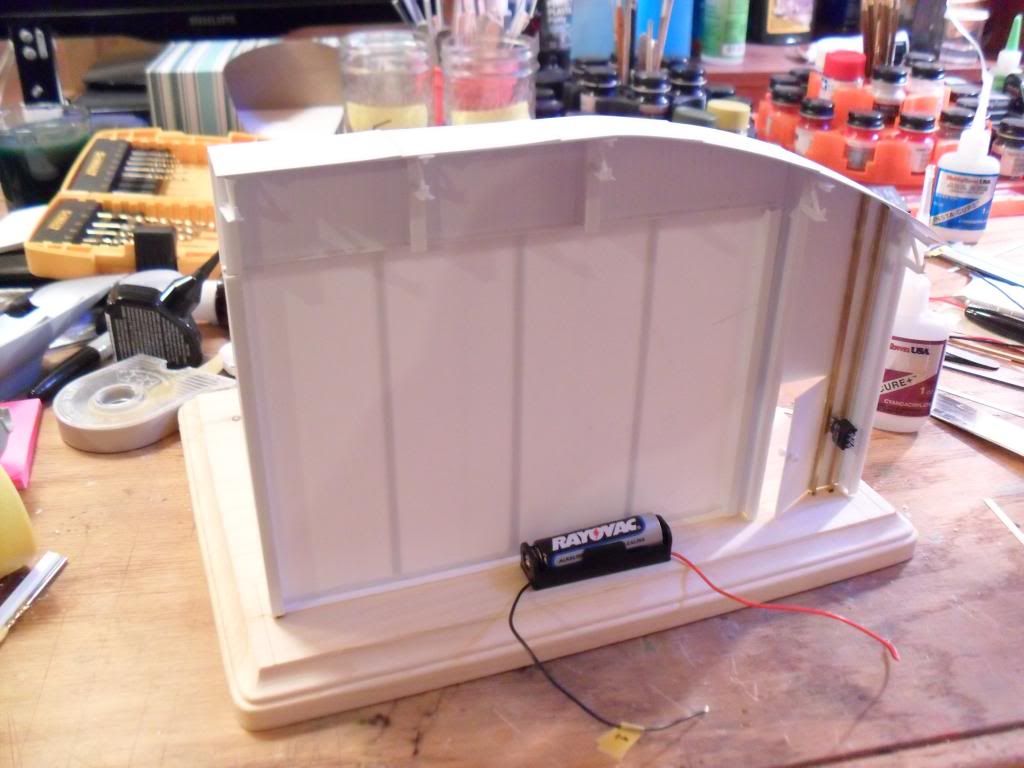
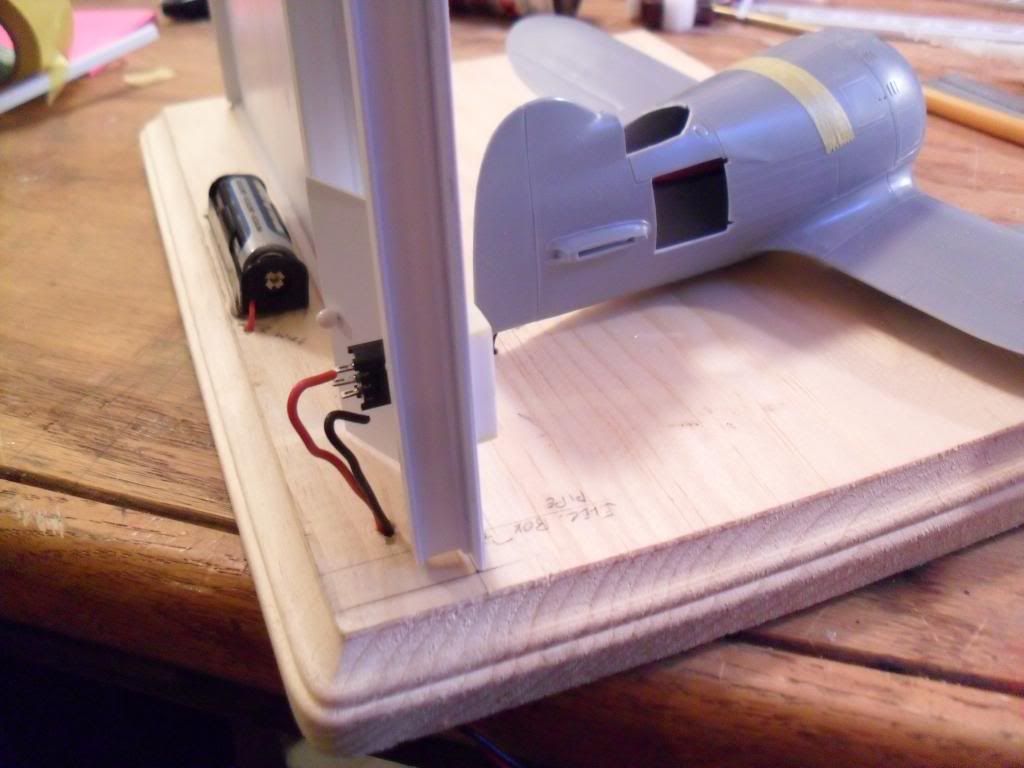
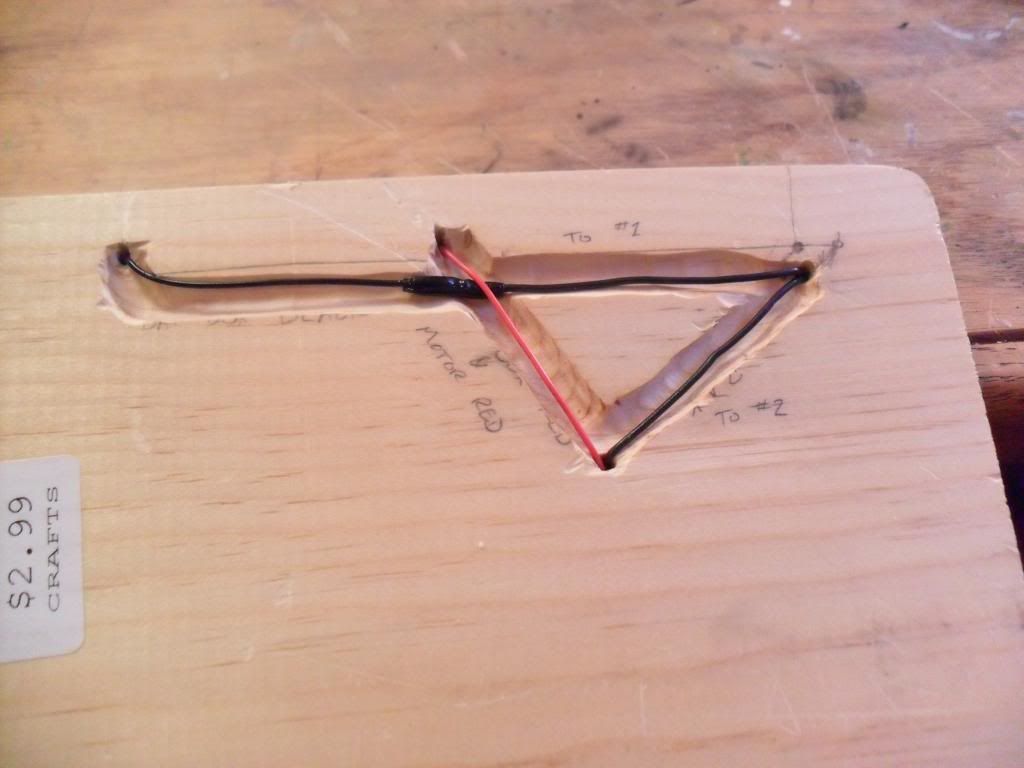
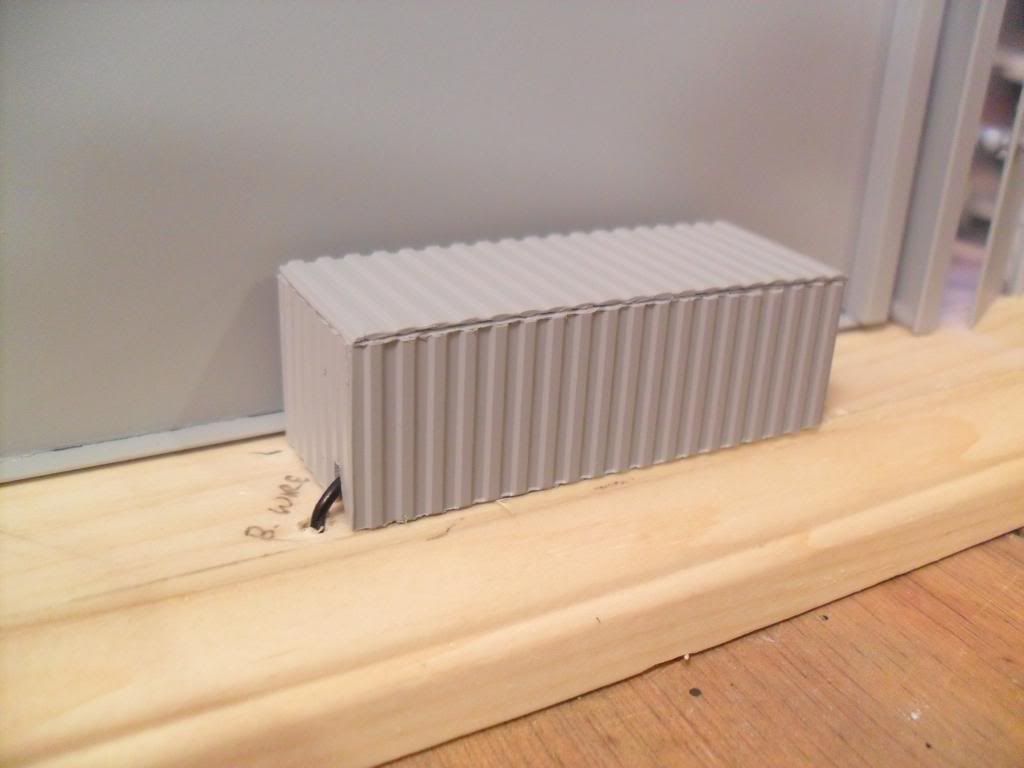
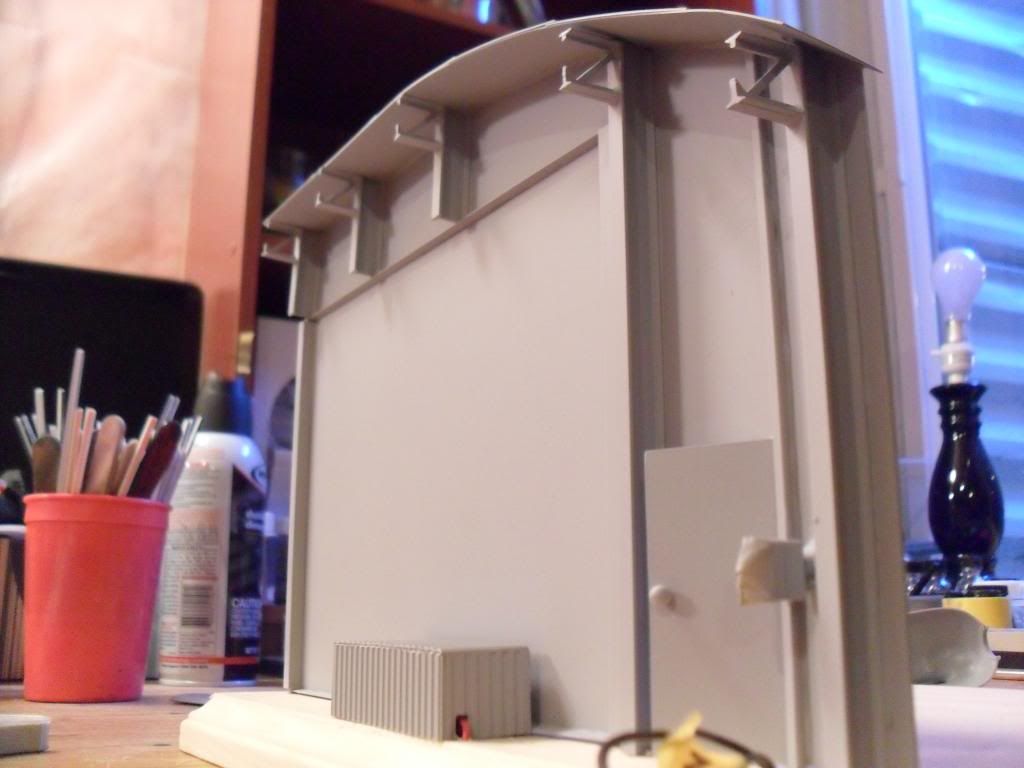
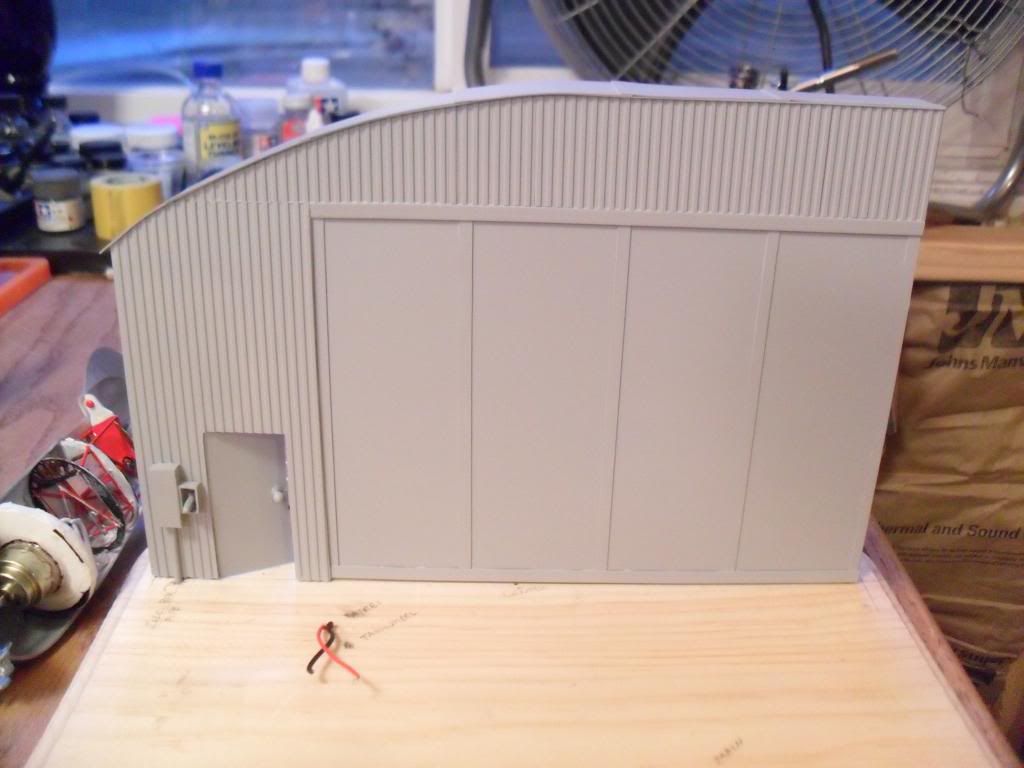
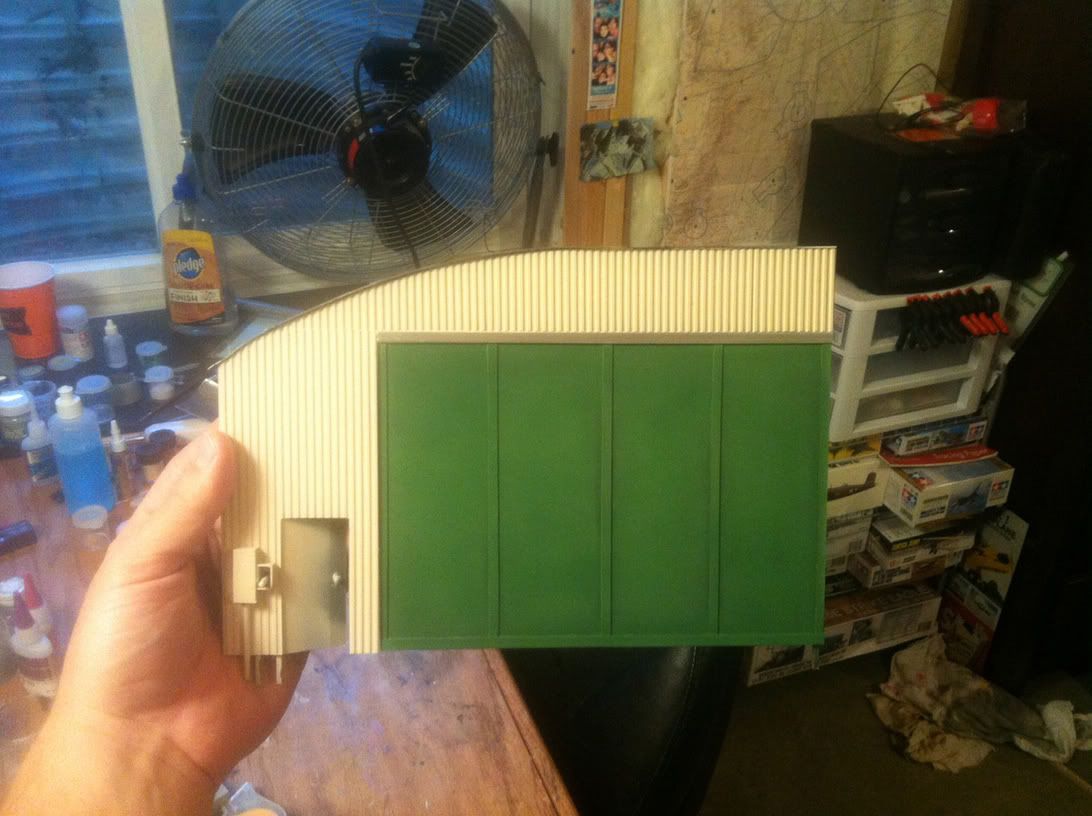
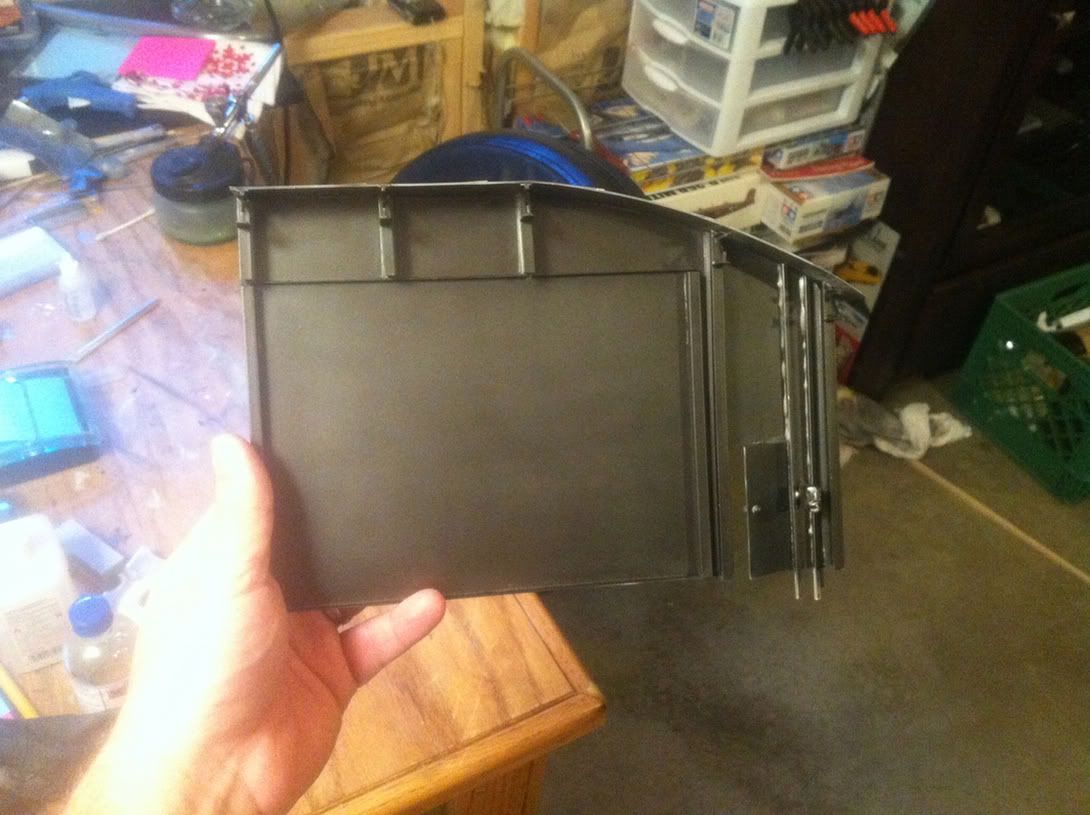
It’s not a great job but I believe it will do. At least it is functional and seems to be stable. Now the real issue is solving where/how to mount the battery box (Too big to keep everything in the fuselage and no way to change the batteries if I did that). I am thinking about doing a diorama base of the aircraft sitting on a patch of grass with the battery box hidden behind the aircraft “underground” with just the switch exposed, and the wires, probably exiting the fuselage at the tail near the ground, hidden by tall grass at the tail. Will need to make sure the box is still somehow accessible to change out the batteries.
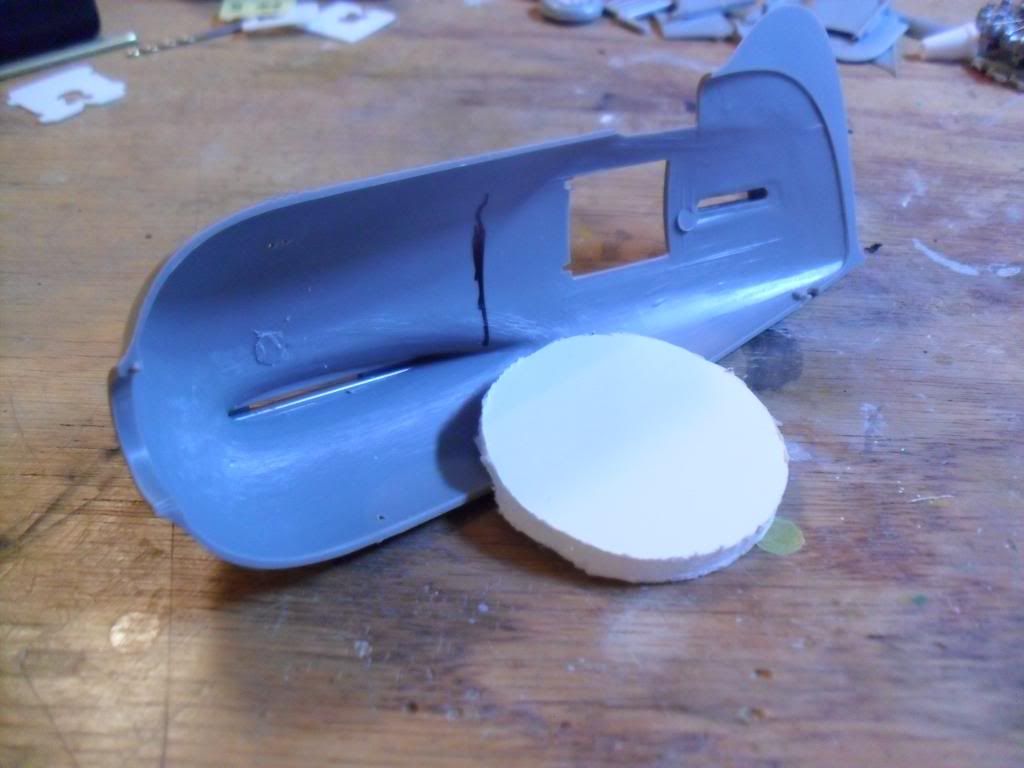
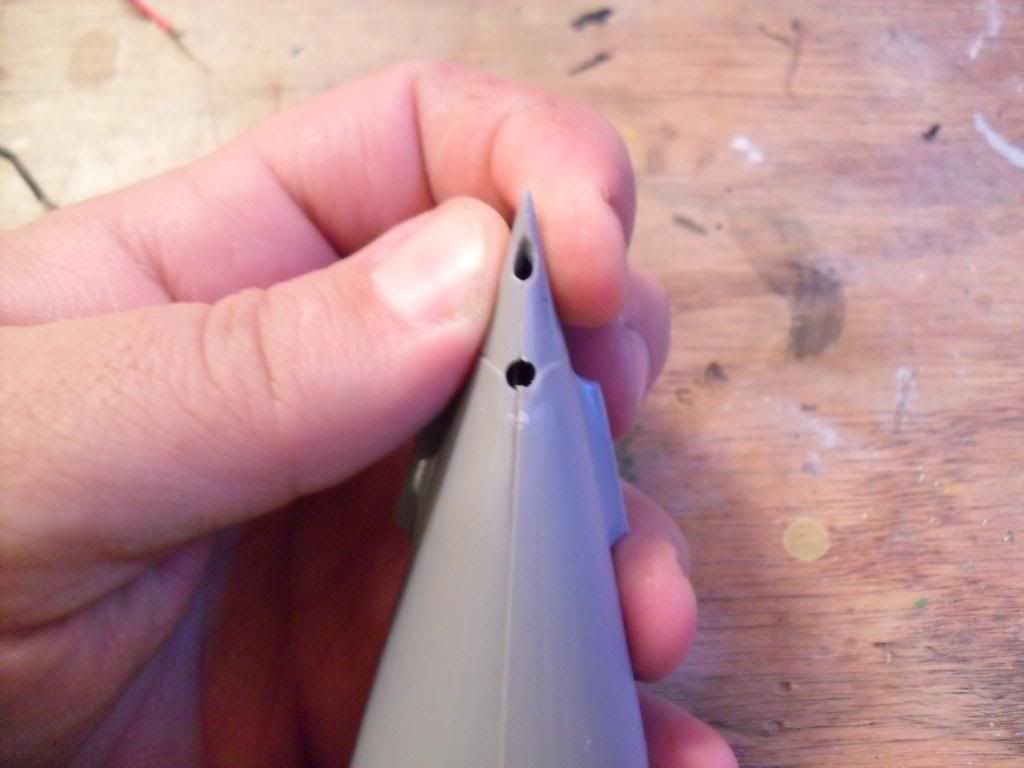
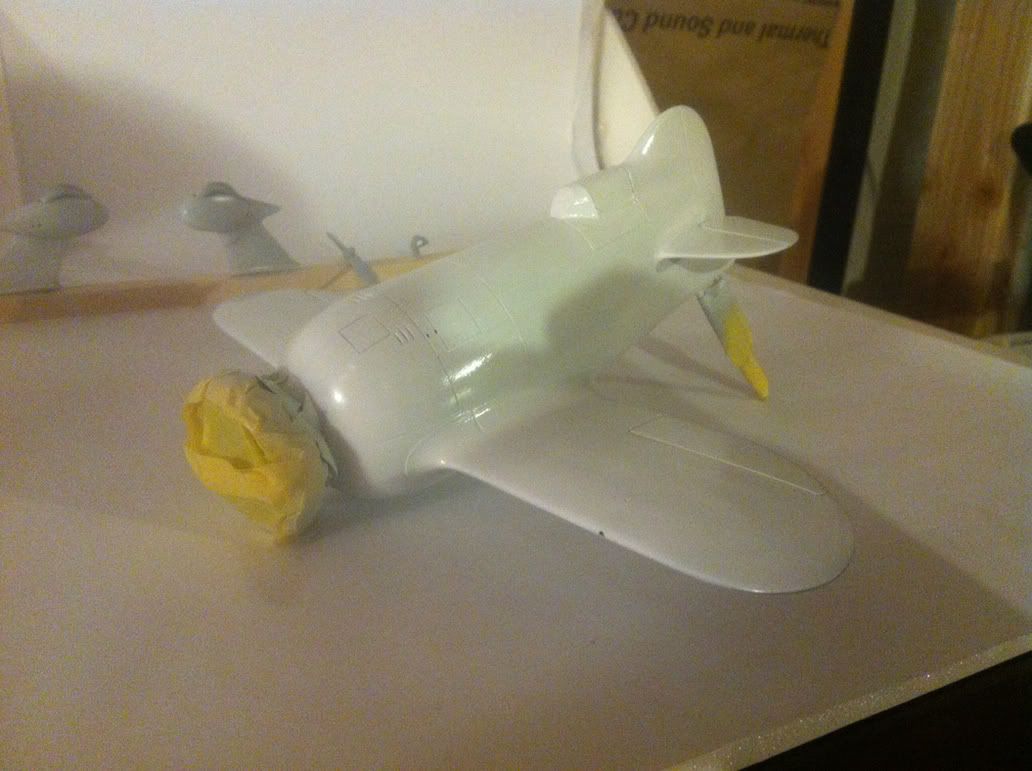
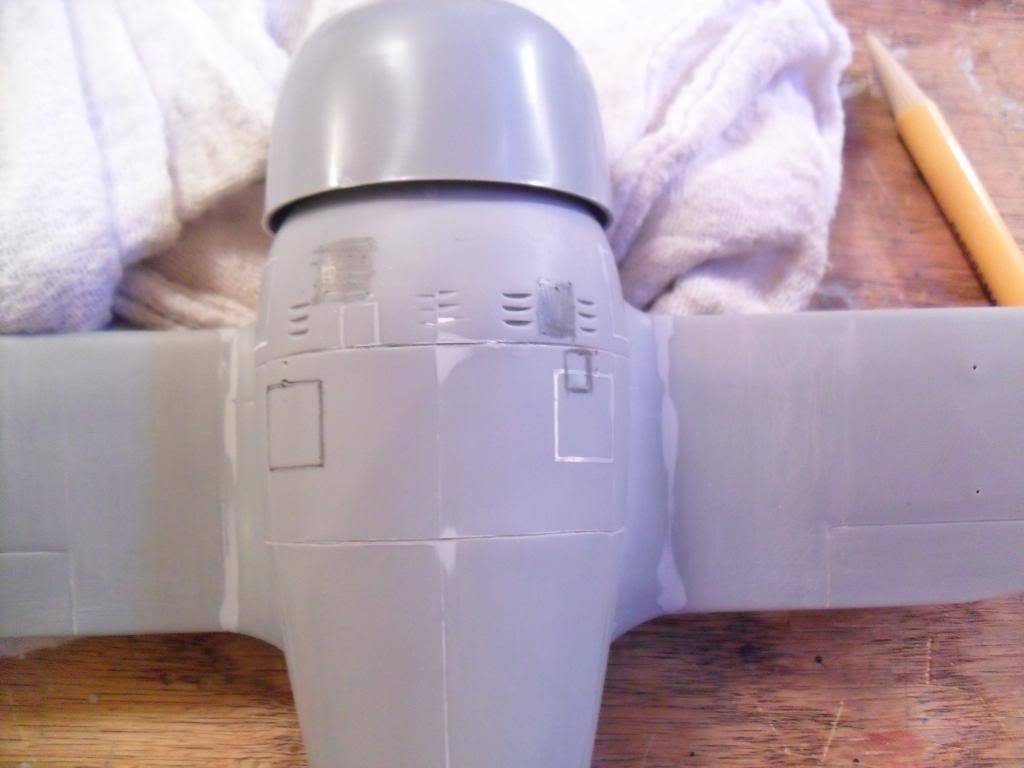
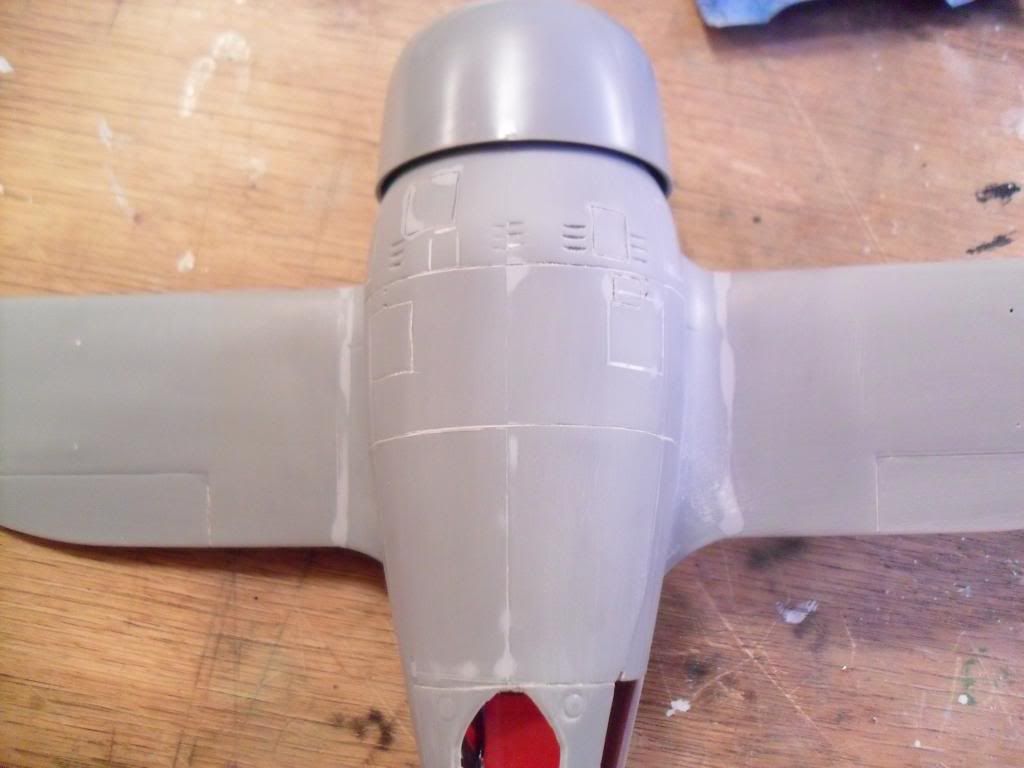
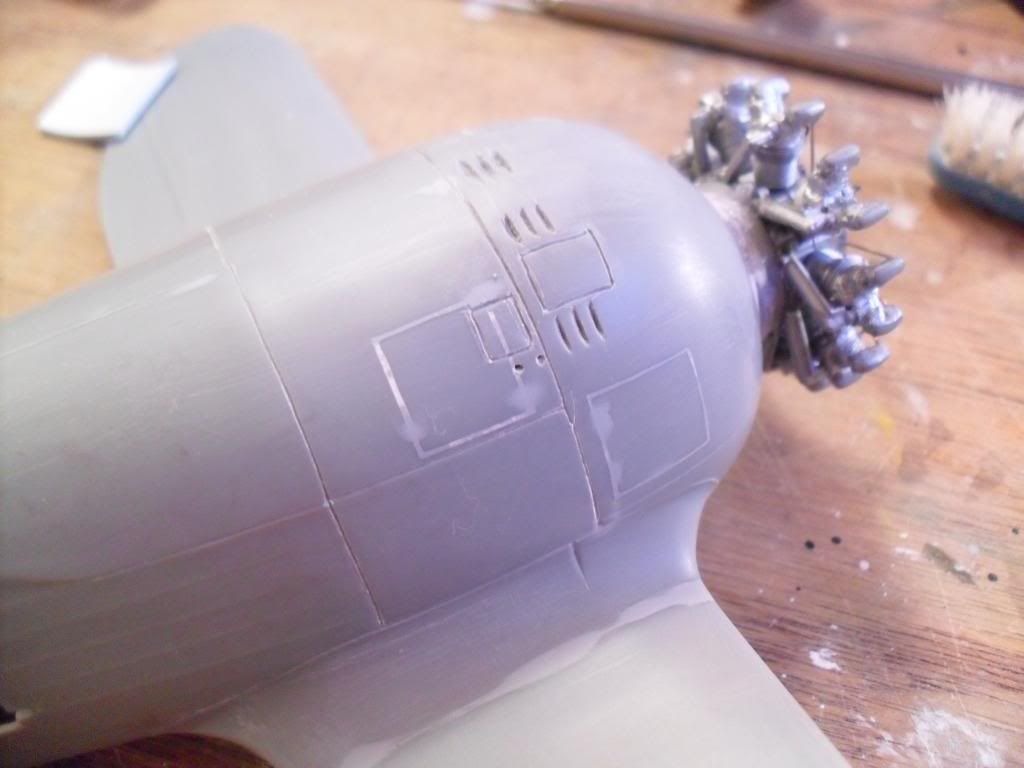
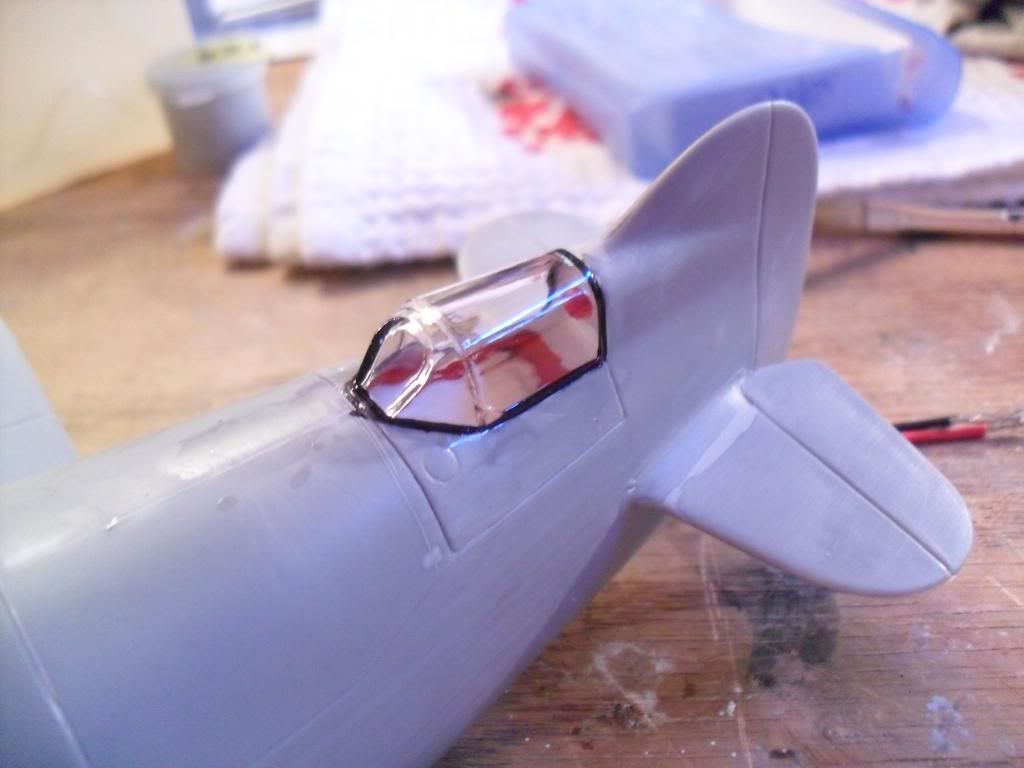
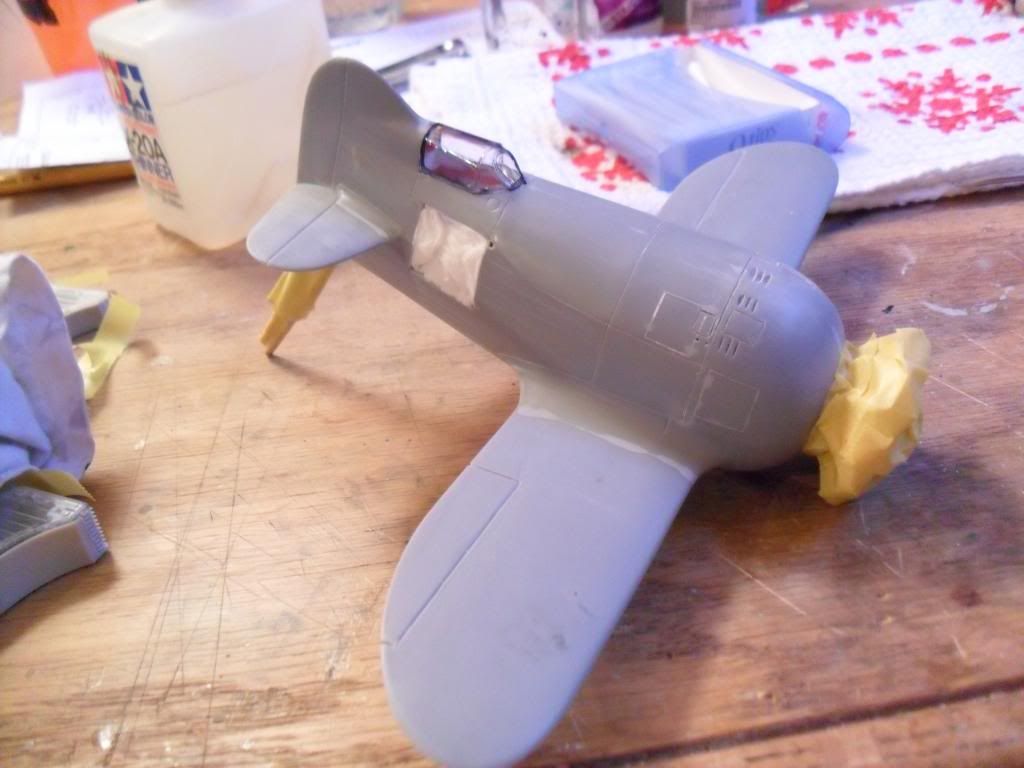
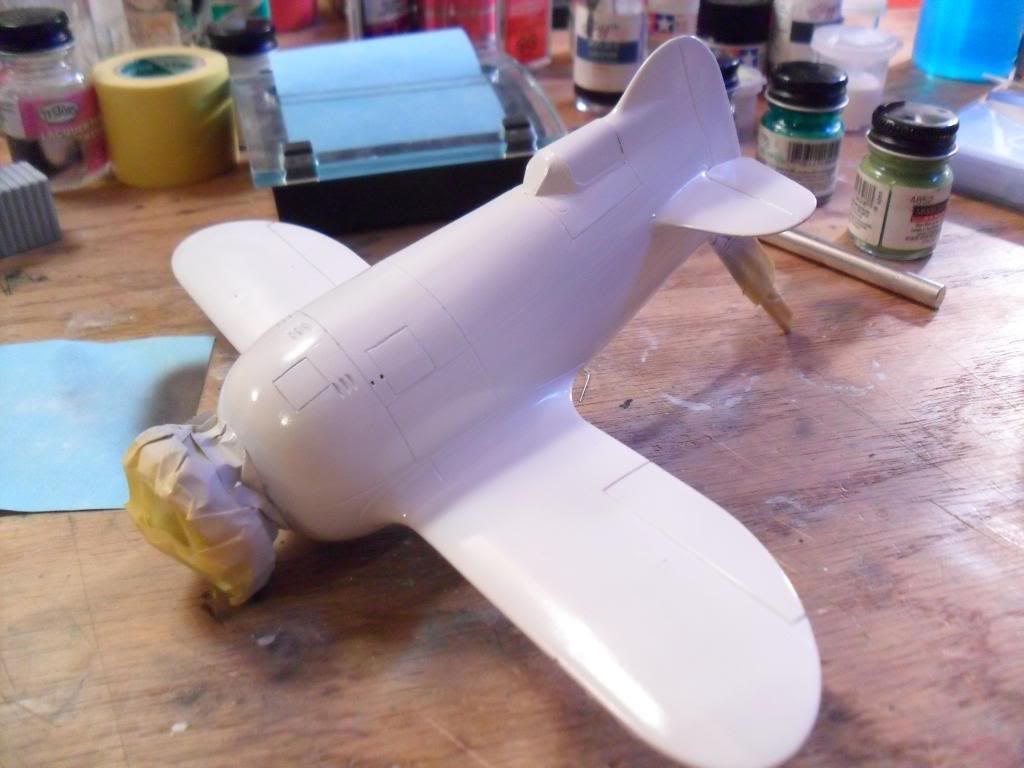
Also did a little bit more work on getting the panels filled in to correct them from an R-1 model to an R-2. This is my first experience here with Mr. Surfacer - great stuff!
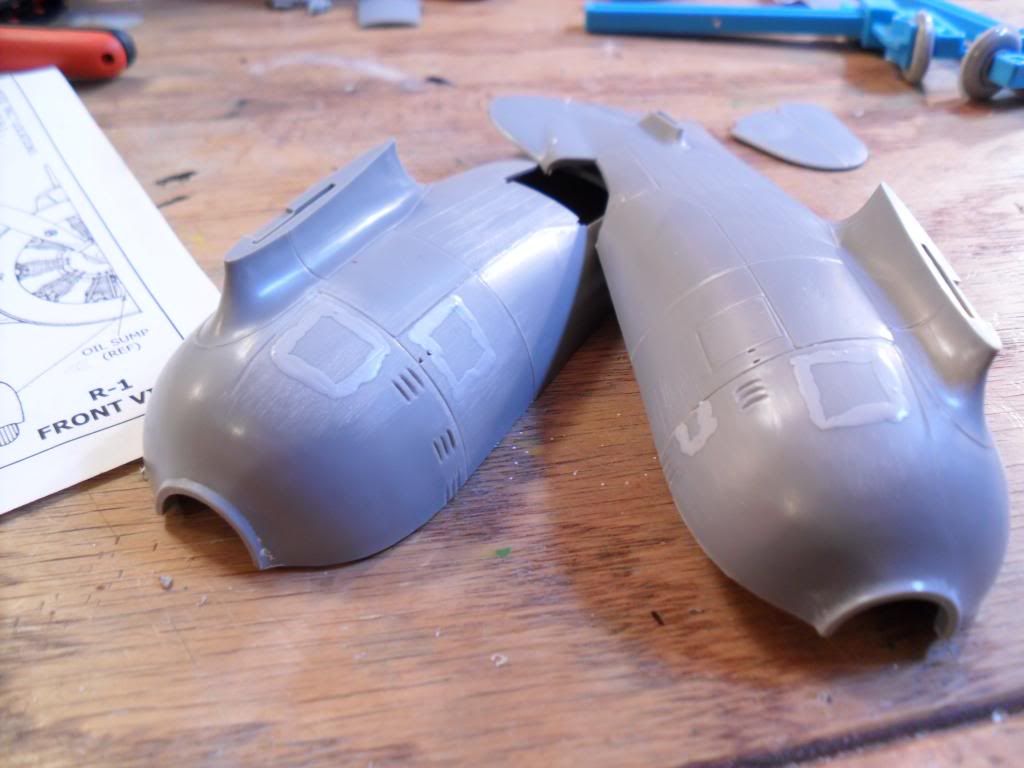
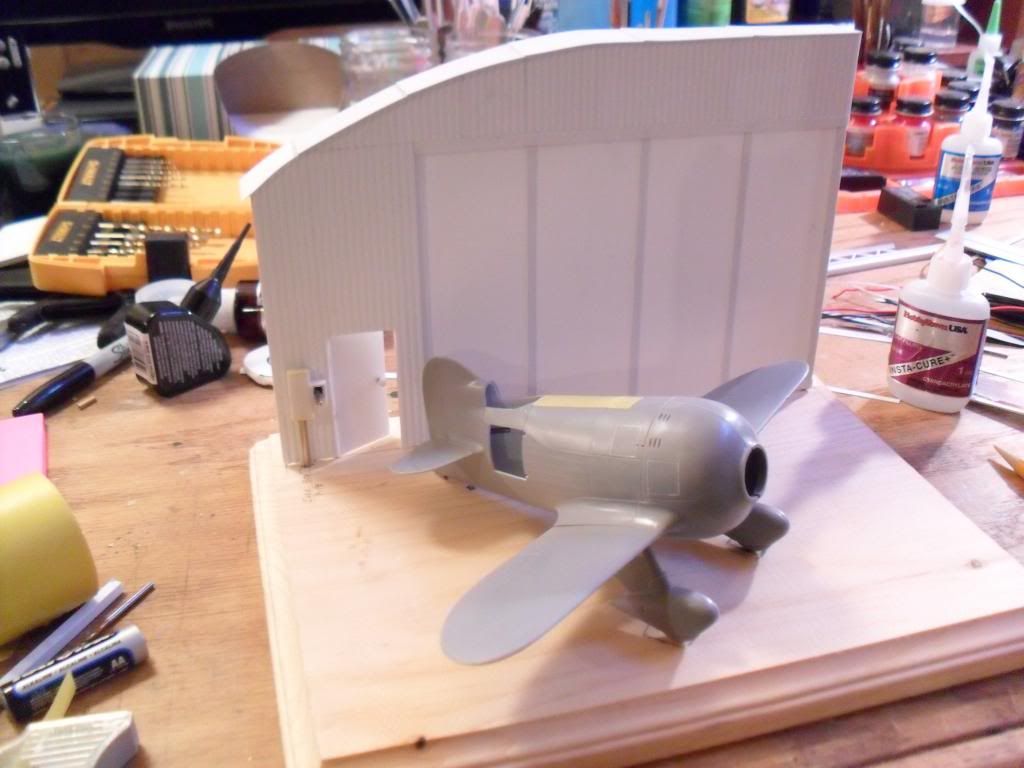
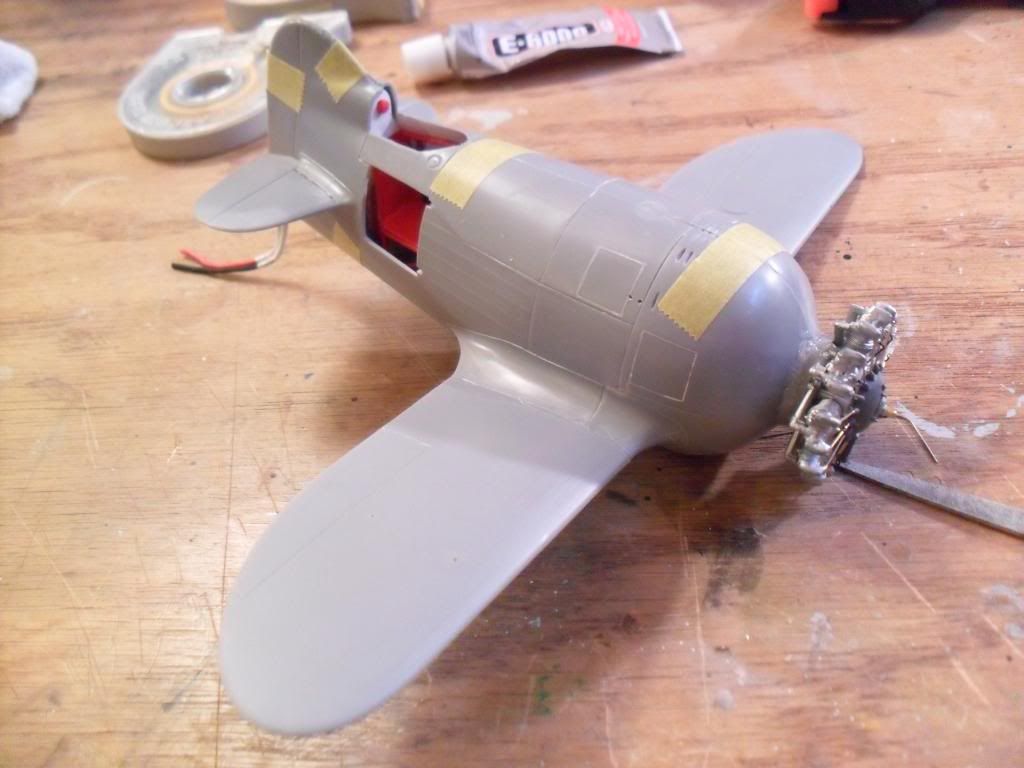
And test fitting the wings/stabs
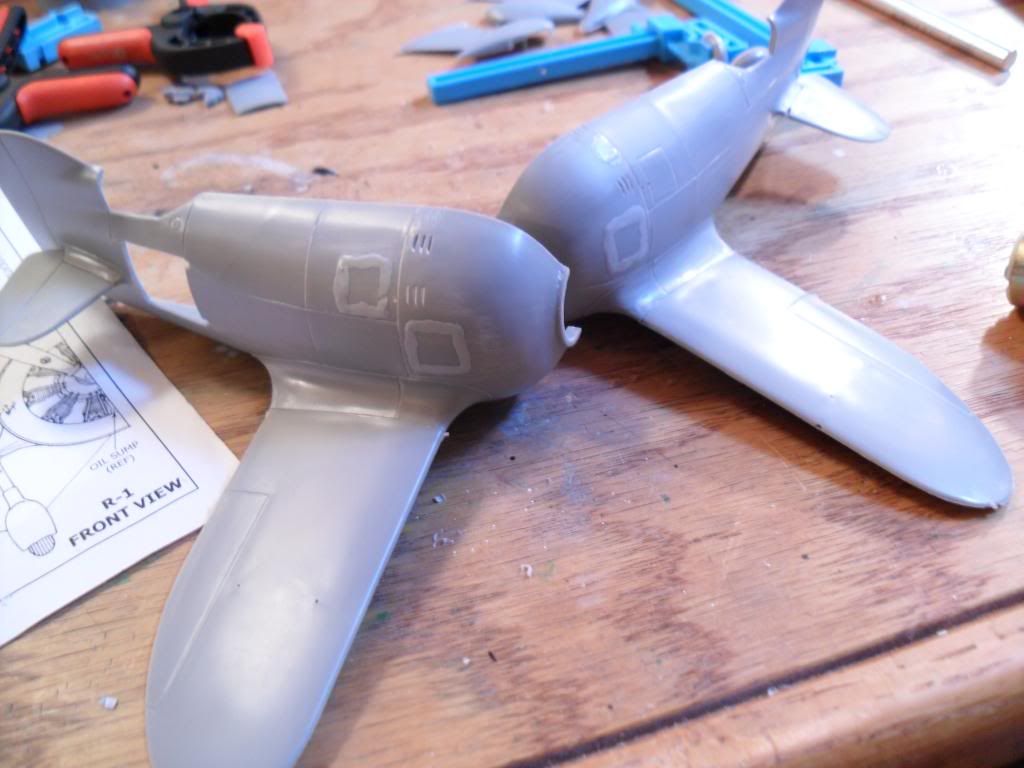
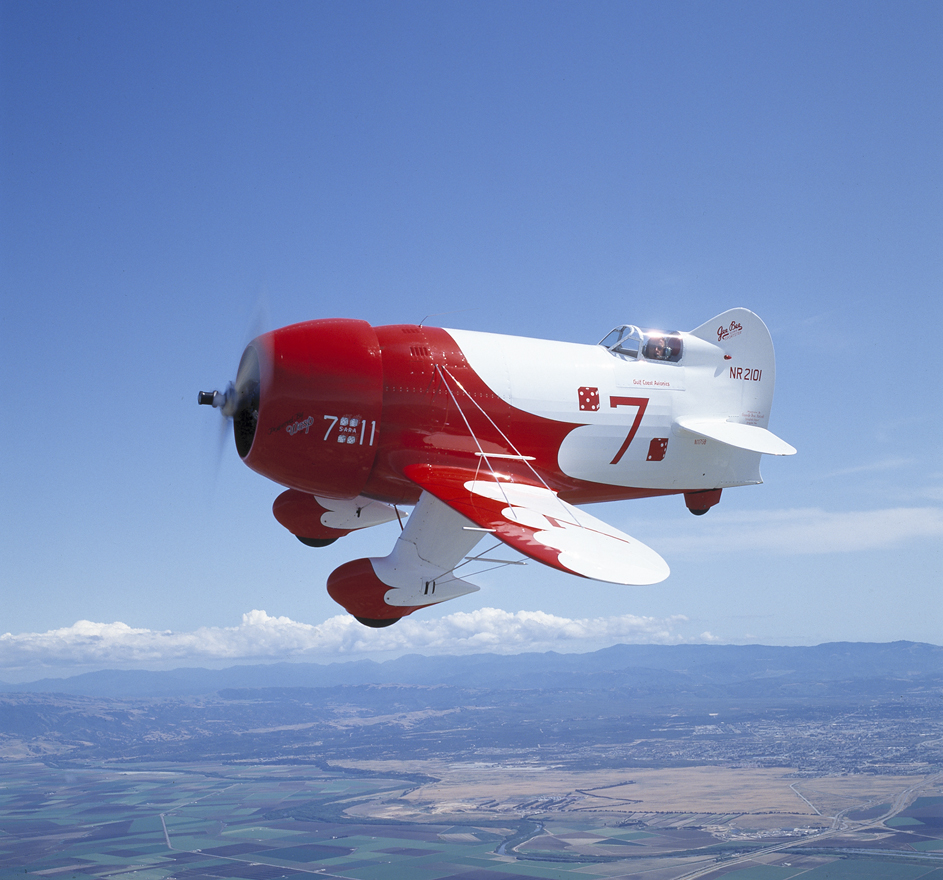
Wings fit pretty good - theres a little bit of an offset so I may end up chopping off the locating tabs and installing them flush. Not sure I want to do that though as that would mean much weaker wing roots. I may try carving away part of the tab instead. Anyways - starting to resemble something like a Gee Bee but the real prize will be when the cockpit and engine is installed and the two halves come together.