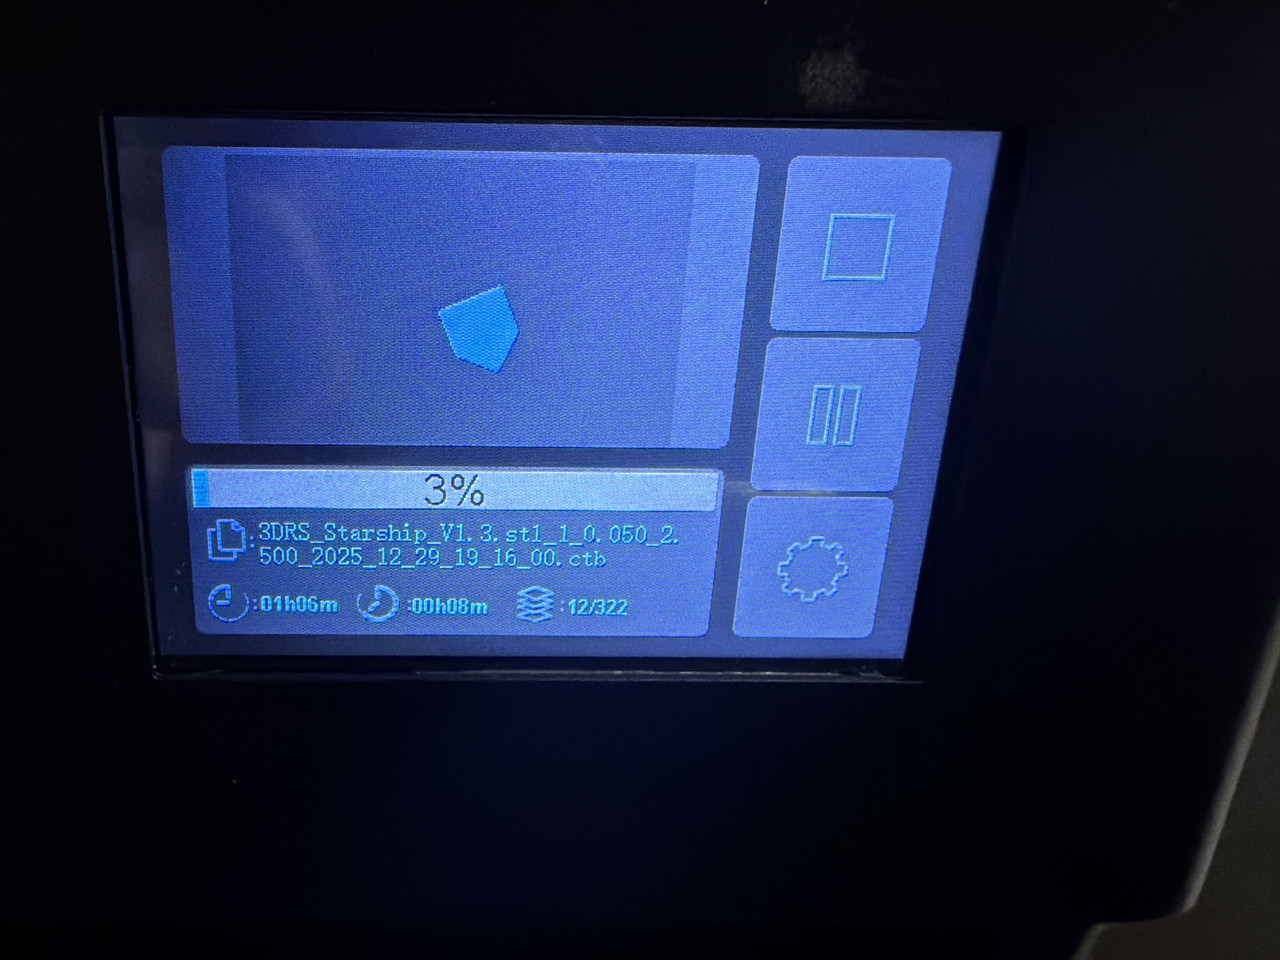
Well, with some substantial help from my son, aka tech support, we were able to get my 3D printer working this evening…
And after nearly 90 minutes of printing, then another 10 minutes or so of wash and UV light curing, we created this test print semi successfully…
I say semi successful, or as my son termed it, a successful failure, due to it ending up a bit too brittle, and this ended up cracking and breaking. So successful print, but an overdone finishing process. Lessons learned.
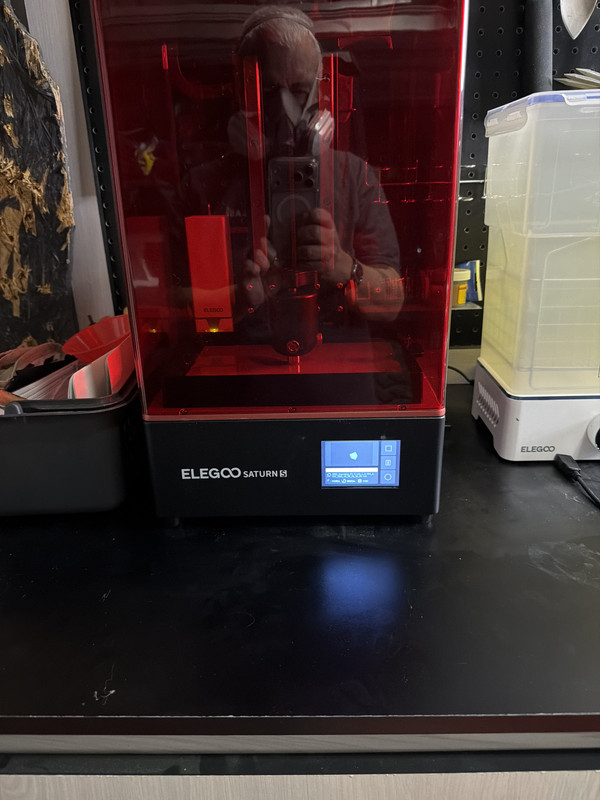
My wife got me a Flashforge 3D printer for Christmas. It’s supposed to be a good starter printer and I am looking forward to getting it out of the box. Had to make space for it first.
Merry Christmas to you! I had to clear off my tool cabinet top in my garage to make space for this set up. I picked this up used from a modeling club friend, so no boxes to unpack here aside from what was used to transport it home.
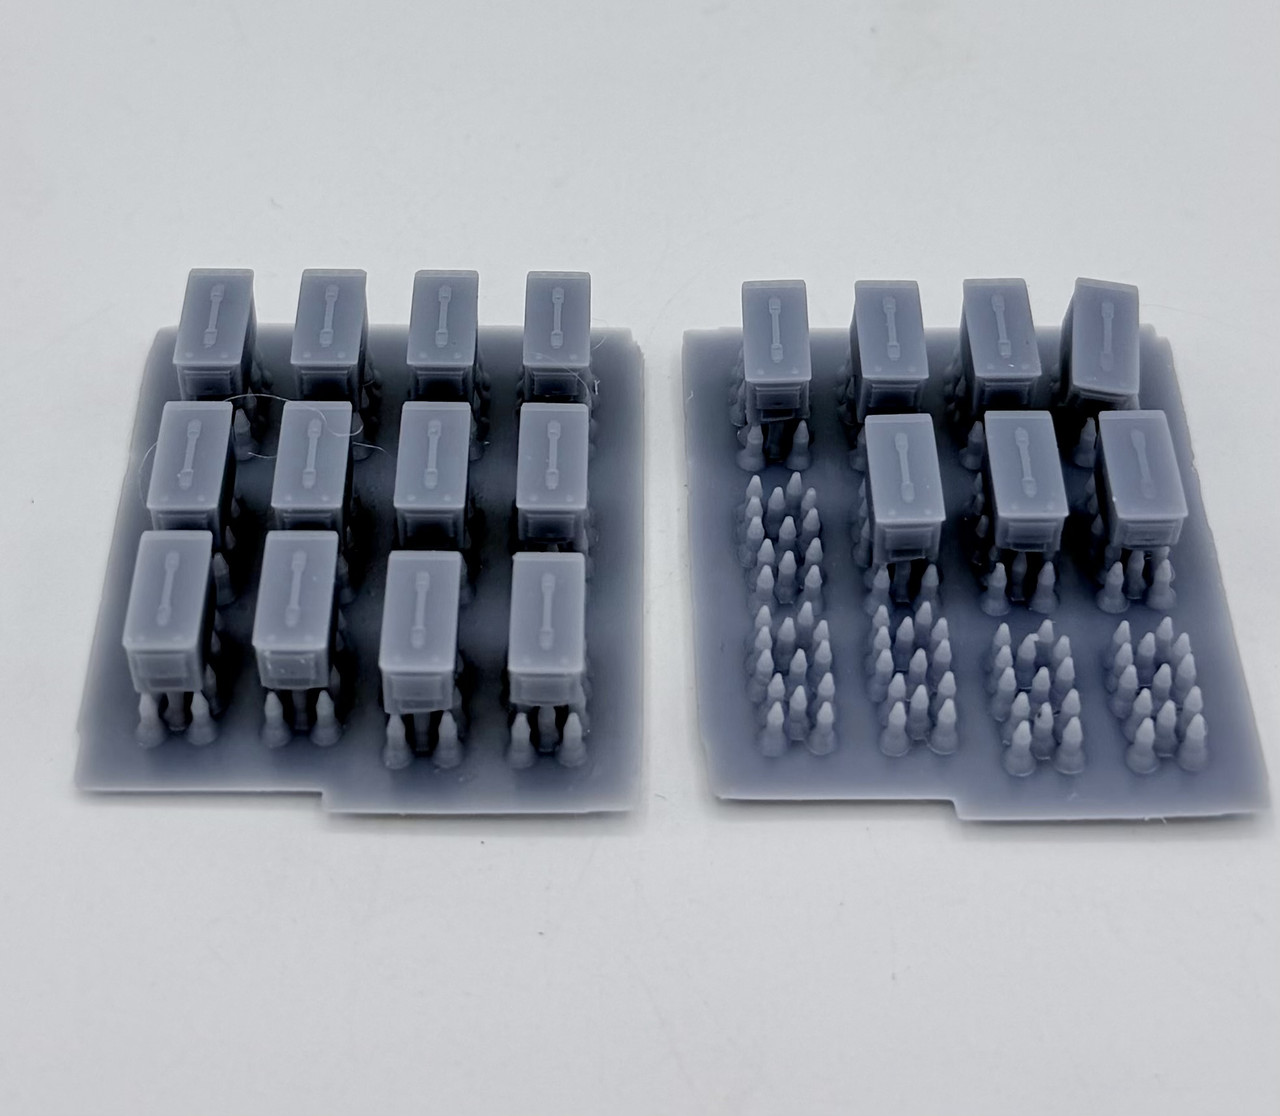
This evening I had another go at 3D printing after my crack up and burn attempts after New Years… today’s success was much more successful. The first go (on the right) was about a 50% success rate, with some breaking free during the printing process, as can be seen by the support nubs only…. a few that stayed on the base were somewhat incomplete on the bottoms of the cans for unknown reasons. The second go, started immediately after I took the first group off of the printing plate, came out much better, with all twelve ammo cans printing, although a few were also again underdeveloped on the bottoms of sides…
I’m gonna have to mess with the jerry cans that “cracked up and burned” on the first attempt and see if I can get those to print up properly…
Welcome to the rabbit hole. Fine tuning your print settings is going to be something that will make or break your experience. Unfortunately there are also going to be days where you just cant seem to get the printer to print anything. But end of the day you will have fun and add a powerful tool to your arsenal.
I can sure understand that about good days and bad with printing. But last night was a mostly successful session, so that is encouraging Now to figure out how to fine tune the printer settings… my next hurdle…
One other thing I noticed on the jerry cans you printed. You dont want to print a flat surface parallel to the build plate. This is due to the supports crating essentially pressure points allowing the surrounding area to sag. Its best to rotate your prints to a 45 degree angle relative to the build plate.
Please allow me to be the third then very important!
I never print anything flat anymore. Also printer settings can be a bear, especially if the temps are changing a decent amount. The Saturn 5 is a nice printer, if it has a heated resin vat that will help. Another area chuck full of learning opportunities is support placement, I never just go with auto generated ones as is. I’ll auto gen, then remove a bunch and maybe add a few. Lots to learn for sure, but the thing I dislike the most about failed prints is the need to clean the vat afterwards… Nothing better then a nice long string of perfect prints. Cleaning is such a time and resource suck.
Figuring out what works can be a pain, but once you start firing on all 8 it opens up a world of opportunity.
It’s certainly a journey. And in all honesty, this has me more excited about the hobby than anything in a long, long time. The fog is starting to lift and possibilities reveal themselves
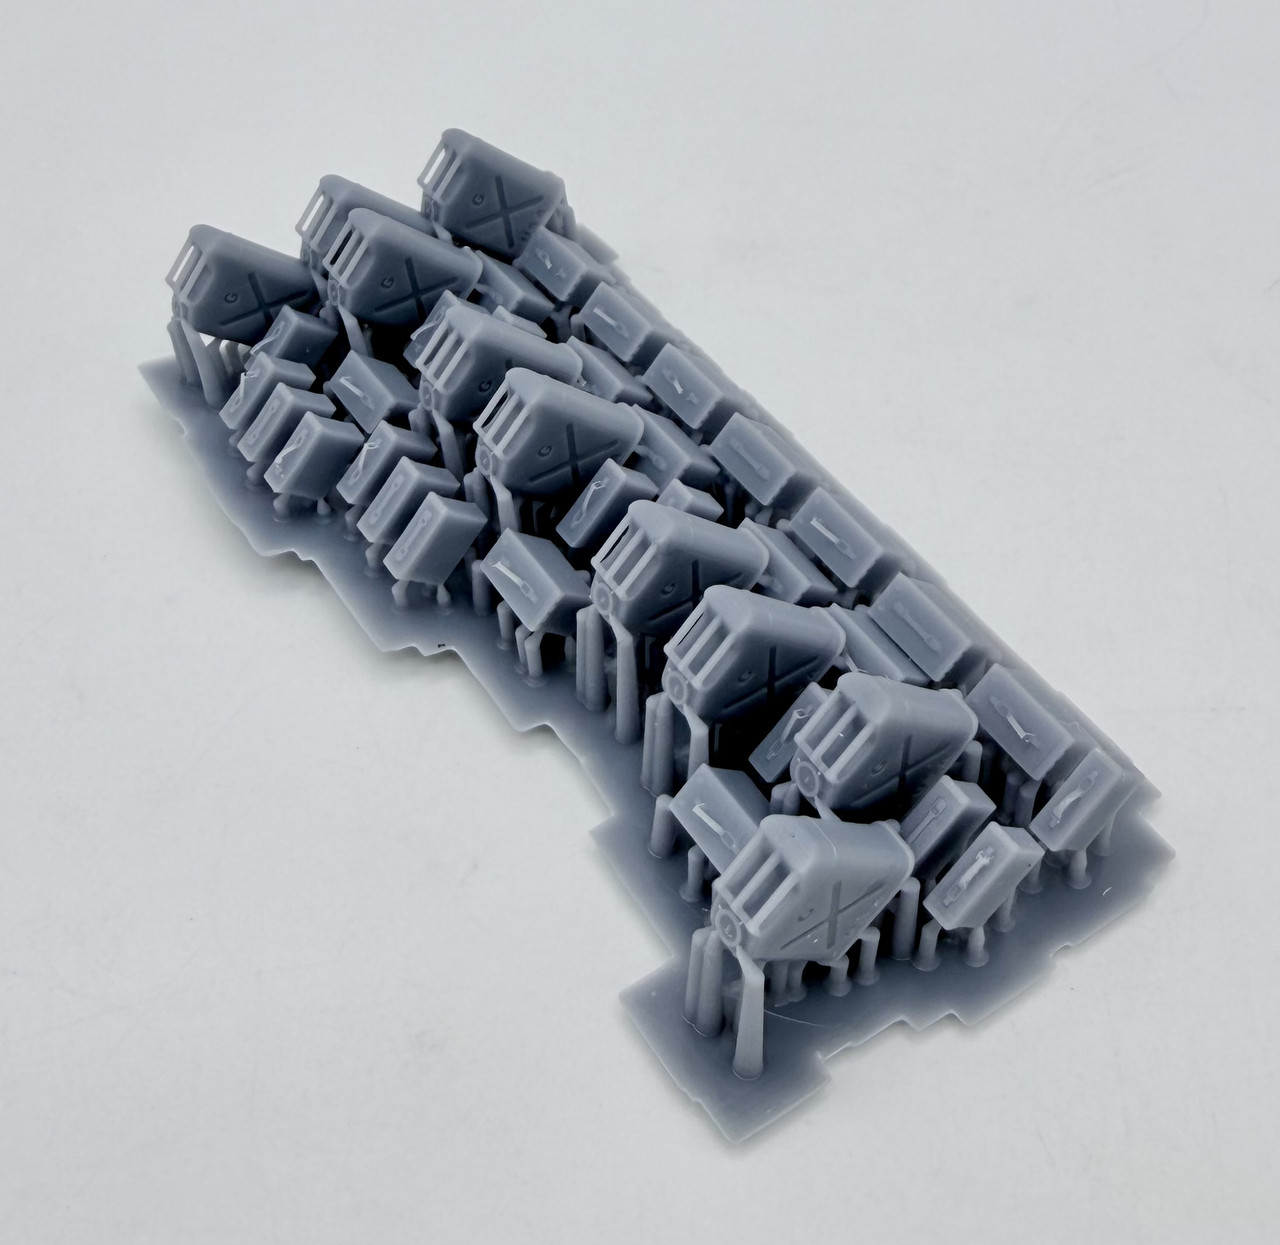
Friday I had much better luck… a few of the .30 cans broke off during the printing process, but overall, this one I’ll call a 95% success
Today’s efforts came out much better… same print with no break offs during printing…
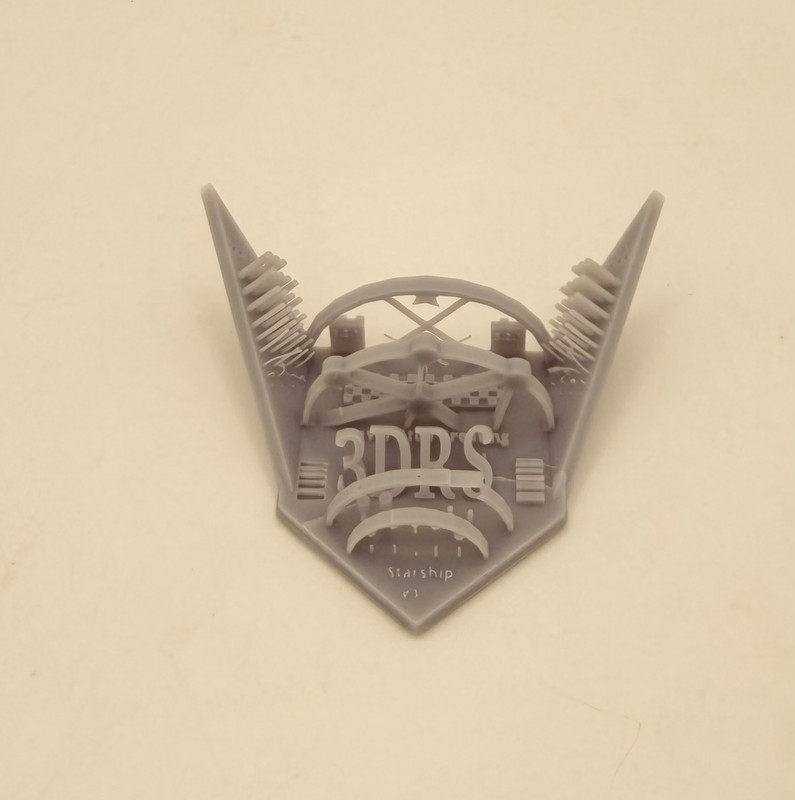
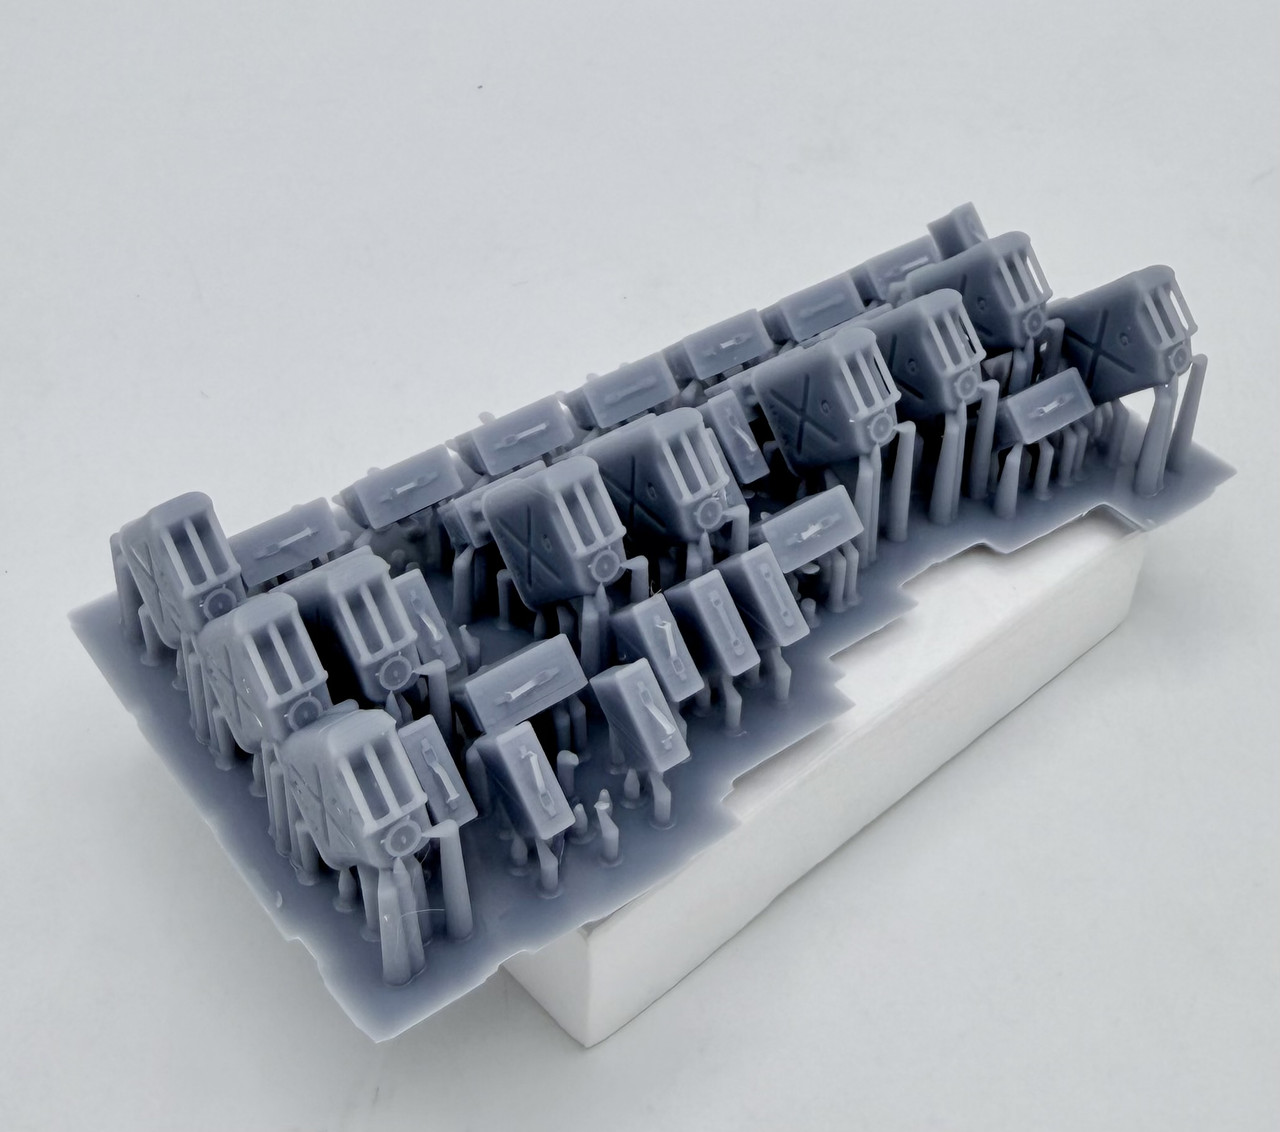
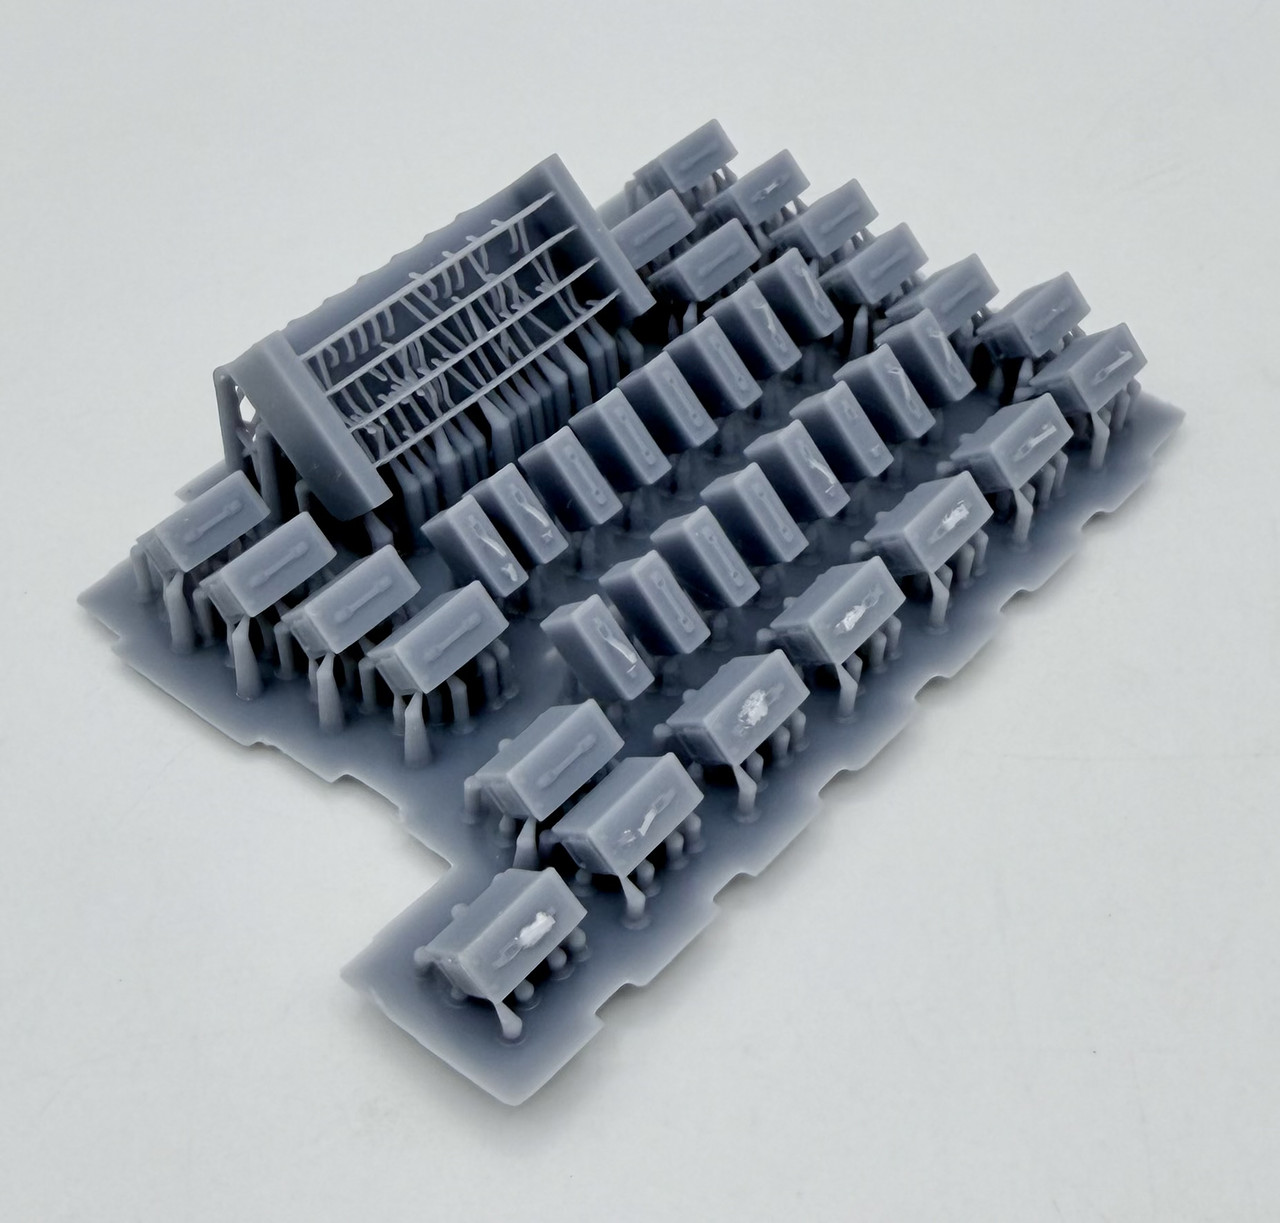
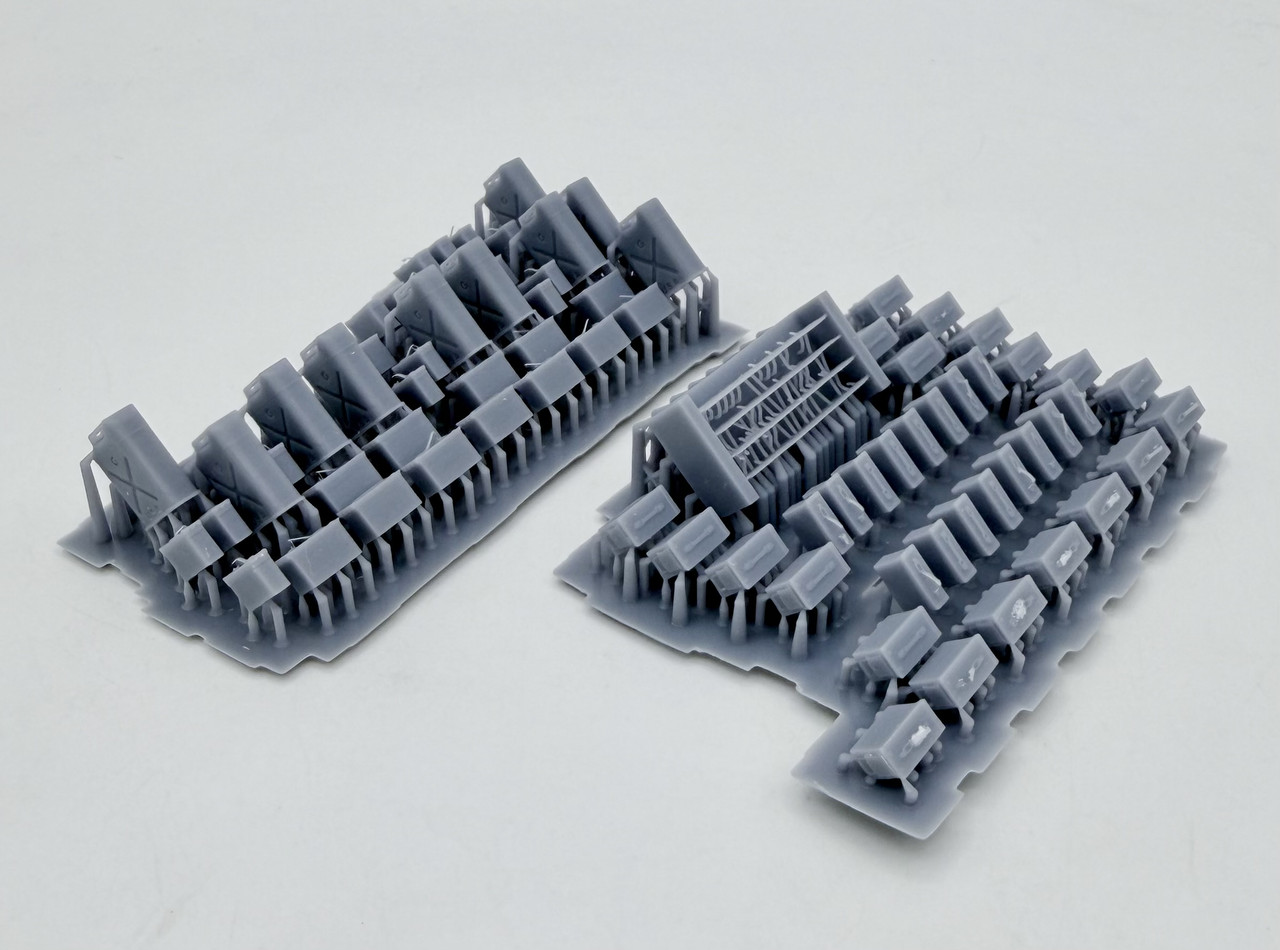
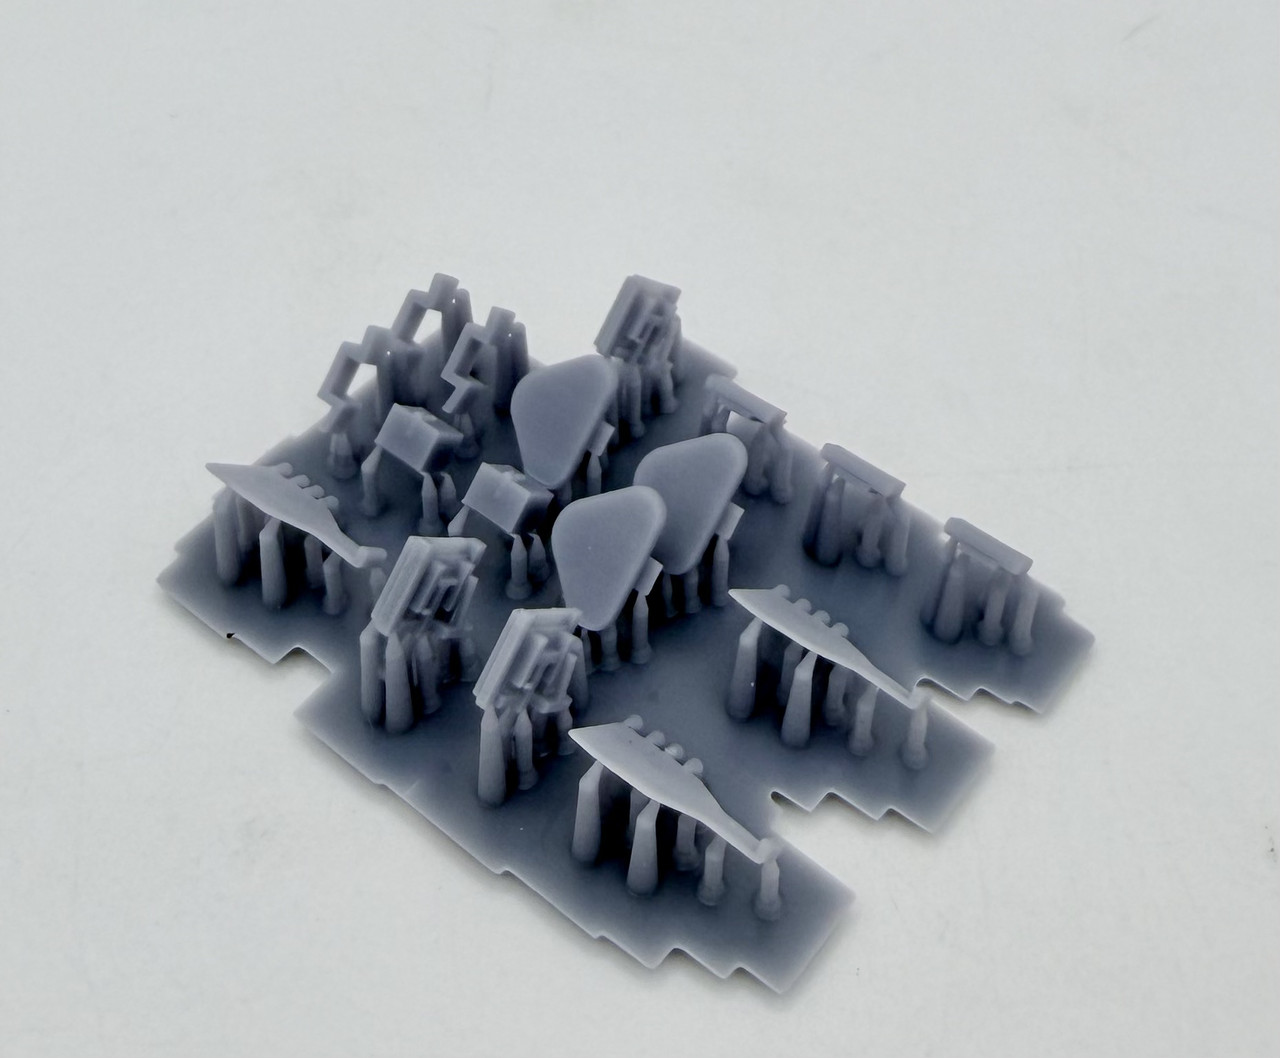
Then I created this set up yesterday… ammo cans and ammo belts
so this is today’s production batch… each print took a bit over 90 minutes
Looking good, only issue I am seeing is the handles. Most likely the geometry is too thin for them to print, an unfortunate limit of resin printing. Other that I think you are basically there.
Chris, are you referring to the handles on the ammo cans? The portions that are flexed upwards? I just wanted to see how those would print out. The thin portions are exceptionally fine, being like fine human hair in their gauge. Most of those links didn’t print, but I’m not too worried about those. Each type of ammo can had three handle styles: laying flat, handle flexed up towards the hinge side, and handle flexed up towards the latch side. I’ll primarily be printing the ones with the flattened handles anyways, as that’s the most common way that they are seen when stowed.
I couldn’t agree more, the endless possibility has me way more actively engaged in the hobby then previously. Prior, I’d build a model over a few months then pack everything up for a year or so. Now if I’m not actively building something I’m designing and planning my next project.
While I’m totally lovin’ it, it’s not all welcome behavior as far as the wife is concerned!
Last week, I added a new fitting onto my printer, a “Wham Bam” plate. Put simply, it is a thin sheet of metal attached by a magnet to the print plate and can be removed then flexed to pop off your prints instead of using a putty knife to pry your new prints directly off the print plate. It is something of a time saver, but again there was a learning curve for the new fitting. My first few attempts with the plate were a failure, but after some online research to see if others had the same problems with the device, I adjust some settings on my printer and had success!
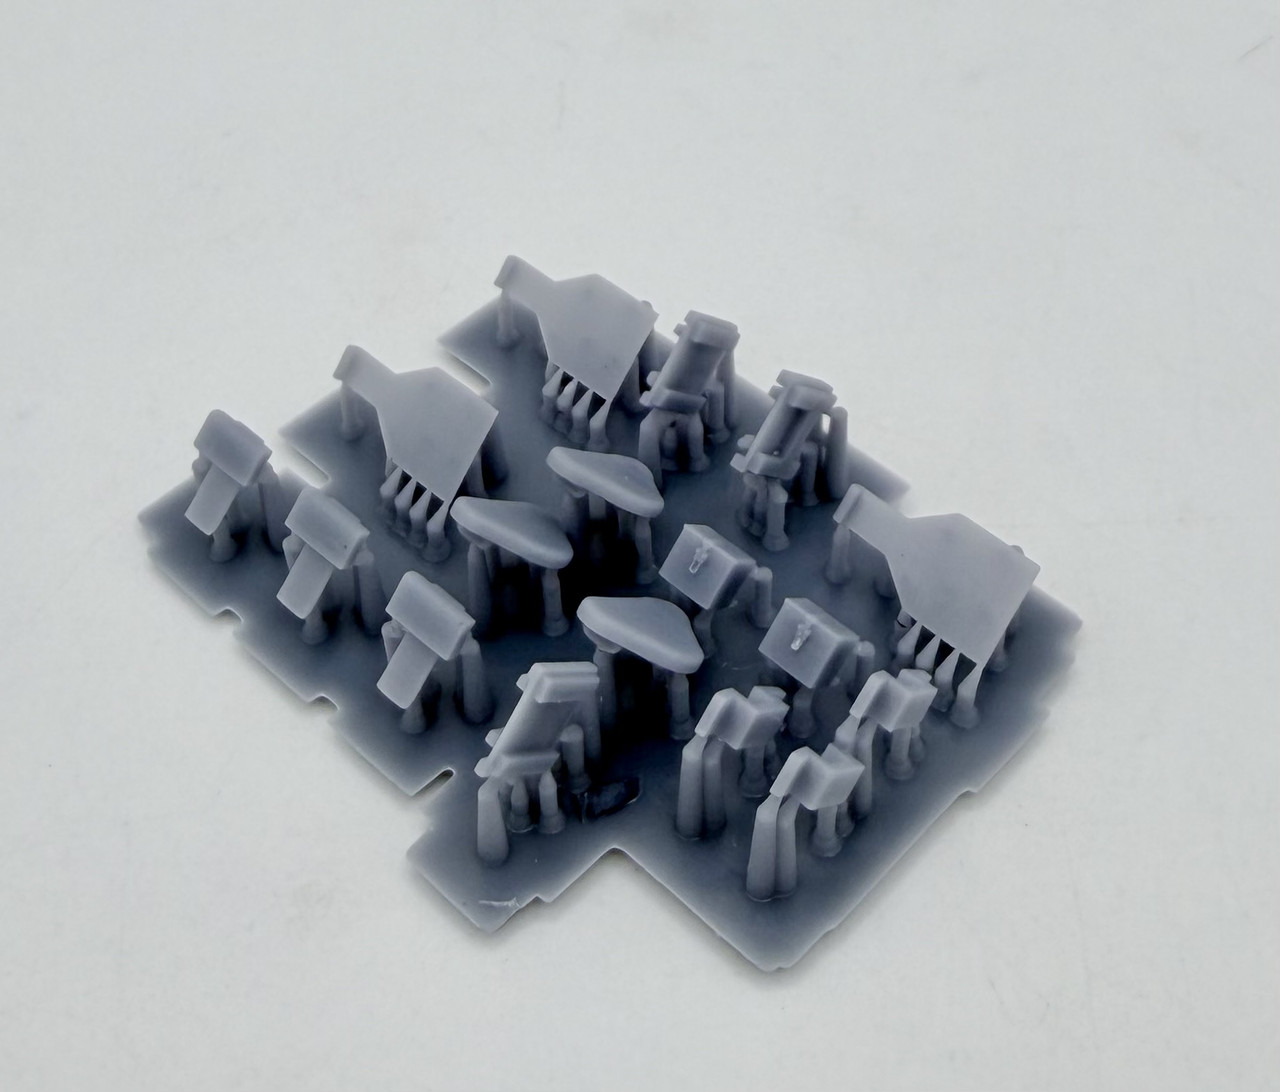
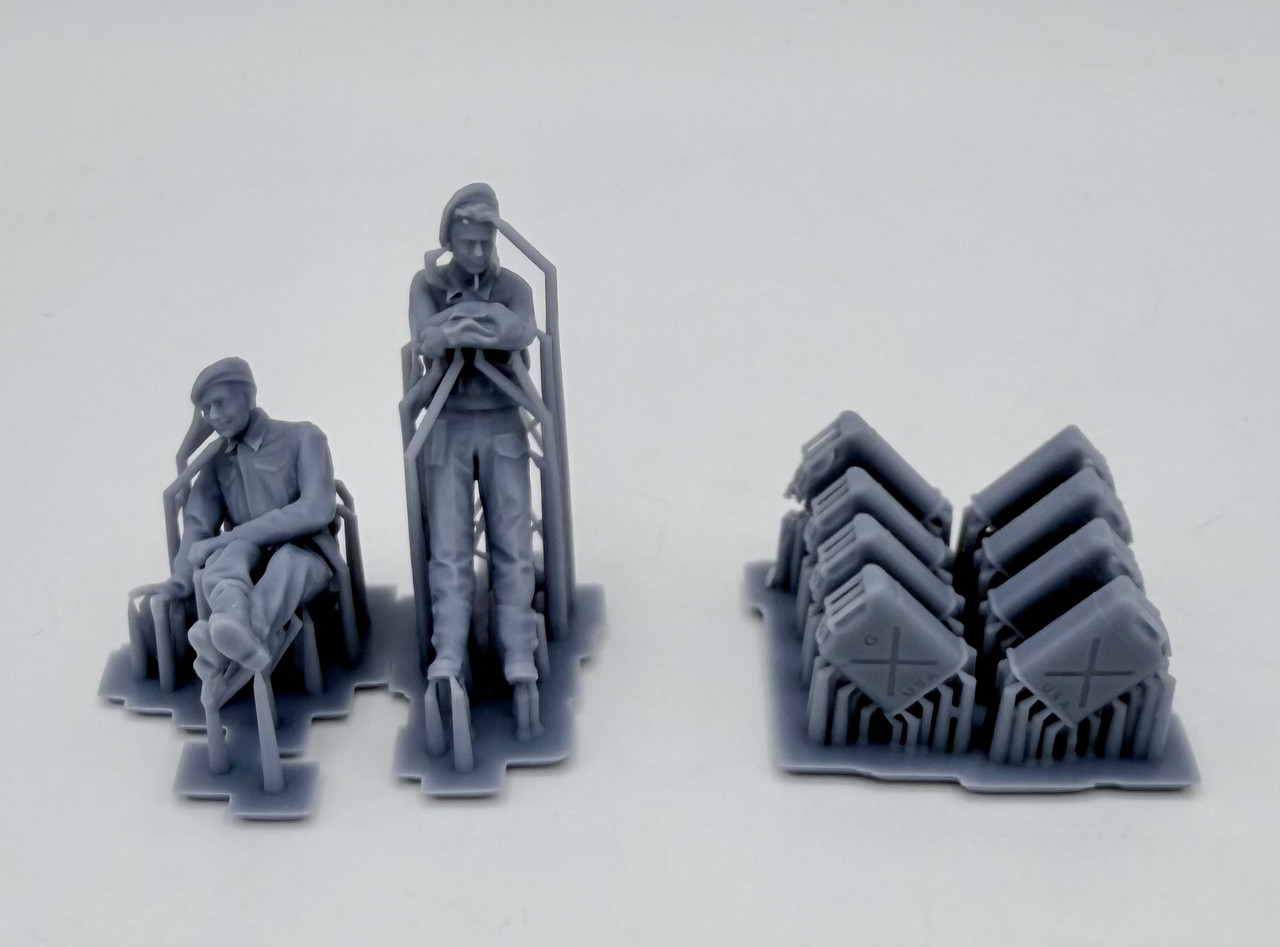
These are loader and TC seats for a Sherman tank as well as some stowage boxes for inside the turret. I am starting to get a handle on the printer… now to master creating the files.
I know absolutely nothing about these printers, a guy at work prints rc bodies to fishing bobbers. I’ll take the dive at some point because I sure am interested. I got 15-20 years till I retire so I got a little time to figure it out
I’m getting better on this 3D print stuff… having far less misprints and self inflicted misfires as I learn…
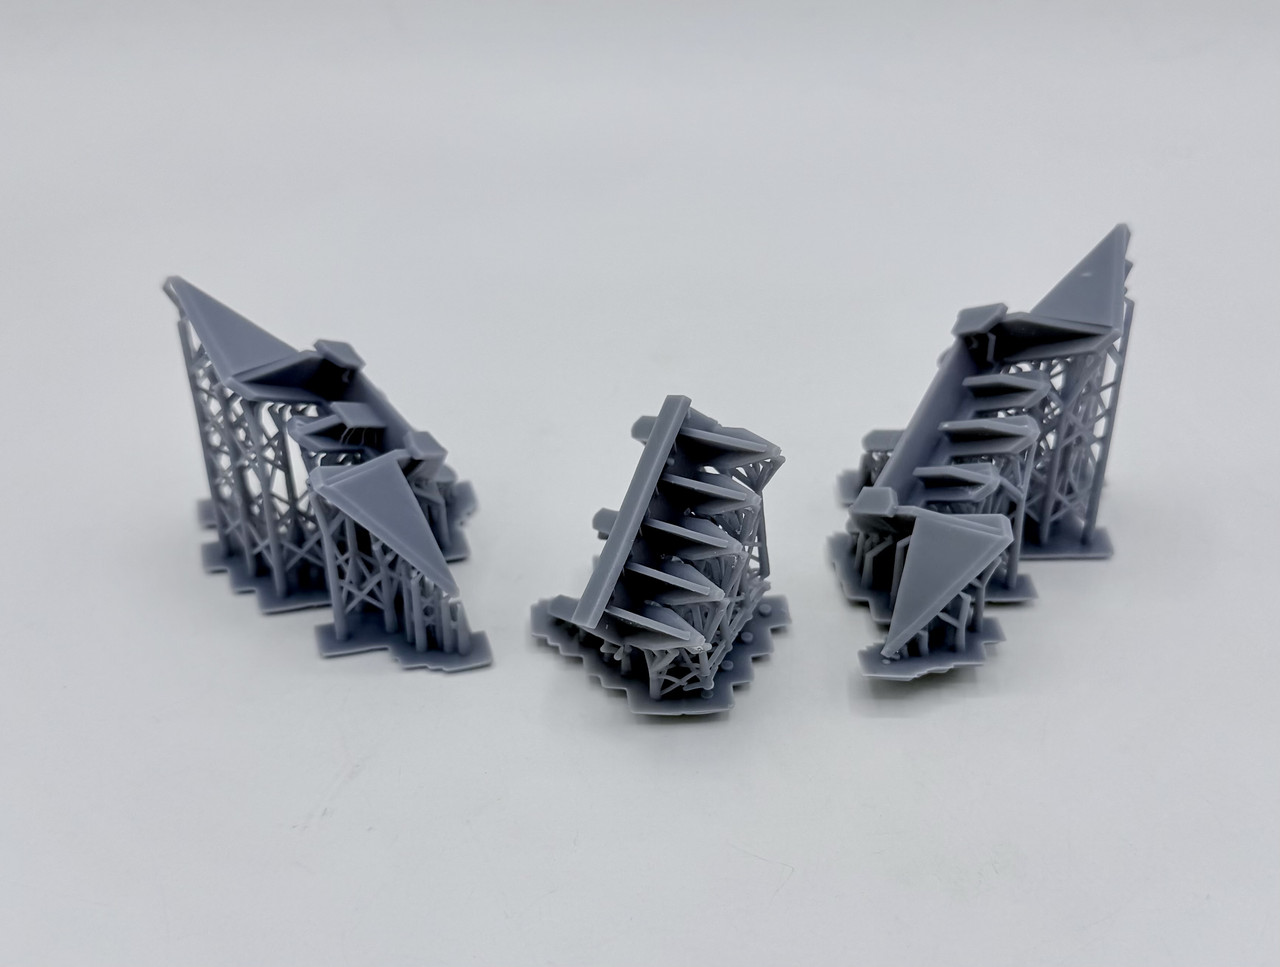
a couple of weeks ago, I printed up these Hedgerow prongs for Shermans.
I only needed the middle set, so I gave the others away at AMPS this past Saturday
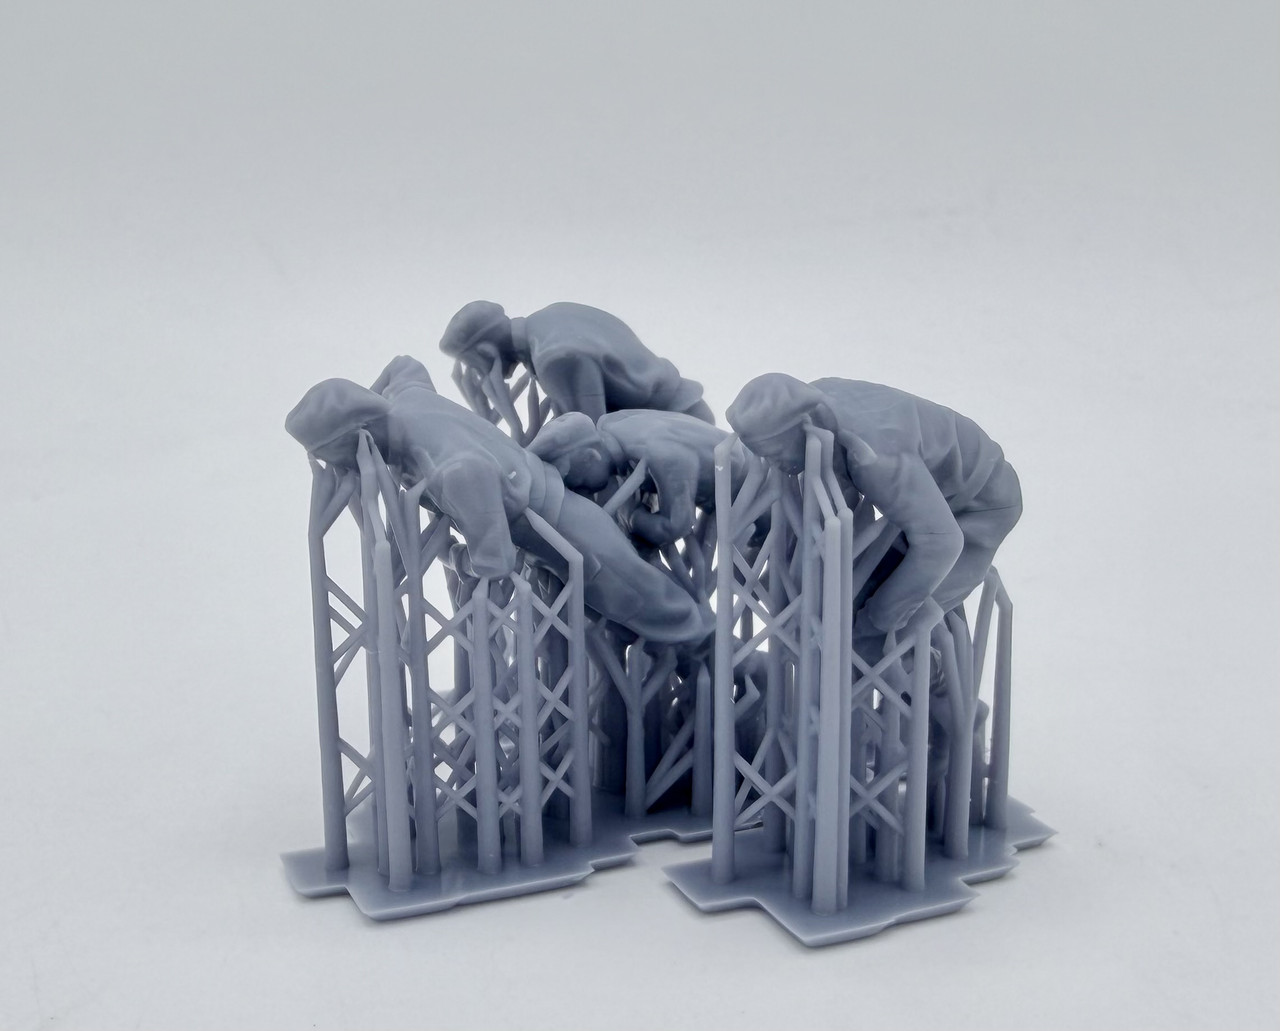
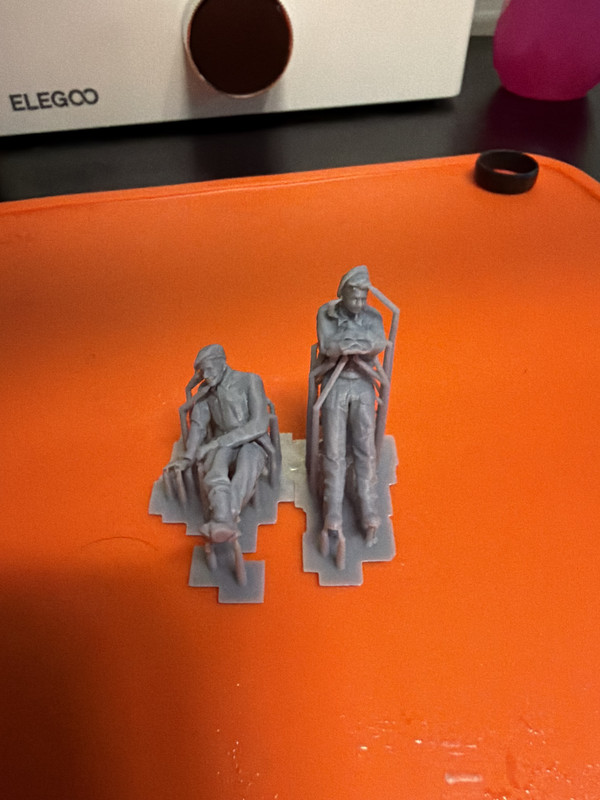
I also have been trying my hand at printing figures… the first batch I did a faceplant by not paying attention to the orientation of the figures
the second was better but only half of the figures printed up
a few adjustment to the settings and my next attempt went exactly as intended… all printed up properly
I also had success in upscaling some jerry cans from 1/35 to 1/32
Then today was a successful print of some 1/48 Zuni rocket pods. When completed I thought they were too long… then I compared them to the ones in a Hasegawa weapons set… exact same size!
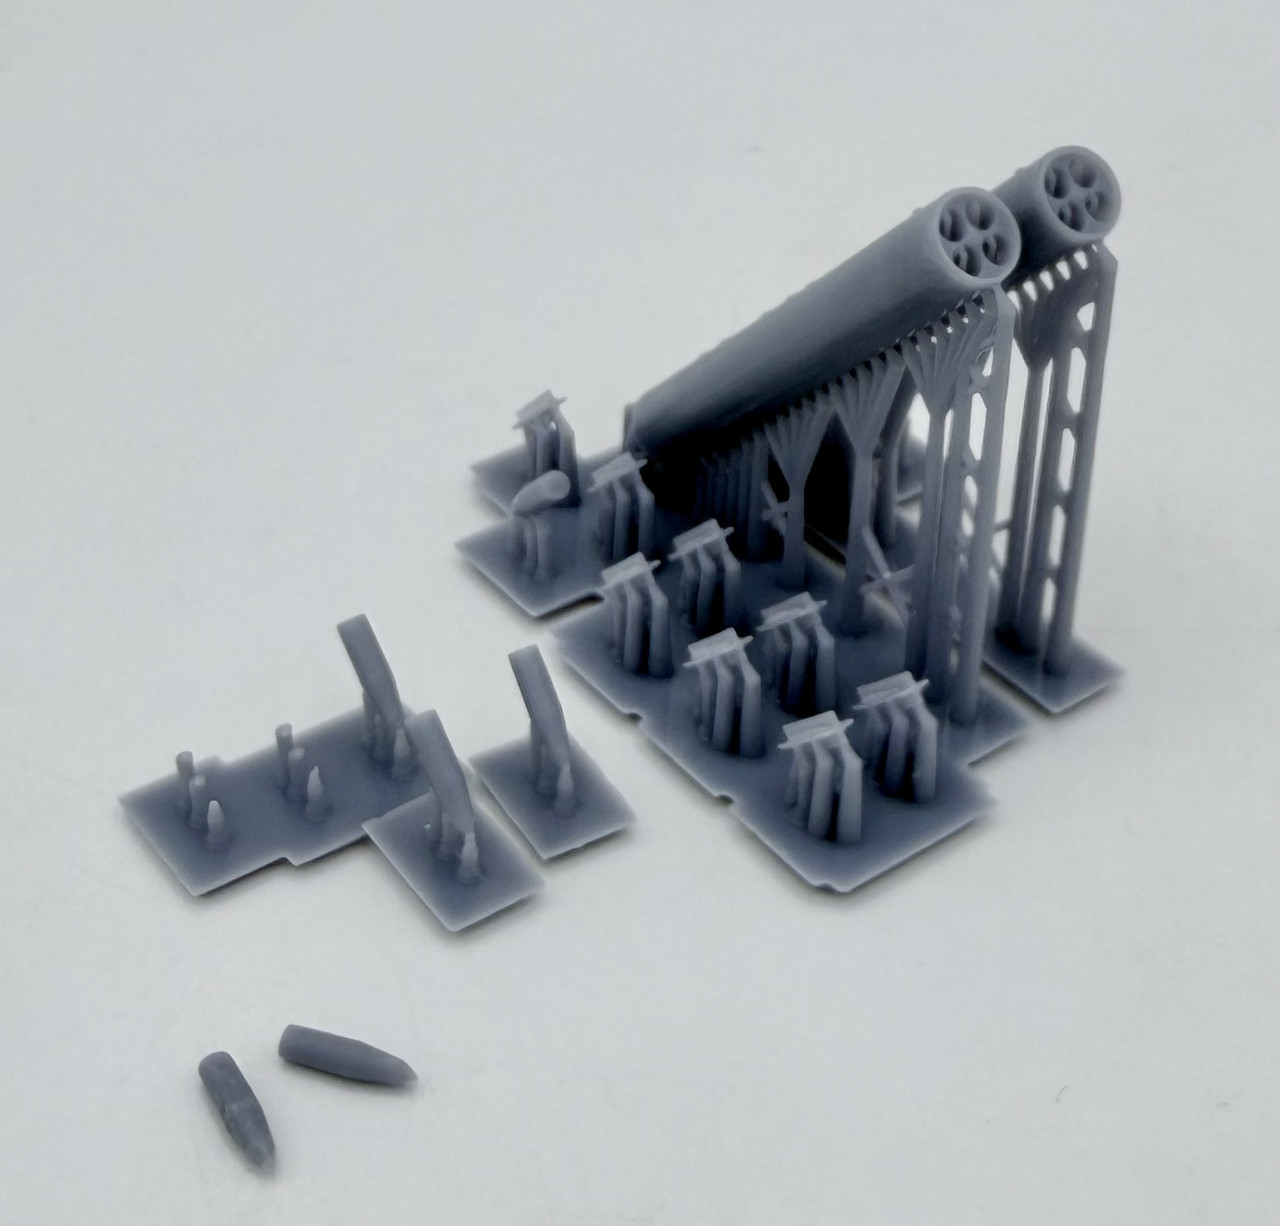
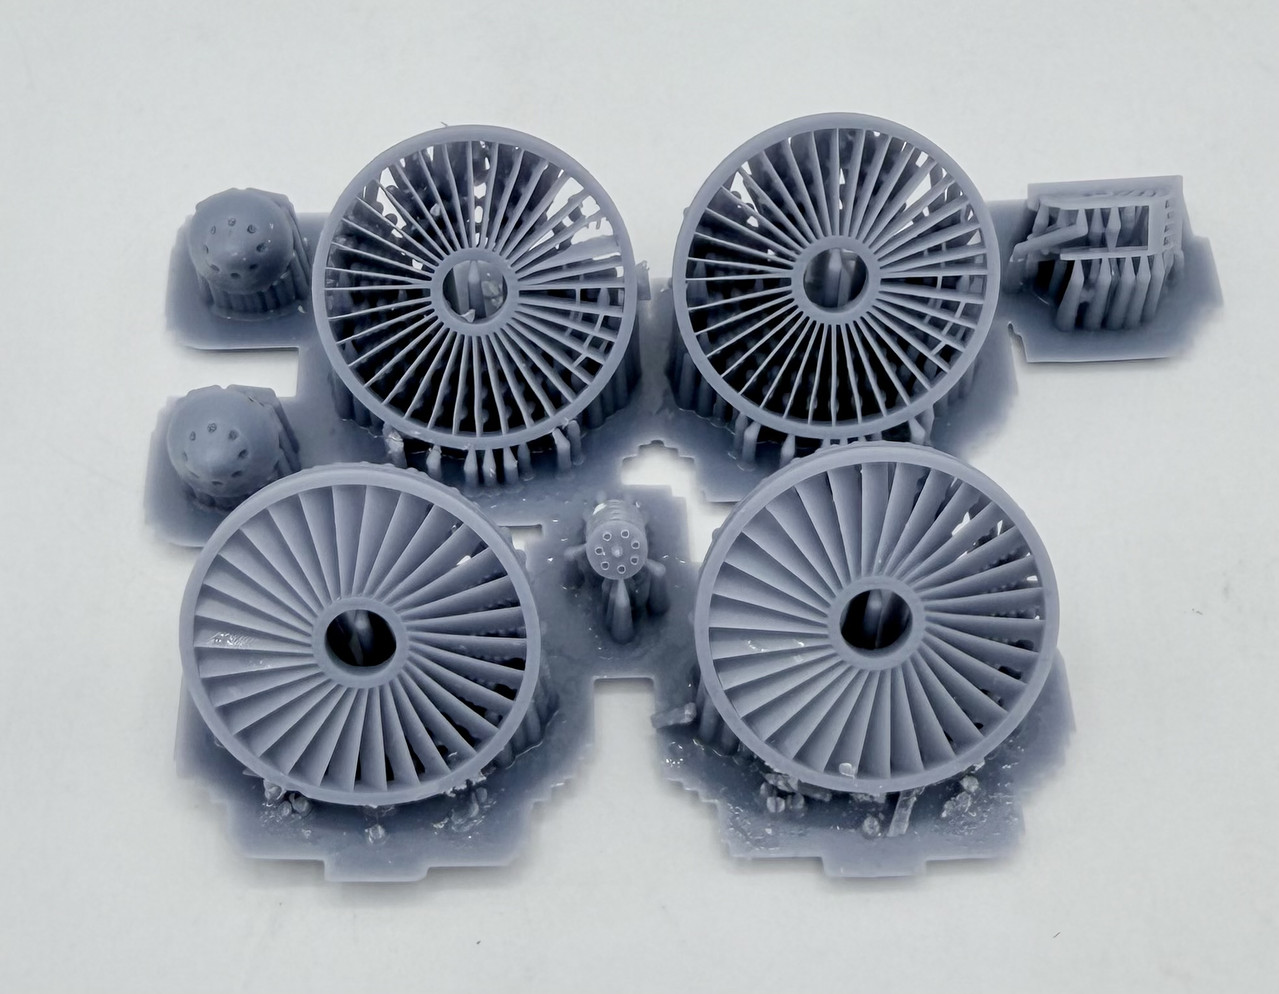
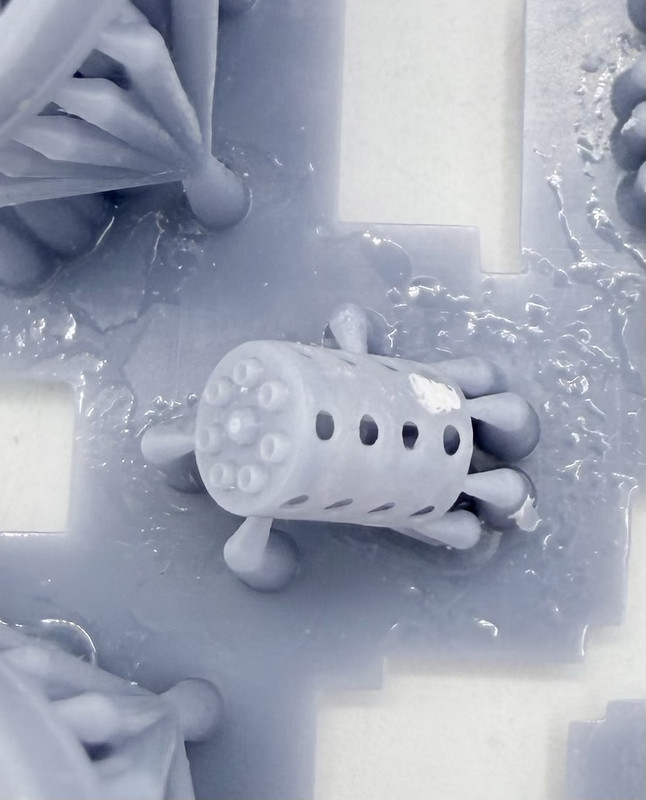
And my latest batch of prints… yesterday evening I printed up the stuff for my new A-10… the fans and gun came out sweet
The gun is a HUGE improvement over the kit part…. Although I need to add some barrels using brass or styrene inside the cooling shroud
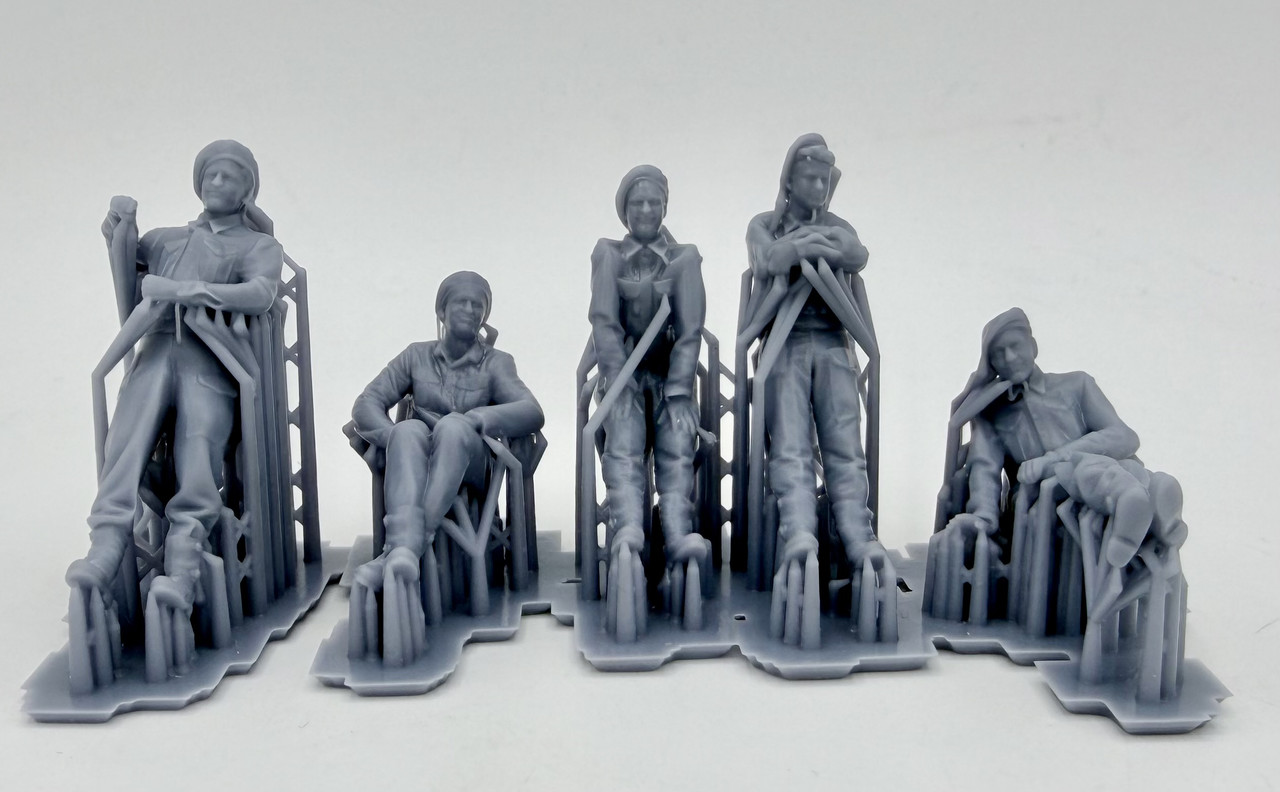
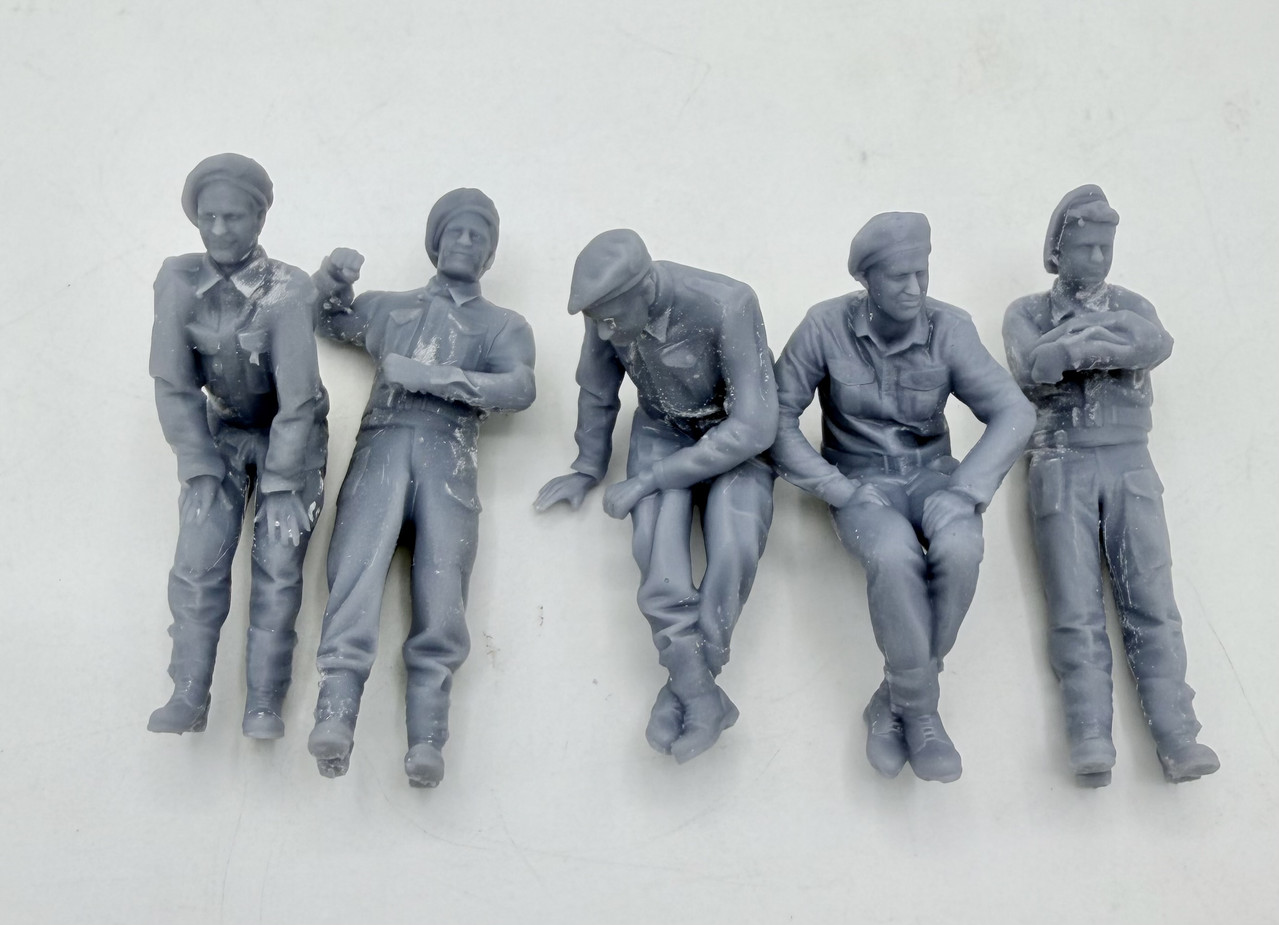
Once those were done I decided to do another batch of the Commonwealth tank crew…. But this time I cut them off of the bases after they came out of the printer before the wash and cure before the resin became more brittle. It was time consuming, but turned out ok. Since they take so long to print, I had them printing overnight.
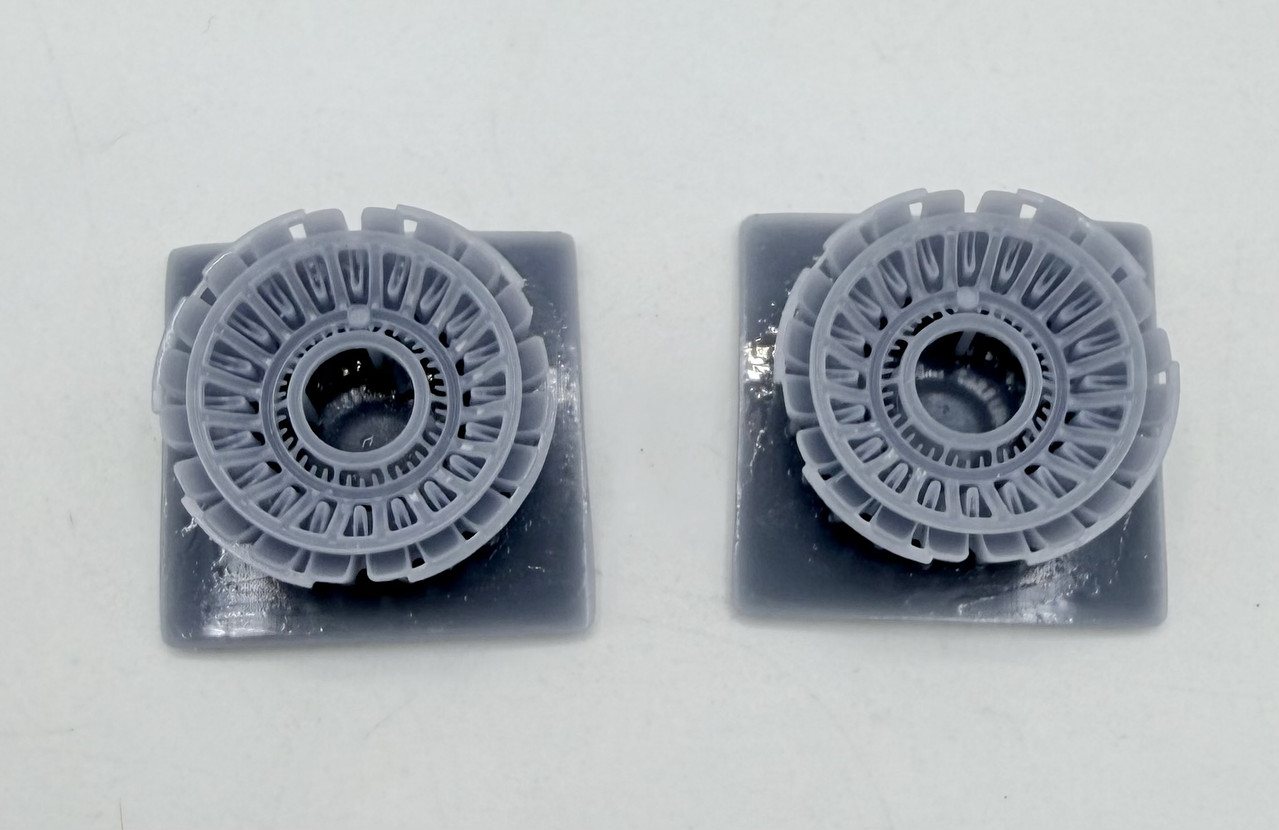
Then in the morning I printed up these GE-F110 afterburner flame holders. Damn they look so much better than what comes in kits. The original file was 1/32, but I downsized these to 1/48
I’ll be printing up more for use on various aircraft types. I’m sure that most folks don’t know the difference in afterburner rings in various engine types.